
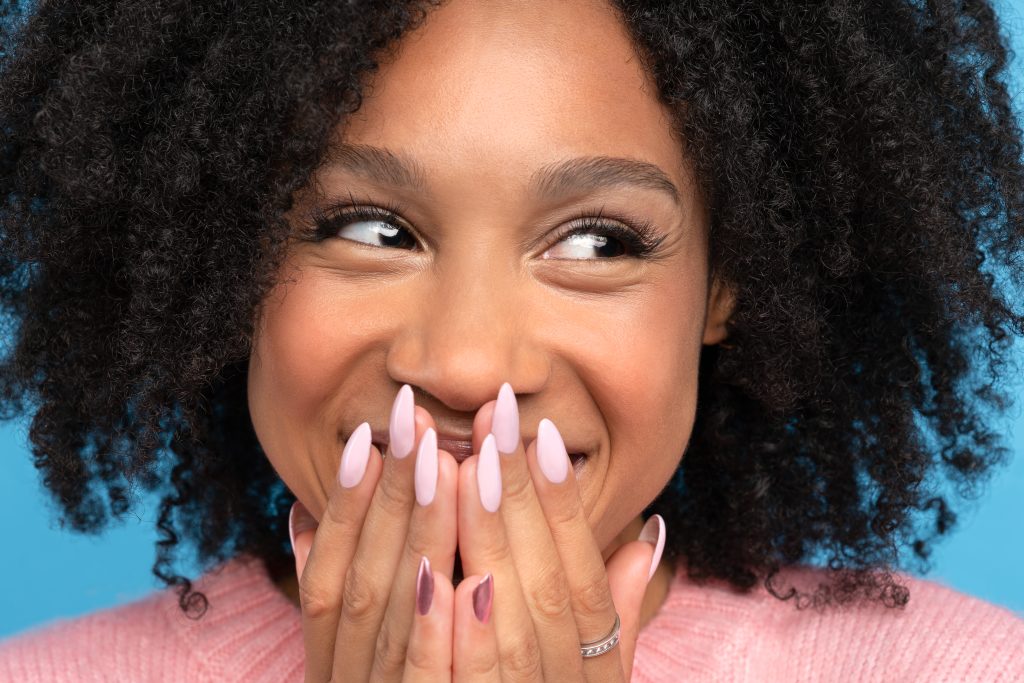
Hey there! Scrolling through Instagram or TikTok searching for the best teenagers nail shapes, you’ve probably spotted some seriously stunning nail looks.
Maybe it’s the clean simplicity of a Squoval or the dramatic flair of an Almond nail. The problem? Salon visits can be pricey and a no-go for busy schedules (or tight budgets!). The good news? You don’t need a pro to get a gorgeous, on-trend nail shape—you just need the right technique, a quality file, and about 20 minutes.
Why Shaping Your Nails is the Ultimate DIY Upgrade
Before we get to the shapes, let’s be real about why this matters. Your nail shape is the foundation of your entire manicure. A great shape can make your fingers look longer and slimmer, prevent annoying breaks, and instantly elevate a simple coat of polish. It’s the little detail that makes you look totally put-together.
For teenagers, shaping natural nails at home is the best way to get salon-quality style without the commitment or cost of acrylics or gels. This guide focuses entirely on shaping your natural nails, the healthiest, easiest, and cheapest way to nail a trend.
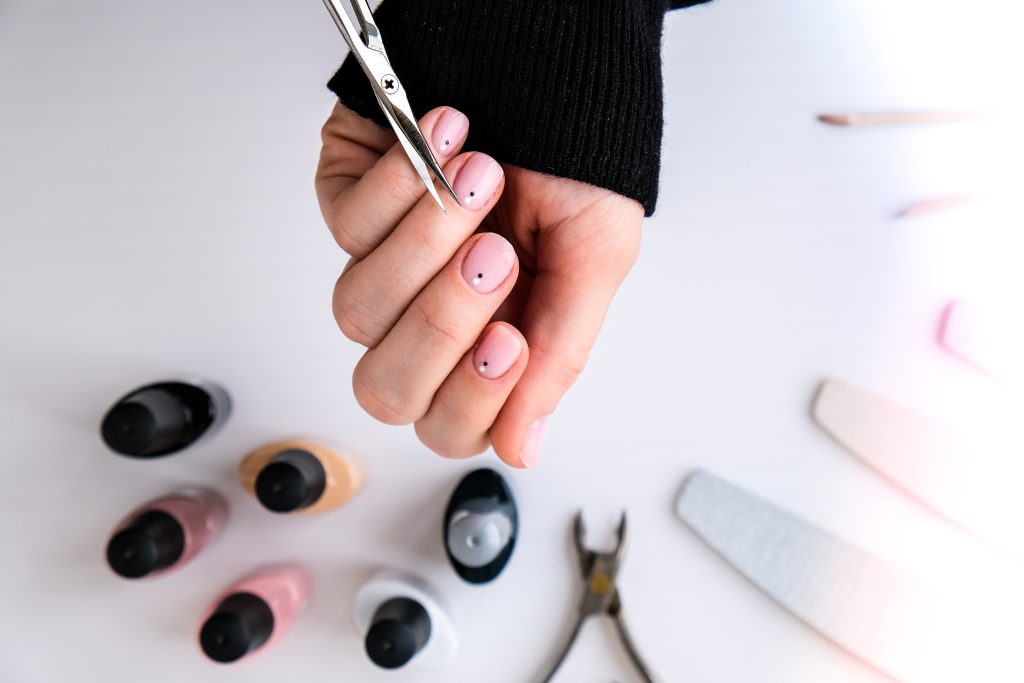
The Top 5 Teenagers Nail Shapes to Try
We’ve curated the top five most popular, flattering, and practical nail shapes that are easy for beginners and intermediate DIY manicurists to achieve.
Round Nail Shape – Easy Teenagers Nail Style for Beginners
If you’re asking, “What is the easiest nail shape for beginners?” the Round shape is the answer. It’s the most natural and requires the least maintenance. It mirrors the curve of your cuticle and is the least likely to snag, making it perfect for active teens (sports, typing, gaming—you name it).
| Aspect | Why It’s Trending |
| Effort Level | Easy (Low Maintenance) |
| Best For | Short nails, wide nail beds, and preventing breaks. |
| Effect | Visually elongates wide fingers and makes hands look neat. |
How to Get the Round Shape at Home:
- Prep: Clean your nails thoroughly and push back your cuticles.
- Clip: If your nails are long, clip them down, following the natural curve of your fingertip.
- File: Gently file the sides inward and slightly rounded, following the natural curve of your finger.
- Finish: File the tip into a smooth, even semicircle. The goal is to perfectly match the curve of your cuticle.
Square Nail Shape: A Bold Teenagers DIY Nail Look
The Square shape is sharp, modern, and makes a bold statement. It’s super popular because it offers a large canvas for nail art. However, it looks best on naturally long, slender nail beds, as the square edge can make shorter or wider fingers look stubbier.
| Aspect | Why It’s Trending |
| Effort Level | Medium (Requires precise filing for the edges). |
| Best For | Long, narrow nail beds and those who love geometric nail art. |
| Effect | A strong, modern, and clean look. |
How to Get the Square Shape at Home
- Prep: Ensure your nails are filed to the desired length (it’s a great shape for medium to long lengths).
- File the Top: Hold your file perfectly straight and perpendicular to your finger. Then, file across the top in one smooth motion until the free edge is flat.
- File the Sides: File the side walls straight and parallel to each other. Do not curve the corners yet!
- Finish: Look down the “barrel” of your nail to ensure the free edge is a perfectly straight line. The corners should be sharp 90-degree angles—precision is everything with the square shape.
Squoval Nail Shape: The Best Everyday Choice for Teenagers
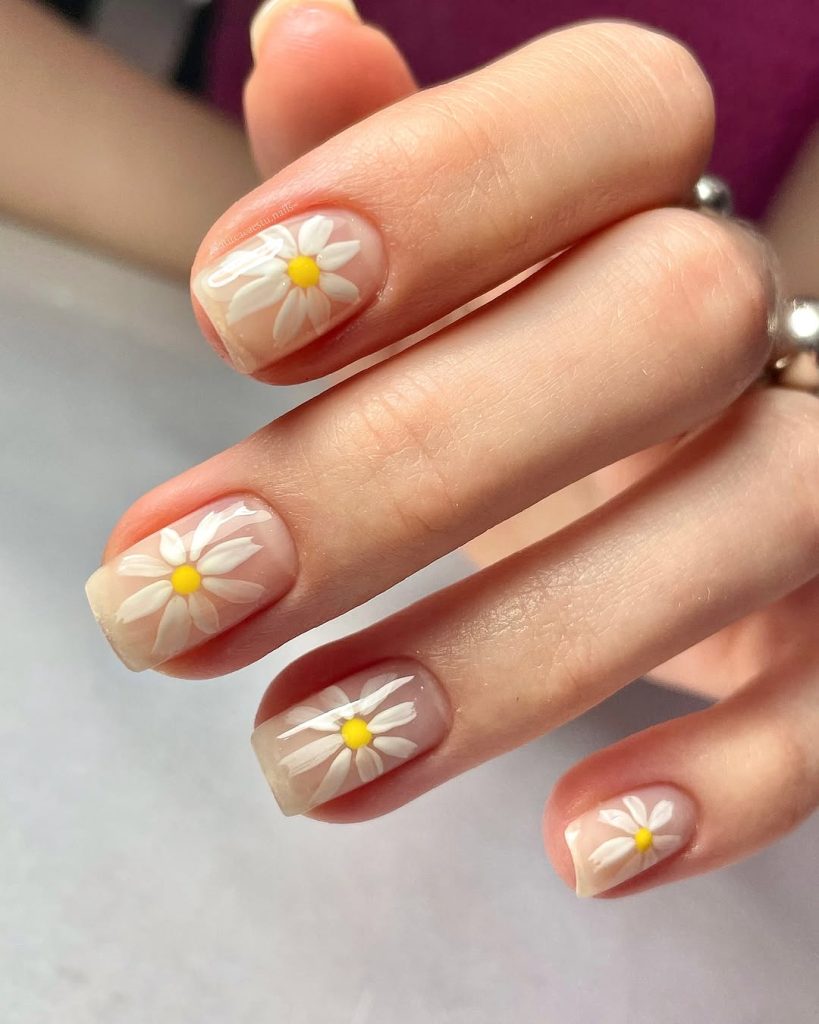
The Squoval shape is arguably the most universally flattering and popular choice. It’s essentially a Square nail with gently rounded corners. It gives you the length and strength of the square but without the sharp edges that snag on clothes or break easily.
| Aspect | Why It’s Trending |
| Effort Level | Easy (High Durability) |
| Best For | Nearly all nail beds and lengths; ideal for clumsy hands! |
| Effect | Looks natural, sleek, and minimizes breakage. |
How to Get the Squoval Shape at Home:
- Start Square: First, follow the steps above to create a perfect Square shape. This is your canvas.
- Softening the Edge: Hold your file at a slight diagonal (a gentle 45-degree angle) and lightly feather the four corners.
- Check: The corner should be softened, but the top edge should still look mostly straight. You are not rounding the entire tip, just taking the “point” off the sharp corners. This small adjustment is the key to preventing chips.
Oval Nail Shape: The Elegant Elongator
If your goal is to make your fingers look long, slim, and elegant, the Oval shape is your go-to. It’s often mistaken for the round shape, but the difference is key: the oval shape requires more side-wall filing to create a more dramatic taper. It’s essentially an almond shape that’s been rounded at the tip.
| Aspect | Why It’s Trending |
| Effort Level | Medium (Requires medium length to look best). |
| Best For | Shorter fingers, wider hands, and a classic, elegant look. |
| Effect | Creates an immediate slimming and lengthening optical illusion. |
How to Get the Oval Shape at Home:
- Find the Center: Use a dot of polish or a pencil to mark the center of your free edge. This helps you maintain symmetry.
- File the Sides: Starting from the side wall, file inward toward the center point, creating an egg-like taper. Do this on both sides.
- Round the Tip: Gently round the tip until it forms a perfectly smooth, symmetrical oval shape. You’ll see your fingers look instantly more delicate. The final curve should be more pronounced than a round nail.
Almond Nail Shape: The Glamorous Statement
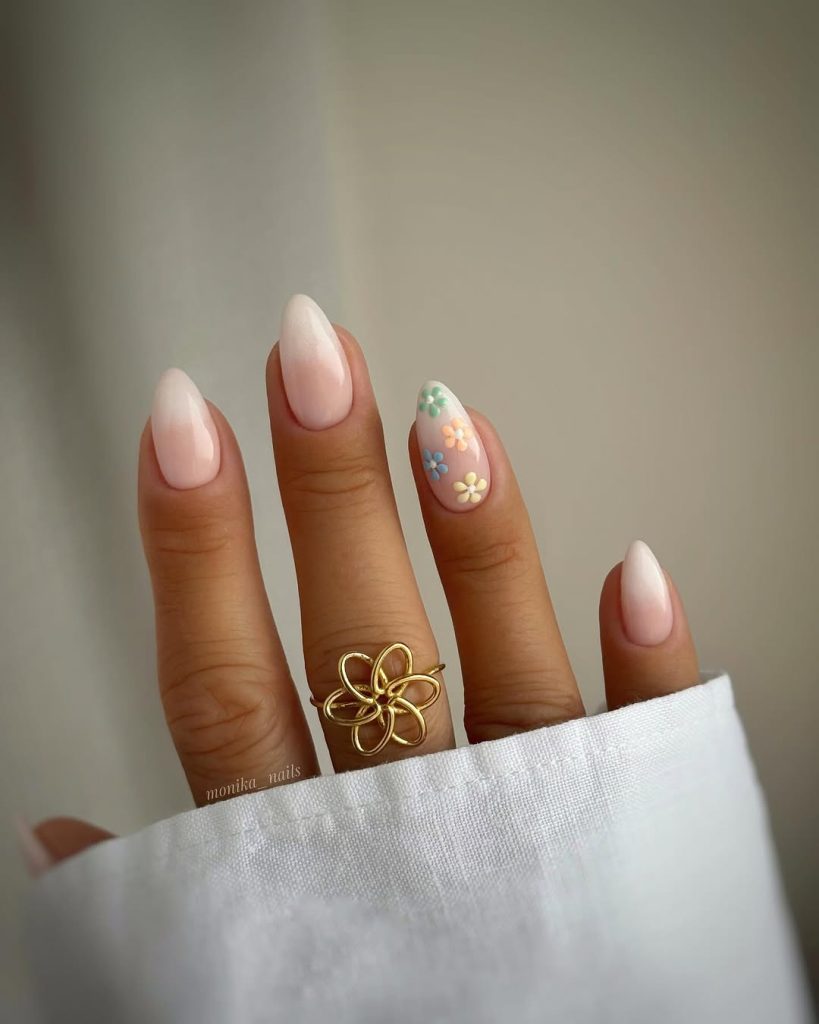
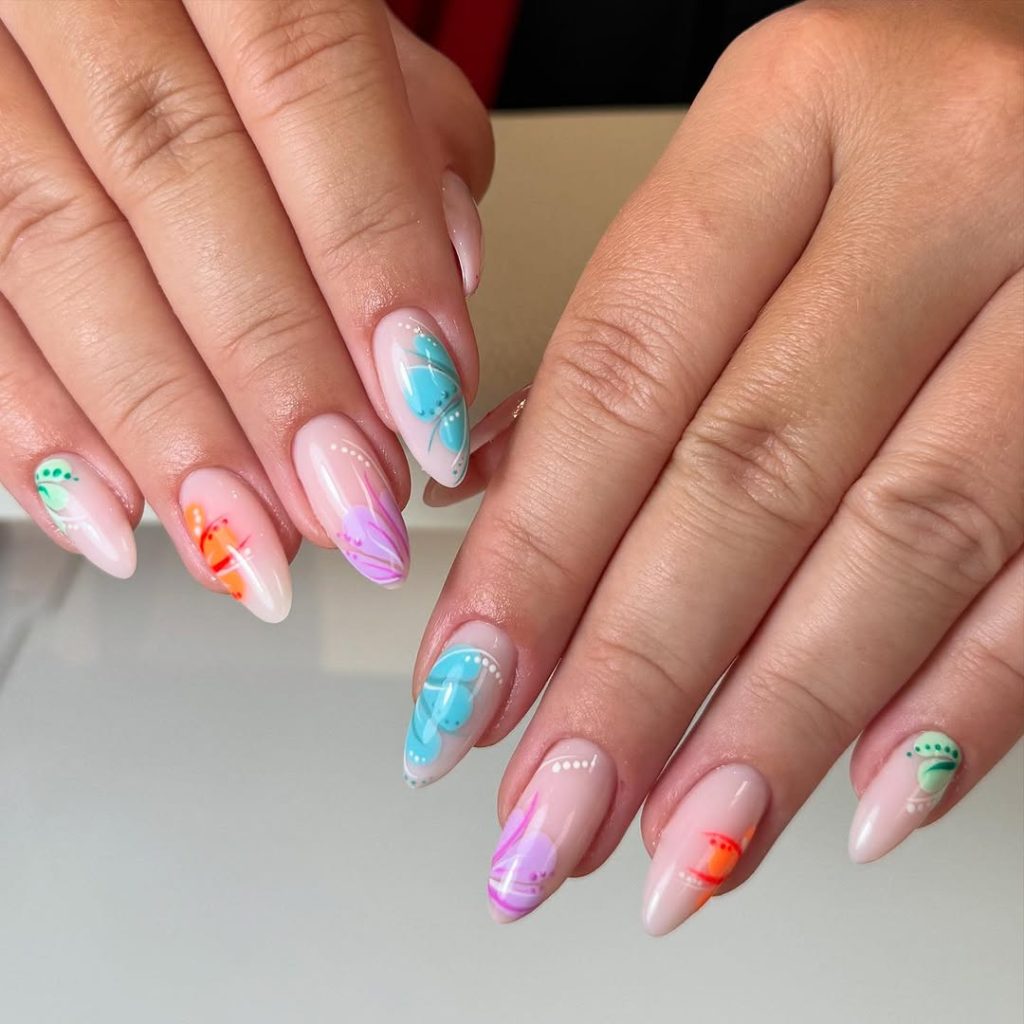
The Almond shape is the most glamorous of the natural nail shapes. Just like the nut, it tapers to a soft, rounded point at the tip. It creates the maximum elongation effect on the hands and fingers. You need some length on your natural nails to make this work, but the payoff is worth the effort!
| Aspect | Why It’s Trending |
| Effort Level | Hard (Requires length and precision) |
| Best For | Achieving a chic, long, and high-fashion look. |
| Effect | Dramatically slims and lengthens the appearance of the entire hand. |
How to Get the Almond Shape at Home:
- Find the Marks: Mark the center of your free edge, and then mark a spot on each side that is about a quarter of the way in from the side wall.
- File the Taper: File from your side wall directly toward the side mark, creating a V-shape. Repeat on the opposite side.
- Soften the Point: The file marks will create a slight point. Gently round this point until it has the soft, symmetrical curve of a real almond. Ensure you use a soft, good-quality nail file (at least 180-grit) to prevent splitting.
Essential Tools for Teenagers Nail Shapes
To successfully execute any of the Teenagers Nail Shapes to try at home now, you need a few key items.
| Tool | Purpose | Pro Tip |
| Quality Nail File (180 Grit or Higher) | The essential tool for filing natural nails. | Always file in one direction—never saw back and forth! |
| Buffer Block (4-Sided) | Used to smooth the surface of the nail and seal the free edge after filing. | Buffing the edge helps prevent breaks and peeling. |
| Nail Clipper | For removing bulk length before filing (saves time and effort). | Clip only the straight across or in a gentle curve, leaving the final shaping for the file. |
| Cuticle Pusher/Remover | Cleans up the nail bed, which makes the new shape look tidier. | Use it gently on wet or oiled cuticles. |
Quick Tips for Perfect Filing
We want your DIY mani to look great and last a long time. These simple tips are crucial for maintaining nail health:
- File in One Direction: This is the most important rule! Filing back and forth (“sawing”) creates friction, which separates the layers of keratin at the nail edge, leading to chips and breakage. Always lift the file after each stroke and move in one direction—from the side to the center.
- The 90% Rule: Use your file to do 90% of the work. Only use your clippers to remove length. Filing allows you to be much more precise and ensures that all ten nails are symmetrical.
- Check from All Angles: When you think you’re done, check your nails from three perspectives: Top-Down (are the tips symmetrical?), End-View (is the free edge smooth?), and Side-View (is the length consistent?).
- Sealing the Edge: After shaping, use the fine side of your buffer block and gently run it along the free edge (the part you just filed). This seals the keratin layers back together and significantly boosts durability.
Choosing Your Perfect Teenagers Nail Shapes
A trendy nail shape is fun, but it needs to fit your life. When deciding on the best nail shapes to try at home now, consider how you use your hands every day.
| Your Lifestyle | Best Shape Match | Why It Works |
| Athlete/Musician/Hands-On Job | Round or Squoval | Short, durable, and least likely to break, snag, or interfere with activities. |
| Typing/Gaming/Schoolwork | Squoval or Oval | Keeps a professional, neat look while maintaining medium length that’s practical for keyboard use. |
| Fashion/Social Media Focus | Almond or Square | Allows for maximum length, great canvases for popular nail art, and a high-impact visual. |
| Short or Wide Fingers | Oval or Almond | The tapered sides create a slimming and lengthening optical illusion that flatters wider hands. |
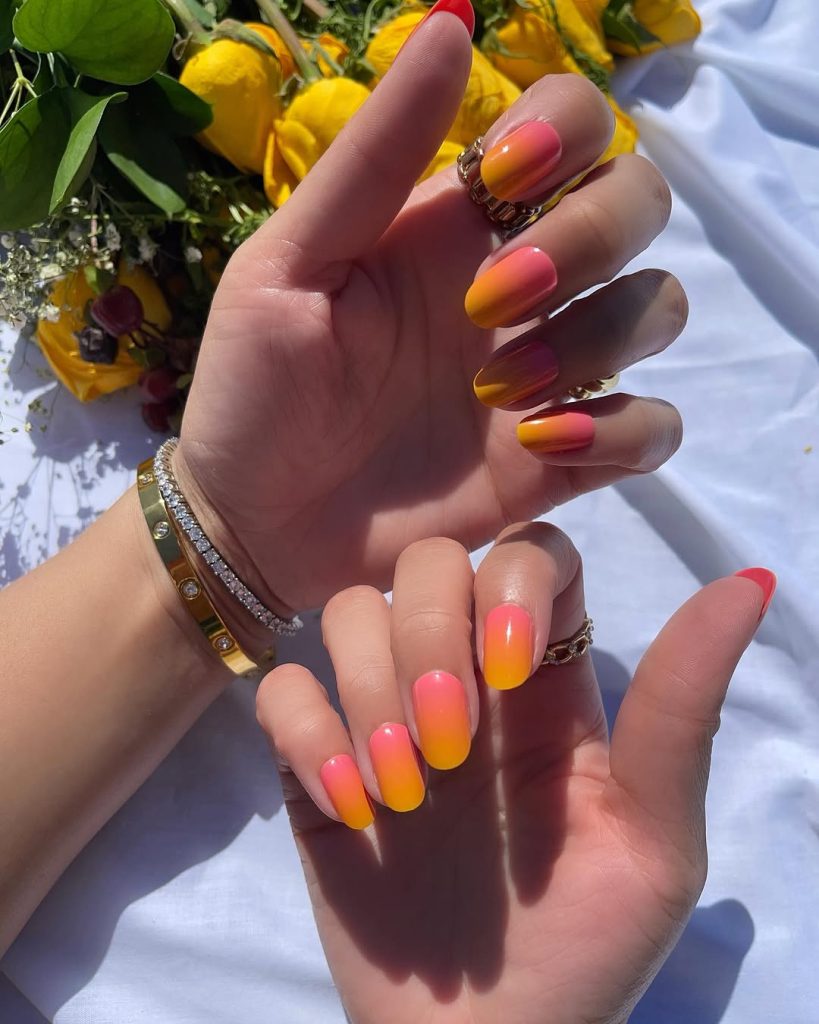
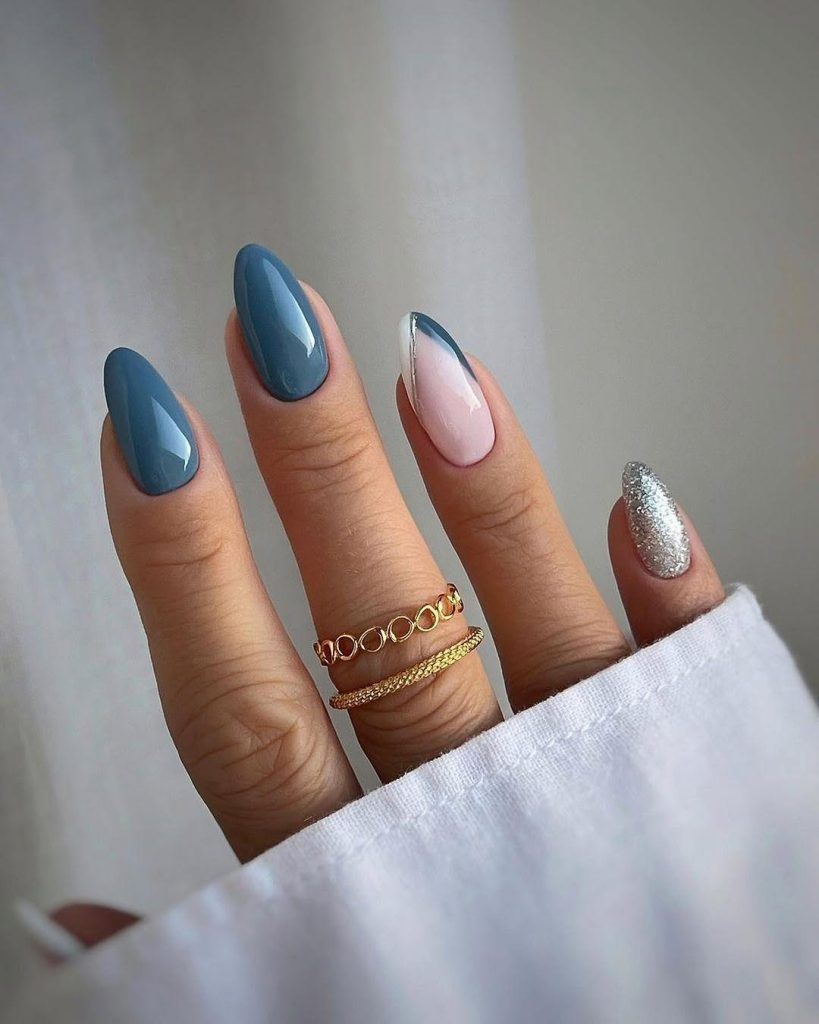
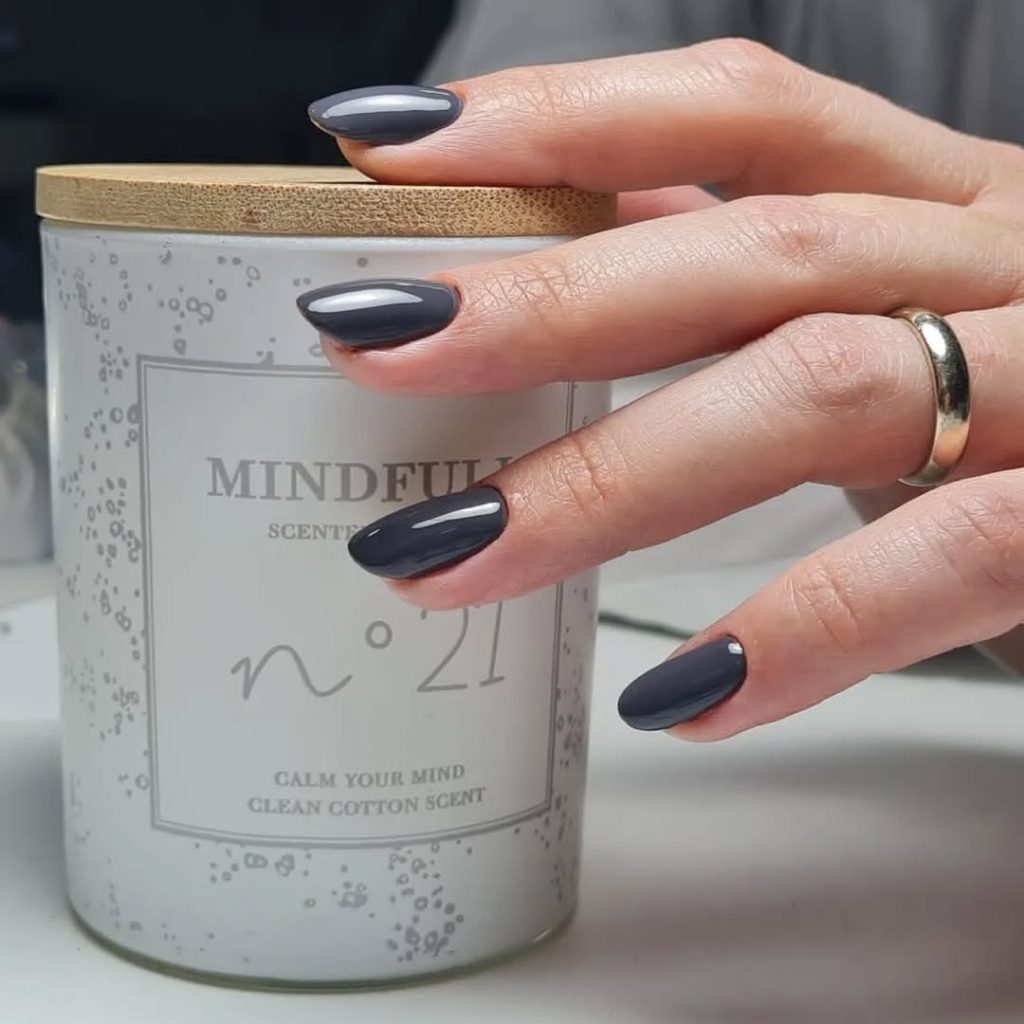
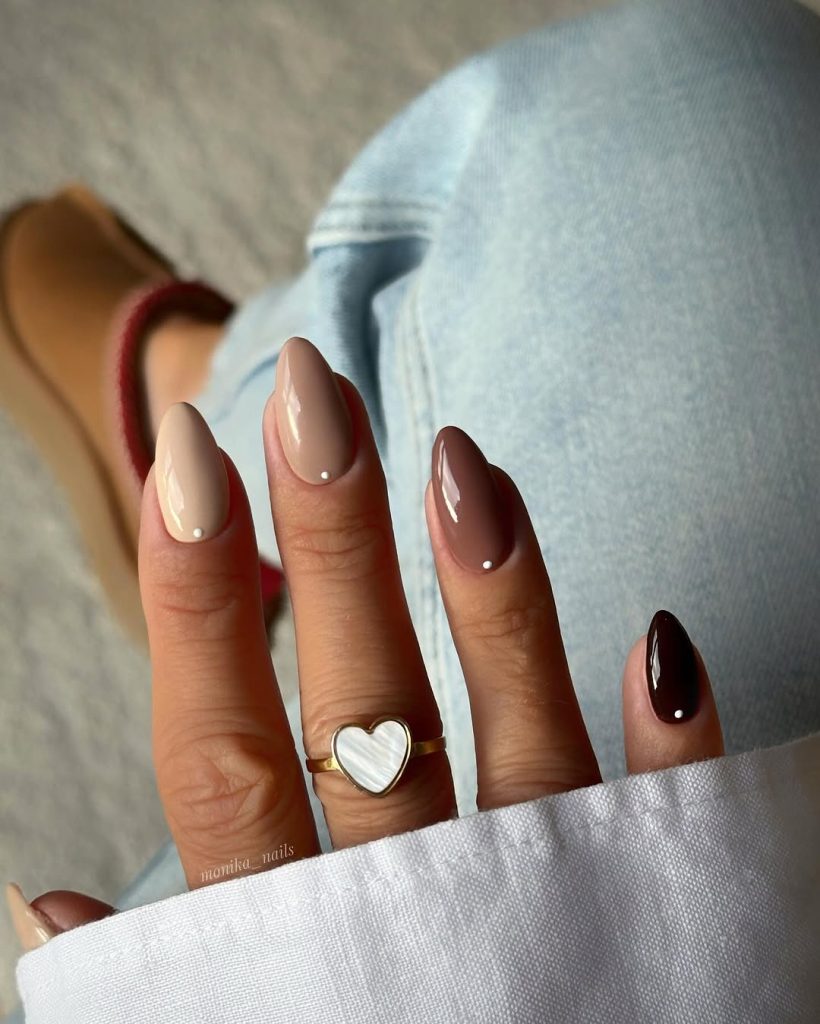
Troubleshooting Common Shaping Problems
Even the most practiced DIY manicurist runs into issues. Here’s how to fix them!
Problem 1: My nails keep peeling and splitting after I file them.
- The Fix: This is nearly always caused by filing back and forth (the sawing motion) or using a file that is too rough. Switch to a high-grit cushioned file (180 or 240). Always file in one direction and finish by gently buffing the free edge to seal the layers.
Problem 2: My nails look lopsided or uneven.
- The Fix: Slow down! File a little, then stop and look at the nail from the side and the top-down. The best pro trick is to lay your hands palms-down on a flat surface (like a table). This forces your perspective to be consistent and helps you spot unevenness.
Problem 3: I love the Almond shape, but my natural nails are too short.
- The Fix: You need length for an Almond or Oval shape to look right. Stick to the Round or Squoval shape while you grow your nails out. They are the most flattering and durable for shorter nails. Focus on a solid routine of cuticle oil and a nail strengthener to boost growth.
FAQ
Which nail shape is the healthiest for natural nails?
The Round and Squoval shapes are considered the healthiest because their soft, rounded corners are less prone to snagging and breakage.
Is it okay to use a metal nail file?
No, it is highly discouraged. Metal files are too harsh and can cause micro-tears and peeling in the delicate layers of your natural nail. Instead, always use a cushioned emery board or a glass file.
How often should I reshape my nails?
This depends on your growth rate, but generally, you should file and reshape your nails once a week to maintain a consistent shape and keep the edges smooth.
How do I choose the best nail shape for my finger size?
Think about contrast:
- Slender/Longer Fingers: You can rock any shape, but Square and Squoval look great as they add balance.
- Wider/Shorter Fingers: Choose tapered shapes like Oval or Almond for a slimming illusion.
Can I achieve a Coffin or Stiletto shape on my natural nails?
You can, but it is not recommended for durability. These shapes require aggressive tapering that removes a lot of the nail’s natural strength. The Almond shape is your best bet for a similar look that is much stronger on natural nails.