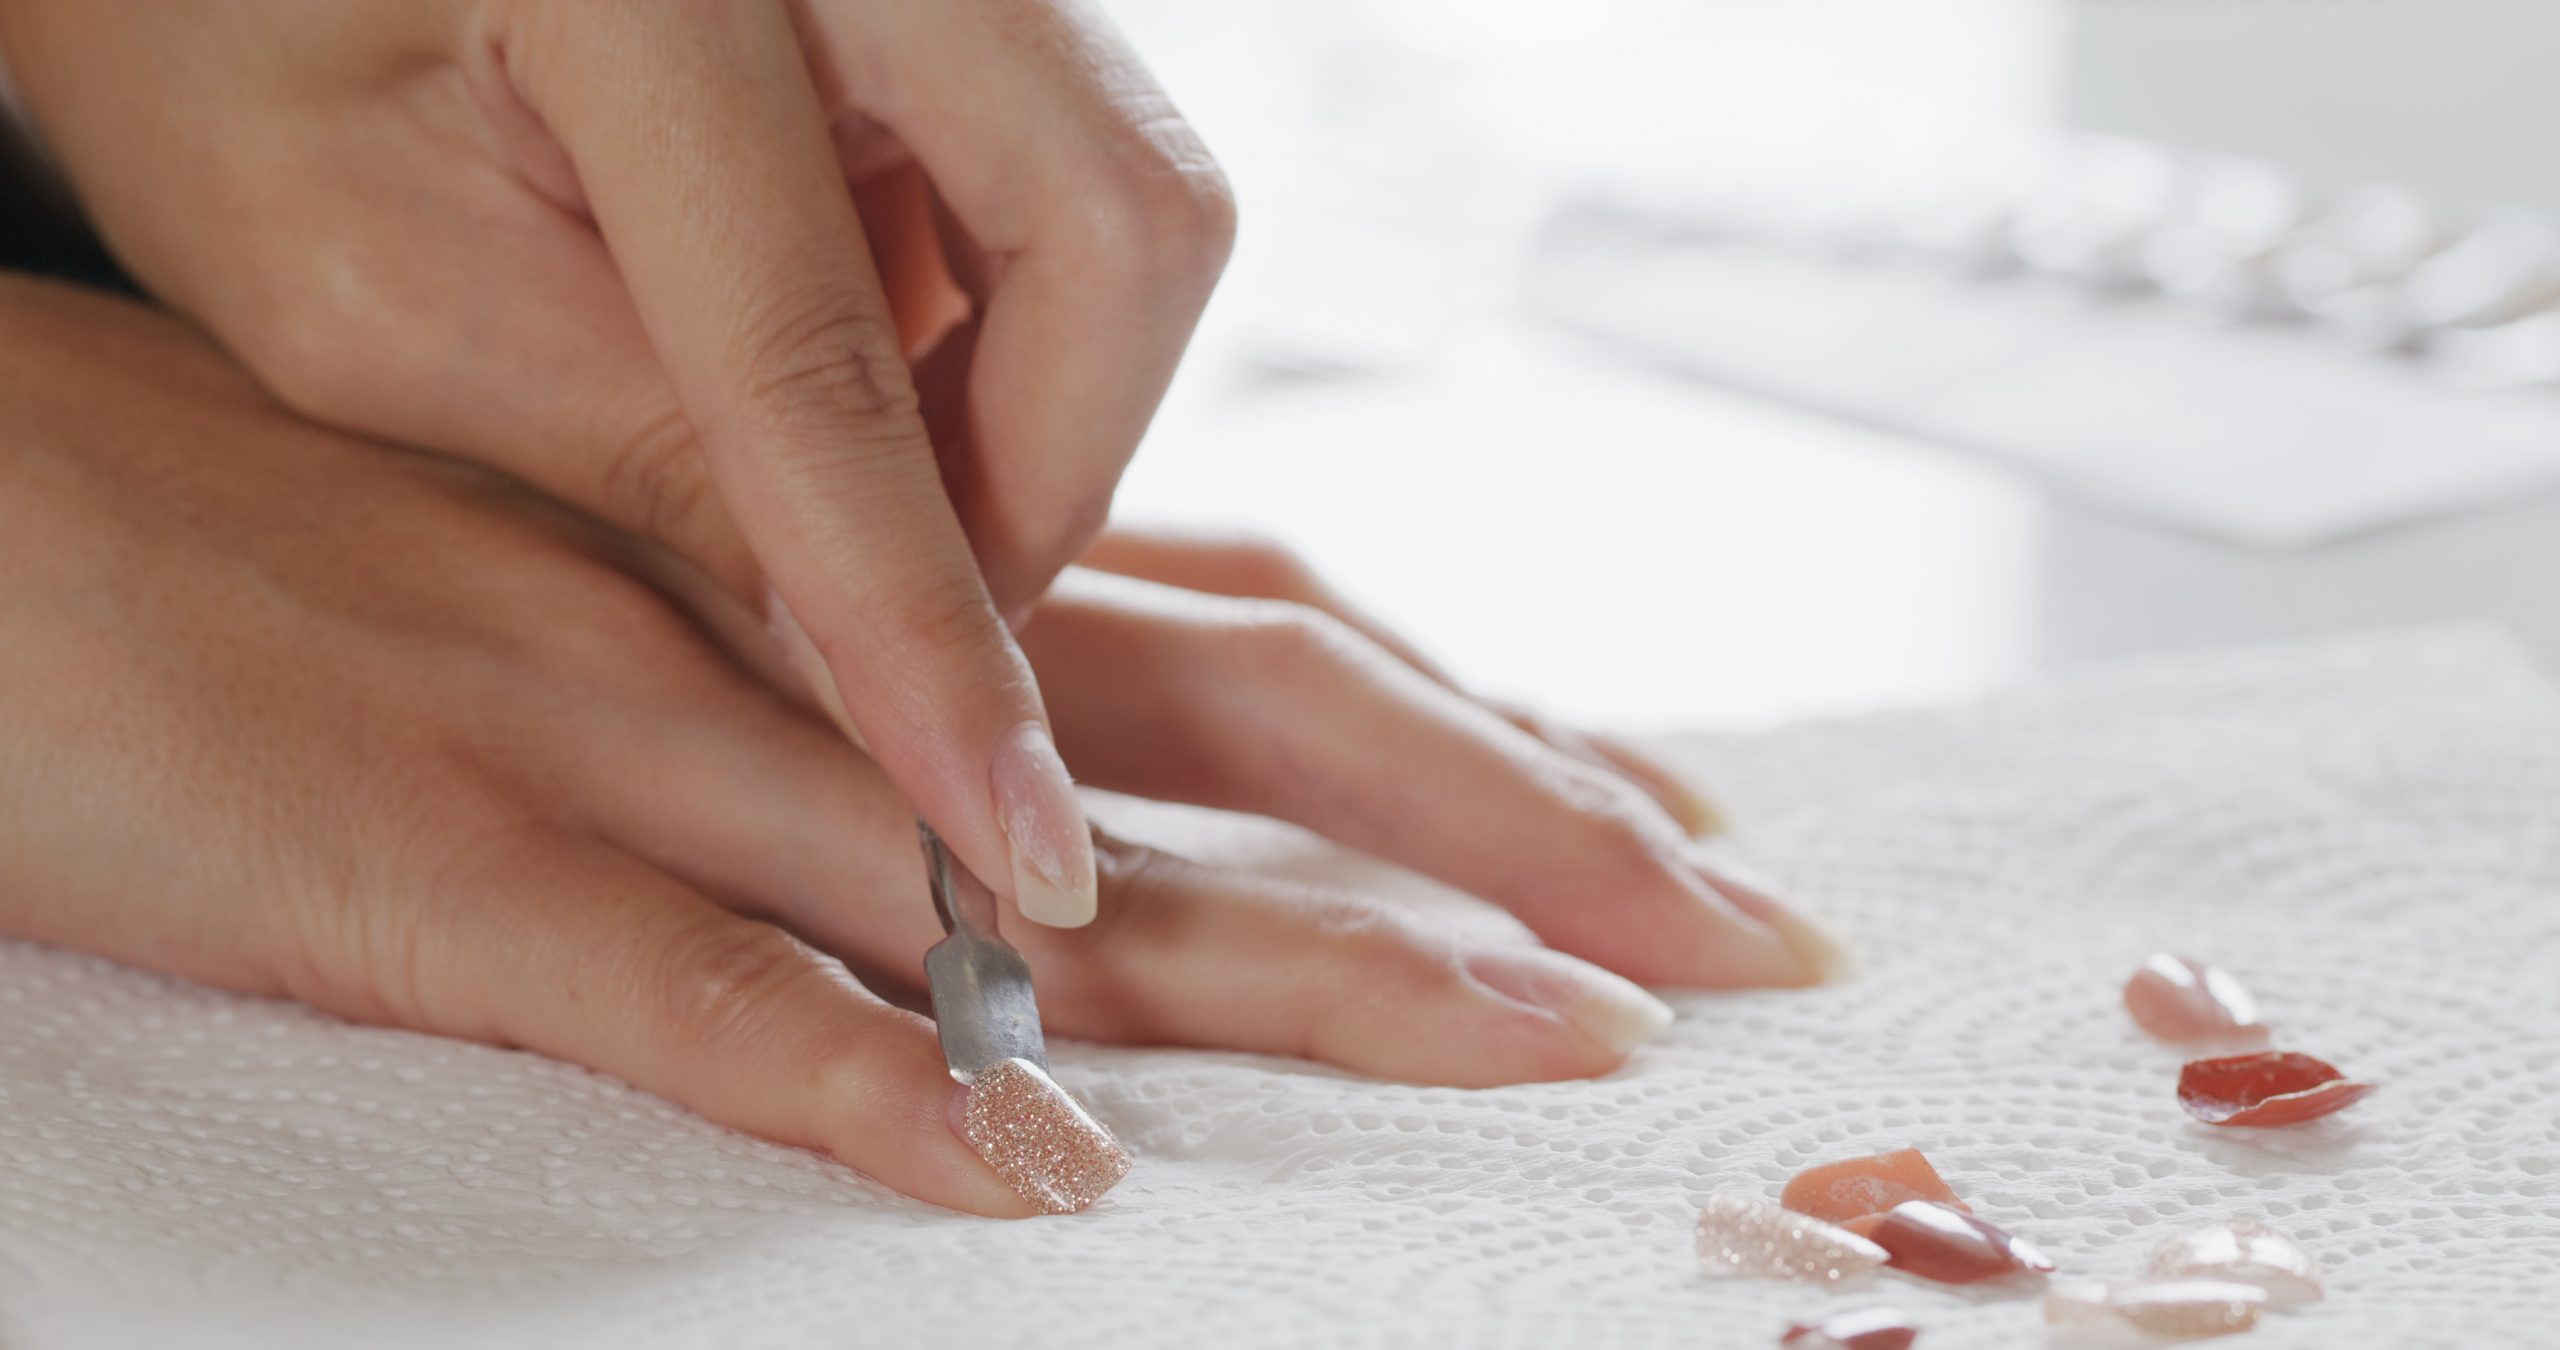
Getting press-on nails off should not feel like a tug-of-war. If a press-on is firmly attached, pulling it away can also lift or peel layers of your natural nail. The safest approach is to soften the adhesive first and let the artificial nail loosen gradually.
The best method depends on what you used to apply the press-ons. Adhesive tabs are generally handled differently from nail glue, and some press-ons may require acetone if the adhesive remains stubborn.
If you’re learning how to remove press-on nails at home, the most important rule is simple: never trade a few extra minutes of soaking for unnecessary force. A little patience is usually better than scraping, prying or ripping.
Table Of Contents
- Can Press-On Nails Damage Your Natural Nails?
- What You'll Need to Remove Press-On Nails
- Adhesive tabs vs. nail glue
- How to Remove Press-On Nails With Acetone
- What to Do If a Press-On Nail Won’t Come Off
- Common Press-On Nail Removal Mistakes
- How to Care for Your Natural Nails After Removing Press-Ons
- How Long Should You Wait Before Applying Press-On Nails Again?
- Can You Reuse Press-On Nails After Removing Them?
- FAQs
Can Press-On Nails Damage Your Natural Nails?
Press-on nails themselves are not automatically damaging, but problems can happen during application or removal. Artificial nails can contribute to brittleness, breakage or other nail problems, particularly when the natural nail is filed aggressively or the artificial nail is removed with excessive force. The American Academy of Dermatology recommends taking care with artificial nails because repeated application and removal can leave nails thin, brittle or dry.
With press-ons, one of the biggest removal mistakes is peeling a firmly attached nail straight off.
Think of the adhesive as the layer you need to loosen, not something you need to overpower.
Stop and reassess if:
- Your natural nail begins lifting with the press-on.
- You feel sharp pain or significant pulling.
- The artificial nail will not move after soaking.
- Your natural nail is already cracked, split or injured.
- The skin around the nail becomes very irritated.
If the nail is genuinely stuck, repeat the appropriate soaking method rather than increasing the force.
What You’ll Need to Remove Press-On Nails
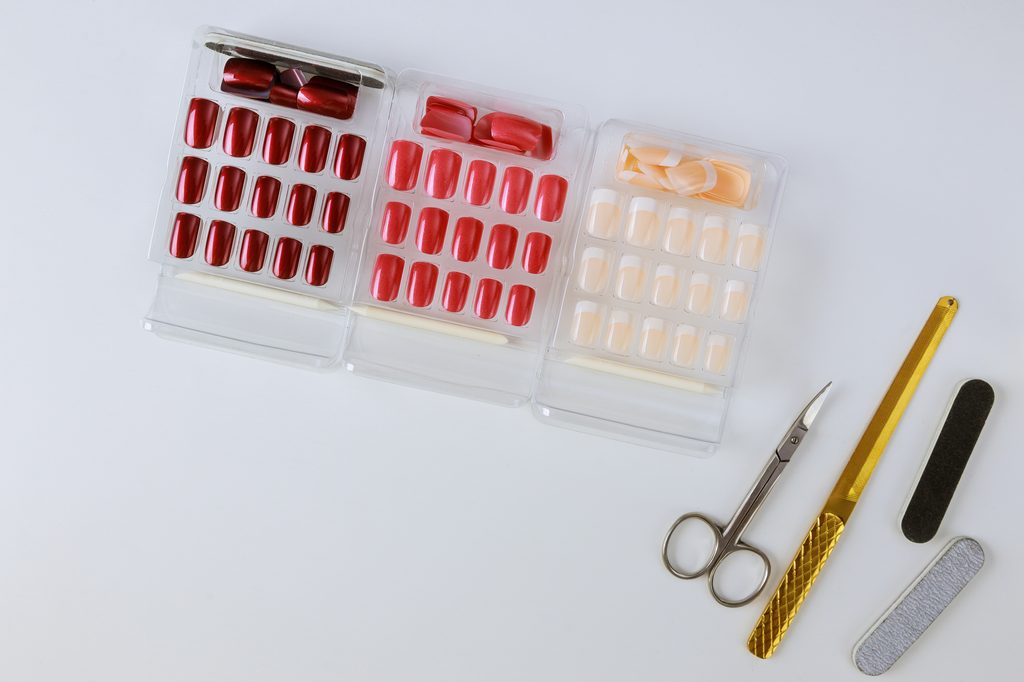
You do not need a complicated manicure kit. Gather:
- A bowl of warm water
- Mild soap
- Cuticle oil or another suitable oil
- Cotton pads or cotton balls
- Acetone, if needed
- A wooden orange stick or gentle cuticle stick
- A nail file
- Hand cream or moisturizer
- A clean towel
You may not need everything on the list. The adhesive you used determines which removal method makes the most sense.
Adhesive tabs vs. nail glue
| Adhesive Type | How to Remove It | What to Keep in Mind |
|---|---|---|
| Adhesive tabs | Soak your fingertips in warm, soapy water. Adding a little cuticle oil can help loosen the adhesive. Once the press-on starts to lift easily, gently ease it away from the side. | Adhesive tabs are generally easier to loosen than nail glue. Never pull or force the press-on off if it still feels firmly attached. |
| Nail glue | Start by soaking the nails to help soften the bond. If the glue remains firmly attached, acetone may be needed depending on the product. Follow the removal instructions provided with the glue or press-ons. | Nail glue creates a stronger bond, so removal can take longer. Do not pry, scrape, or rip the press-on off if it does not loosen easily. |
Tip: KISS recommends warm water with soap or oil for removing its adhesive-tab press-ons and advises against forcing or pulling them off. Its instructions also mention acetone when additional removal is needed.
How to Remove Press-On Nails Safely at Home
The key is simple: soften the adhesive before you try to remove the nail. Never force it.
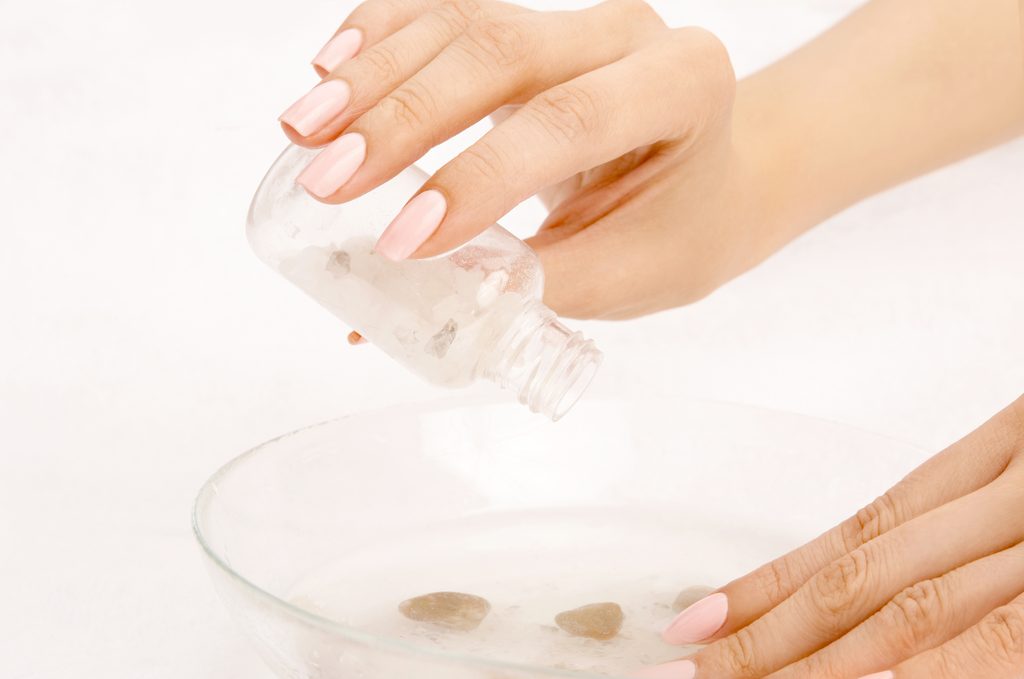
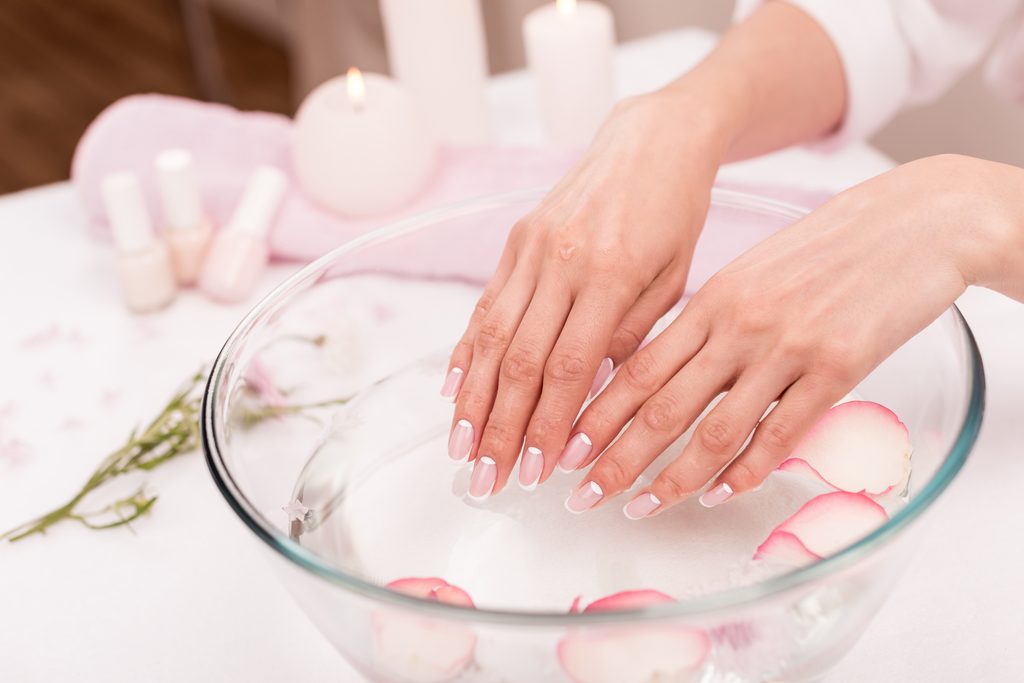
- Soak your nails
- Place your fingertips in warm, soapy water for about 10–15 minutes. This helps loosen adhesive tabs and some lighter adhesives.
- Add a little oil
- If the nails are still firmly attached, apply cuticle oil around the edges and soak for a little longer.
- 3. Check for movement
- Gently test the edge of one press-on. If it moves easily, you can continue. If it feels stuck, don’t pull. Soak again.
- Gently lift from the side
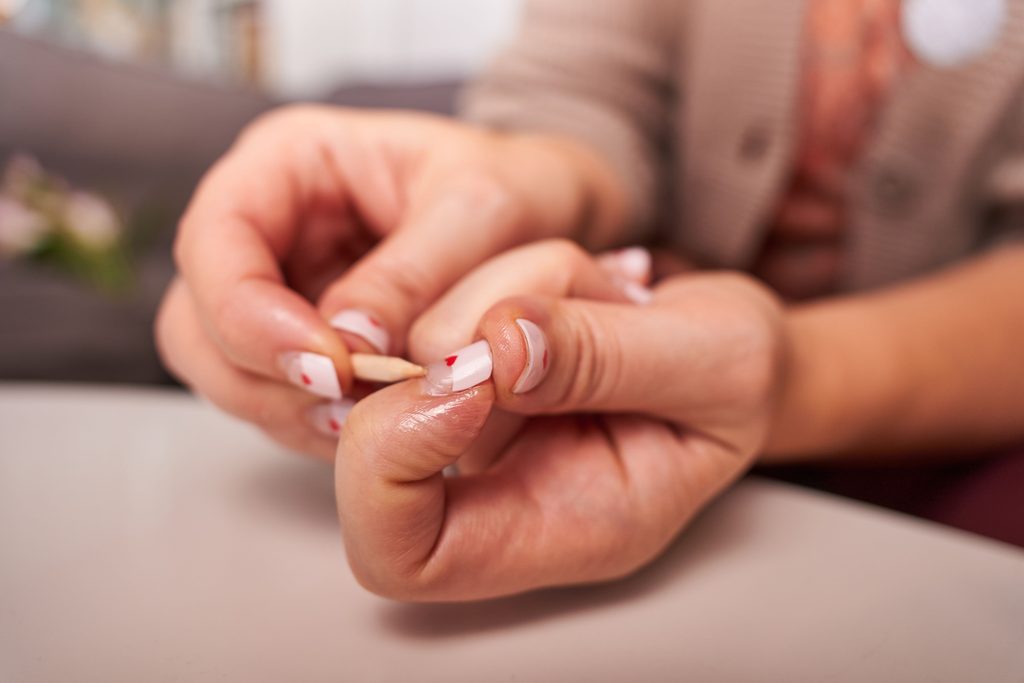
- Once the adhesive has loosened, ease the press-on off from the side. A wooden orange stick can help with gentle lifting, but never use it to pry.
- If it doesn’t come off easily, it needs more soaking, not more force.
- Once the adhesive has loosened, ease the press-on off from the side. A wooden orange stick can help with gentle lifting, but never use it to pry.
- Remove leftover glue carefully
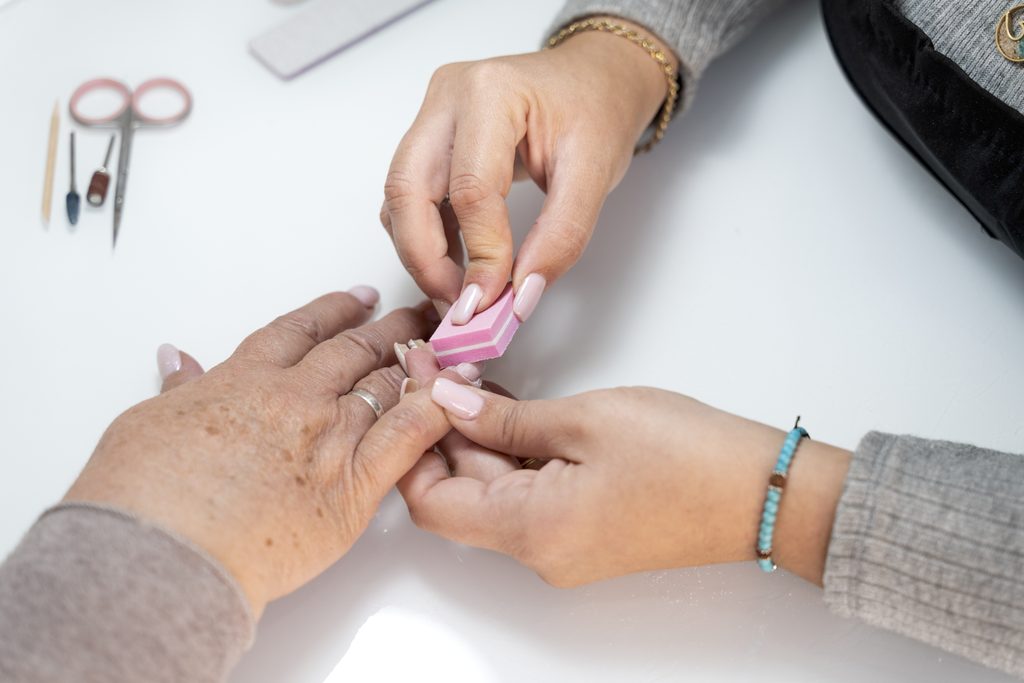
- Wipe away softened adhesive. Avoid aggressive scraping or heavy filing, which can thin the natural nail.
- Moisturize afterward
- Wash your hands, then apply hand cream and cuticle oil to help with dryness, especially after using acetone.
Quick tip: The removal method depends on the adhesive. Adhesive tabs usually loosen with soaking, while nail glue may require acetone or a product-specific remover.
How to Remove Press-On Nails With Acetone
Acetone can help loosen stubborn nail glue, but it isn’t necessary for every press-on. It can also dry and irritate the surrounding skin, so use it only when appropriate for the adhesive.
If the product instructions recommend acetone:
- Trim and lightly file the press-on if needed, following the product instructions.
- Protect the surrounding skin as much as possible.
- Soak in acetone according to the manufacturer’s instructions.
- Check periodically and gently remove the product once it softens.
- Don’t scrape or force it off if it remains firmly attached.
- Wash and moisturize your hands afterward.
Soaking times vary by product. For example, Aprés recommends a 15–20 minute 100% acetone soak for its specific soft-gel press-ons. This should not be treated as a universal time for every press-on system.
Do not use acetone as an excuse to aggressively scrape the nail once the product starts softening.
You should not need to dig underneath the artificial nail or forcefully scrape the natural nail to remove residue.
What to Do If a Press-On Nail Won’t Come Off
Don’t force it. Soak the nail again and add a little oil if appropriate for the adhesive. Wait until the press-on starts moving easily before trying again.
If it still won’t loosen, check the adhesive’s removal instructions or consider professional removal.
Stop DIY removal if you experience pain, bleeding, swelling, significant redness or if your natural nail appears to be lifting.
Common Press-On Nail Removal Mistakes
- Peeling them off dry: Soften the adhesive first.
- Prying with a tool: Use a wooden stick only after the nail has loosened.
- Aggressive filing: Remove glue gently instead of filing down the natural nail.
- Using acetone unnecessarily: Start with the gentlest method suited to your adhesive.
- Forcing a stubborn nail: If it won’t move, soak again. Don’t pull harder.
How to Care for Your Natural Nails After Removing Press-Ons
Once they’re off, give your nails some simple TLC:
- Keep them short if they’re weak or prone to catching.
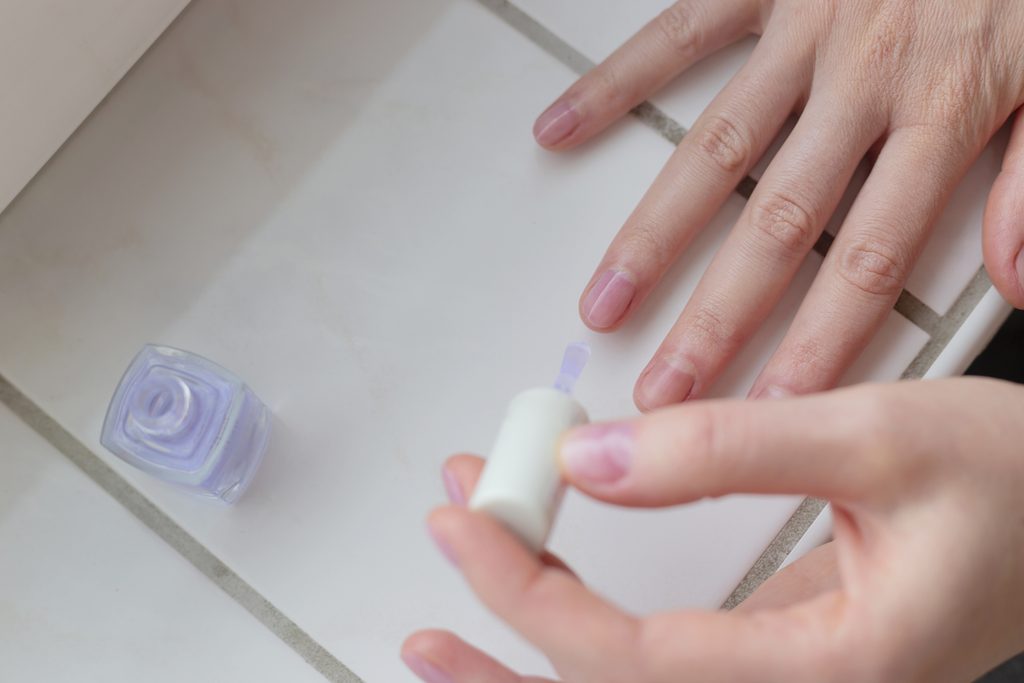
- Moisturize your hands, nails and cuticles regularly.
- Leave your cuticles alone rather than cutting or aggressively pushing them back.
- Take a break from press-ons if your nails are peeling, sore, thin or damaged.
And no, your nails don’t need to “breathe.” If they’re healthy, there’s no required breathing period between press-on sets.
How Long Should You Wait Before Applying Press-On Nails Again?
There’s no fixed number of days you need to wait.
If your natural nails look and feel healthy, you don’t need a mandatory break. But if they’re peeling, thin, sore or damaged, wait until they improve before applying another set.
Can You Reuse Press-On Nails After Removing Them?
Sometimes. If the press-ons come off intact and still hold their shape, they may be reusable.
Before storing them:
- Gently remove leftover adhesive.
- Avoid bending or filing the press-on.
- Keep them clean and dry.
- Follow the manufacturer’s reuse instructions.
If they’re cracked, bent or covered in stubborn glue, a new set is usually the better option.
FAQs
What is the easiest way to remove press-on nails?
For adhesive tabs, start with warm, soapy water and a little oil. Once the adhesive loosens, gently lift the press-on from the side. Nail glue may require acetone or a specific remover.
How do you remove press-on nails without damaging your natural nails?
Soften the adhesive first and never force the nail off. Soak adhesive-tab press-ons in warm, soapy water, then gently remove them once they begin to loosen. For nail glue, follow the product’s removal instructions.
How do you remove press-on nails without acetone?
Soak them in warm, soapy water and add cuticle oil around the edges. This can work well for adhesive tabs. If strong nail glue doesn’t loosen, don’t compensate by pulling harder.
Can you soak off press-on nails?
Yes. Soaking can loosen many press-on adhesives, particularly adhesive tabs. Stronger nail glue or specialized gel systems may require a different removal method.
How long should you soak press-on nails?
Start with 10–15 minutes for adhesive-tab press-ons. If the nail is still firmly attached, soak it longer rather than pulling or prying.
Can you reuse press-on nails after removing them?
Yes, some can be reused if they come off intact and can be cleaned without damaging their shape. Check the manufacturer’s instructions for specific reuse guidance.
How do you remove press-on nail glue?
Follow the glue manufacturer’s instructions. For stubborn residue, acetone may help soften the adhesive. Don’t aggressively scrape or file the natural nail.