
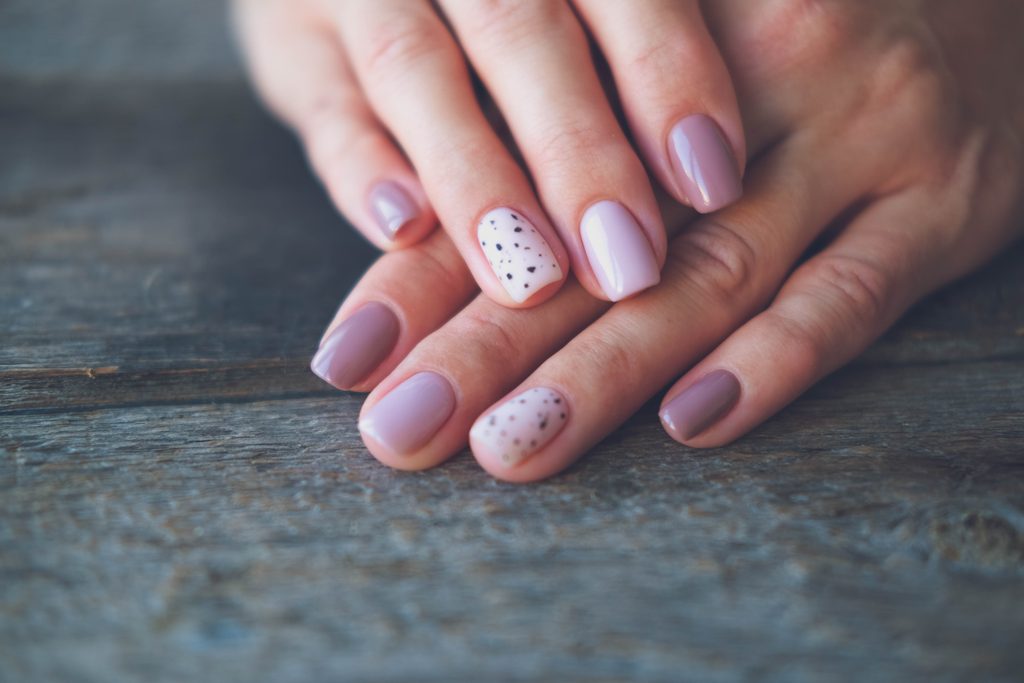
Polka dot nails are one of those nail-art styles that look detailed without requiring advanced skills. With two polish colors and a simple dotting tool—or even a bobby pin—you can create a playful manicure at home.
Whether you prefer classic black and white, soft pastels, or tiny minimalist dots, this guide explains how to do polka dot nails, control the size and spacing, avoid smudges, and make your finished manicure last.
Table of Contents
- What Are Polka Dot Nails?
- Why Are Polka Dot Nails Trending?
- What You Need to Create Polka Dot Nails at Home
- How to Do Polka Dot Nails Step by Step
- Easy Polka Dot Nail Designs to Try at Home
- How to Make Perfect Dots Every Time
- Common Polka Dot Nail Mistakes to Avoid
- How to Make Your Polka Dot Manicure Last Longer
- FAQs
What Are Polka Dot Nails?
Polka dot nails are a nail-art design created by placing individual dots of polish over a base color. The dots can be identical and evenly spaced or mixed in different sizes, colors, and patterns.
That flexibility makes them a good choice for beginners. You can create a simple accent nail or cover every nail with a more detailed polka dot design.
Why Are Polka Dot Nails Trending?
Polka dots work across different nail shapes, lengths, and styles. They can look playful with bright colors, understated with neutrals, or polished when paired with a French manicure.
Another reason they are popular for DIY nail art is that the technique is simple: you are essentially placing small amounts of polish onto the nail rather than drawing complicated shapes.
What You Need to Create Polka Dot Nails at Home
You don’t need professional nail art tools. Gather:
- Base coat
- Your main nail polish color
- One or more colors for the dots
- Top coat
- Dotting tool, if you have one
- A clean bobby pin or toothpick as an alternative
- Small piece of foil or another disposable surface for the polish
For the neatest results, a dotting tool is useful because different tip sizes make it easier to create consistent dots.
How to Do Polka Dot Nails Step by Step
- Prepare your nails – Clean and shape your nails, tidy the cuticles and apply a thin layer of base coat.
- Apply your base color – Add 1–2 thin coats of polish, allowing each layer to dry.
- Prepare your dot color – Place a small amount of polish on foil and dip your dotting tool into it. Use only a little polish to avoid oversized dots.
- Create the dots – Press the tool straight down and lift it up. Use smaller tools for small dots and larger tools for bigger ones. Avoid dragging.
- Create your pattern – Space the dots evenly for a neat look, or vary their size and placement for a more playful design.
- Let the design dry – Wait until the dots are sufficiently set before applying top coat to prevent smudging.
- Finish with top coat – Apply a thin layer over the design and lightly seal the nail tip for added durability.
Easy Polka Dot Nail Designs to Try at Home
Once you understand the basic technique, you can change the look without learning a completely new method.
Classic black-and-white polka dots
Use white polish as the base with black dots, or reverse the colors. It’s simple, graphic, and easy to match with different outfits.
Pastel polka dot nails
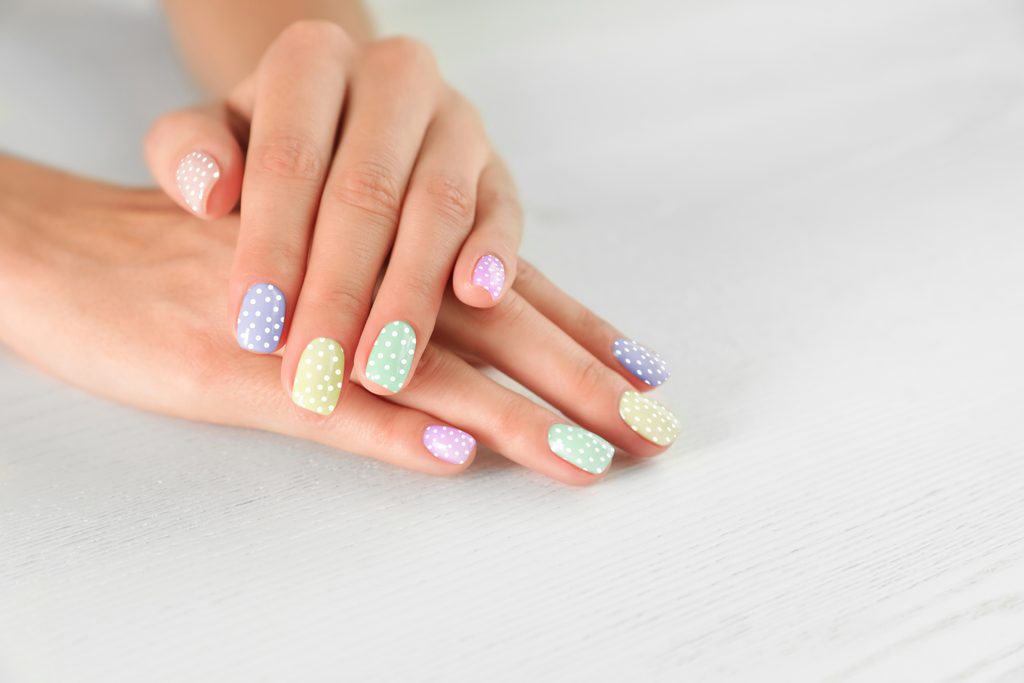
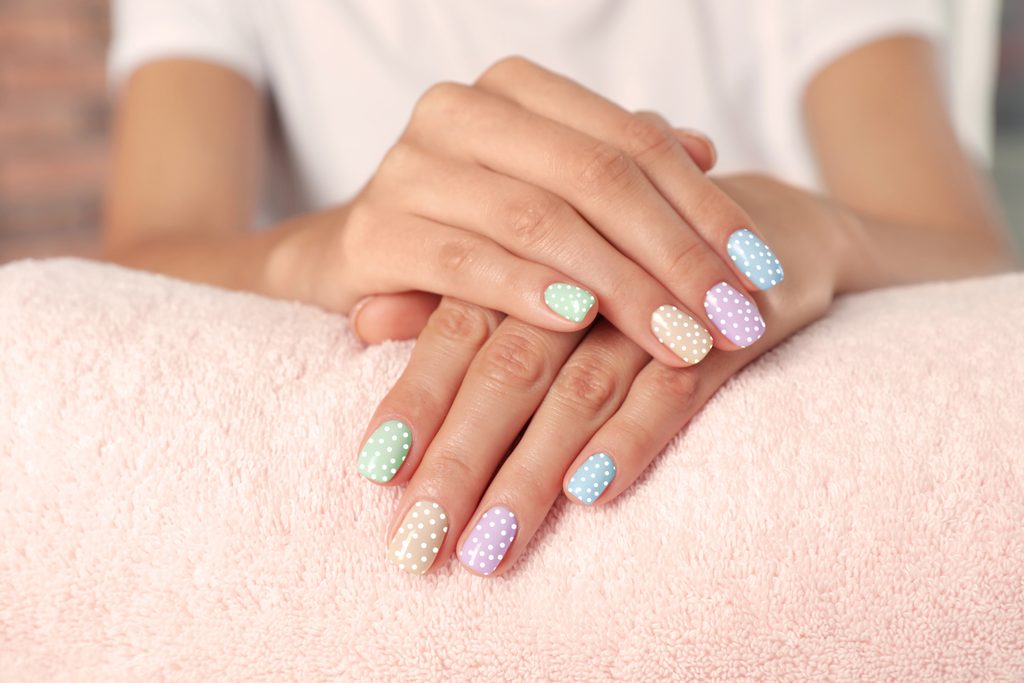
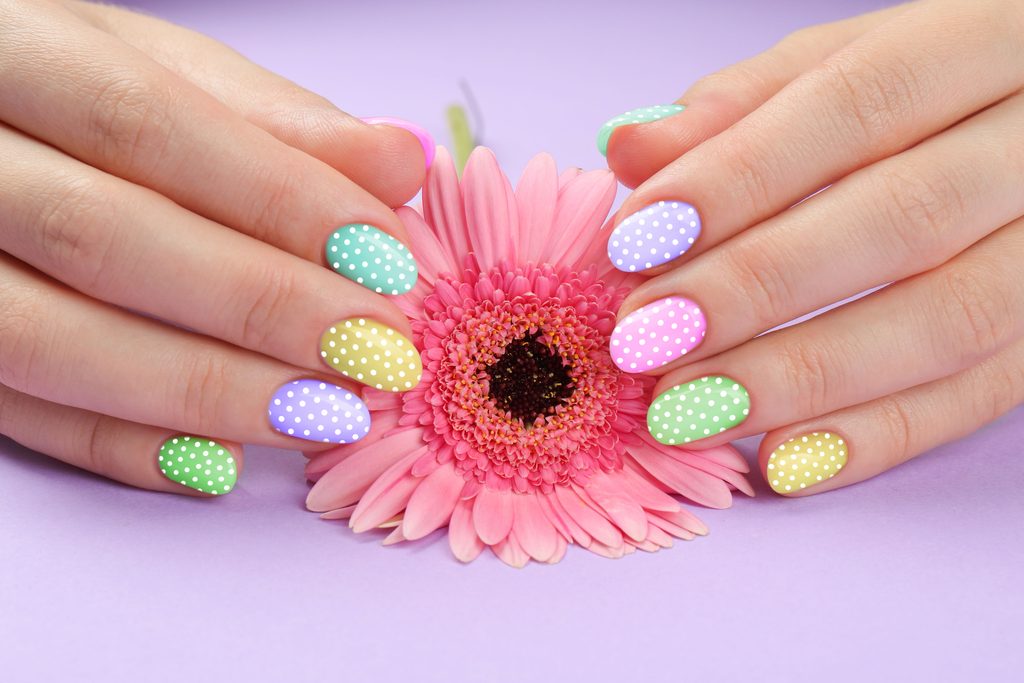
Try a soft pink, lavender, blue, or peach base with contrasting pastel dots. For a softer look, use several shades from the same color family.
French-tip polka dots
Create a traditional or colorful French tip, then add tiny dots along the tip or just above the French line.
Minimalist polka dot nails
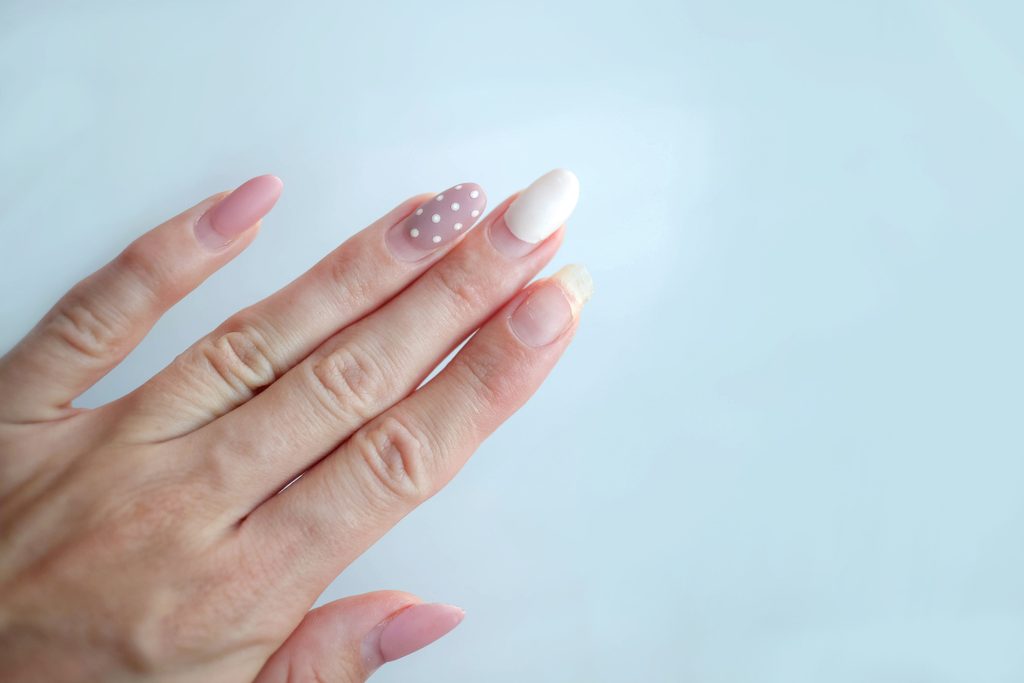
Use a nude or sheer-looking base and place just one or two tiny dots on each nail. This is a good option if you prefer subtle nail art.
Colorful multicolor dots
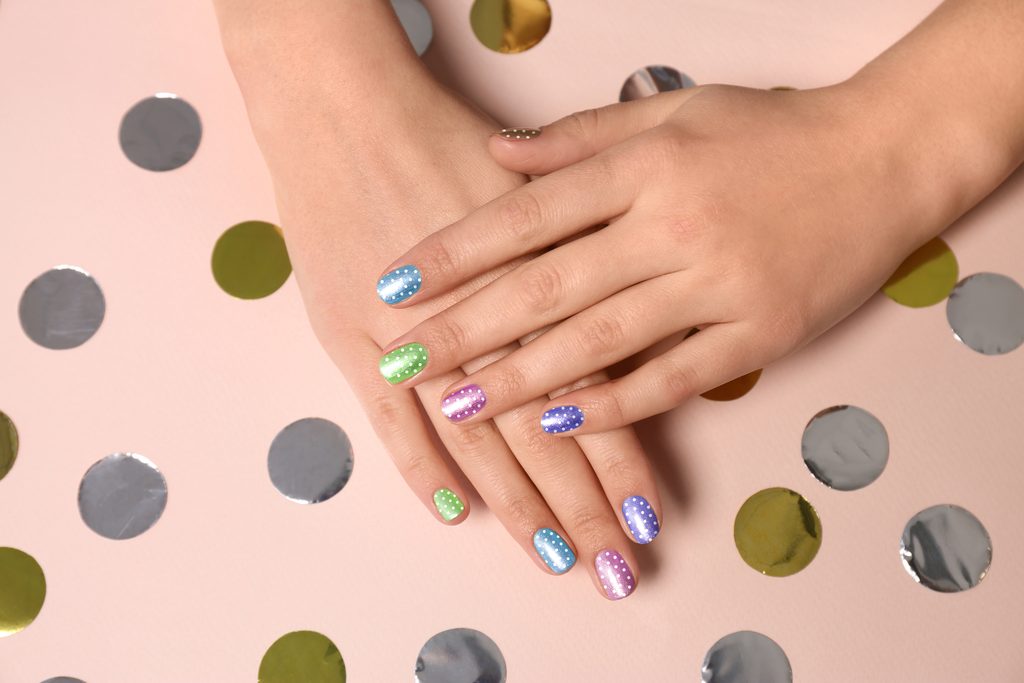
Choose three or four complementary colors and alternate them across the nails. Keep the dot sizes similar for a more organized look.
Neutral polka dot nails
Beige, cream, brown, taupe, and muted pink create a more understated manicure while keeping the playful dot pattern.
Reverse polka dots
Instead of adding colored dots over your base, use the base color to create dots over a darker or brighter background.
Accent-nail polka dots
Keep most nails a solid color and add the dot design to one or two accent nails. It’s one of the easiest ways to try nail art without committing to a full manicure.
How to Make Perfect Dots Every Time
A few small technique changes can make a big difference:
- Use less polish: Excess polish spreads after you place the dot.
- Press and lift: Don’t move the tool sideways.
- Reload regularly: If the dots become smaller or patchy, add a little more polish to your tool.
- Keep your hand steady: Rest your working hand on a flat surface.
- Plan your spacing: Mentally map out where the dots will go before touching the nail.
- Use different tools for different sizes: This is easier than trying to create every size with one tool.
- Let each layer dry: Wet base polish can cause dots to sink or move.
If your dots are becoming teardrop-shaped, you’re probably moving the tool instead of lifting it straight up.

Common Polka Dot Nail Mistakes to Avoid
Using too much polish: Large blobs can take longer to dry and may lose their shape.
Working on a wet base: The dot can sink into or drag across the underlying polish.
Making every dot perfectly identical: Unless you’re creating a very geometric design, slight variation can actually make the manicure look more natural.
Applying top coat too soon: A wet design is much easier to smear.
Overworking the design: If a dot looks uneven, resist the urge to repeatedly touch it. Let it dry and correct the area later if necessary.
How to Make Your Polka Dot Manicure Last Longer
Start with clean nails and use a base coat before your color. Keep polish layers relatively thin and allow them to dry between applications.
After the design has set, finish with top coat. Avoid picking at lifted polish, and reapply top coat as needed when the manicure begins to lose its shine.
If you regularly do DIY nail art, keeping your tools clean also helps. Wipe a dotting tool after use with the appropriate polish remover and allow it to dry before storing it.
FAQs
How do you do polka dot nails at home?
Apply a base color, allow it to dry, then use a dotting tool, bobby pin, or similar tool to place small amounts of contrasting polish onto the nail. Finish with top coat once the design has dried.
What can I use to make dots on my nails?
A dotting tool is the easiest option, but a bobby pin, the rounded end of a hairpin, or a toothpick can work for simple DIY designs. The size and shape of the tool will affect the final dot.
How do you make perfect dots on your nails?
Use a small amount of polish and press the tool straight down before lifting it vertically. Keep your hand supported and reload the tool regularly to maintain consistent dots.
How do you keep polka dot nail art from smudging?
Allow the design to dry before applying top coat. When you apply the top coat, use a light touch and avoid repeatedly brushing over the same spot.
What color combinations look best for polka dot nails?
Black and white offer a classic contrast, while pastels create a softer look. Neutral combinations such as beige and brown work well for understated nail art, while several bright shades can create a playful manicure.
How long should polka dot nail art dry before applying top coat?
Drying time depends on the polish formula and how thickly it was applied. The surface should feel sufficiently set before you apply top coat; follow the drying guidance for your specific polish whenever available.