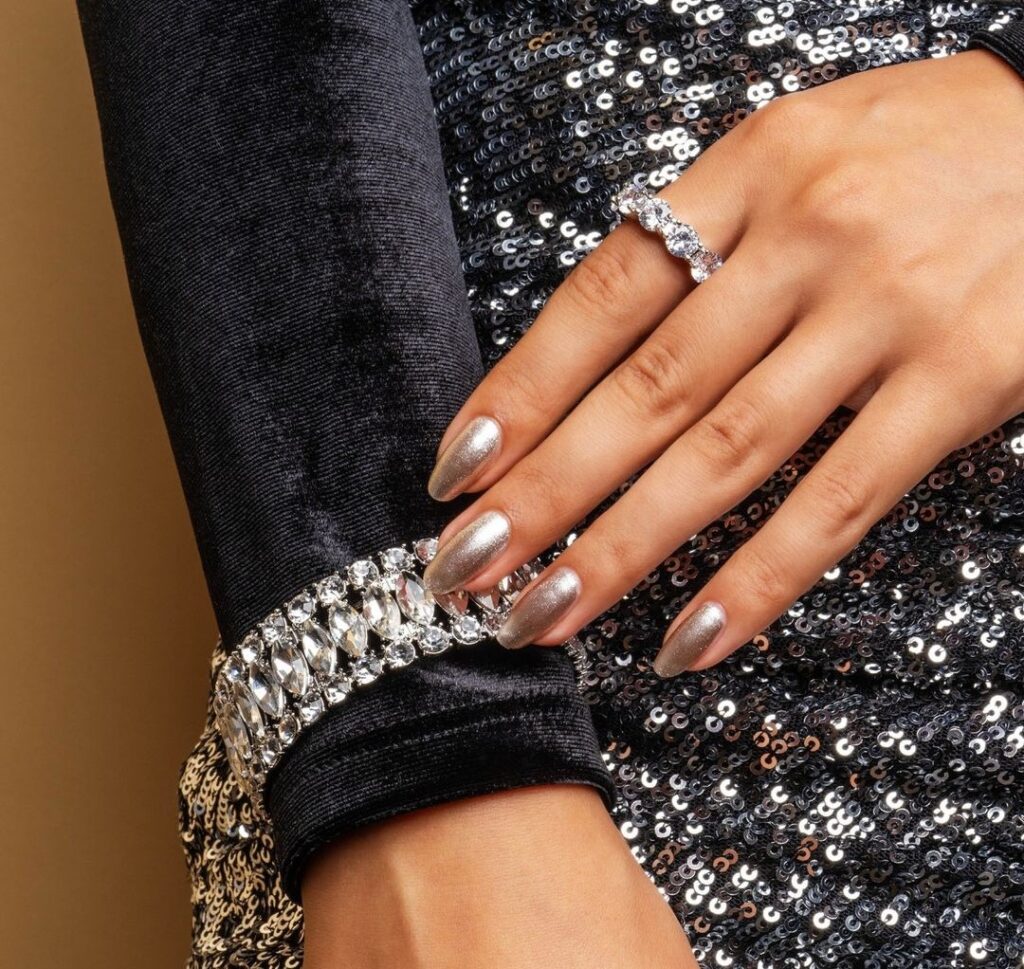
Glitter nails are like tiny disco balls for your fingertips. They’re the ultimate style statement, turning mundane manicures into dazzling works of art.
Picture this: you’re sipping a cocktail at a rooftop party, and your hands catch the light – suddenly, everyone’s eyes are on you. It all starts with a base coat, a protective shield for your natural nails. Then, the magic happens. Choose your glitter polish wisely – from subtle stardust to full-on sparkle. Apply layer by layer, letting each coat dry to perfection. And don’t forget the accent nail – a chunkier glitter explosion or a gradient effect that screams “I’m fabulous!” So, whether you’re dancing under the stars or typing away at your desk, let your fingertips do the talking – because life is too short for dull nails!
Glitter Nail Types
- Sometimes, simplicity steals the show. Opt for an all-over glitter polish in a neutral silver or gold. It’s a uniform yet eye-catching look that works perfectly for any occasion, from casual gatherings to special celebrations.
- For a touch of edge, try the faded tip style. Pair a subtle base color with glitter fading from the tips. It’s chic, intriguing, and perfect for everyday wear. You can choose complementary shades or go bold by picking colors from opposite ends of the spectrum.
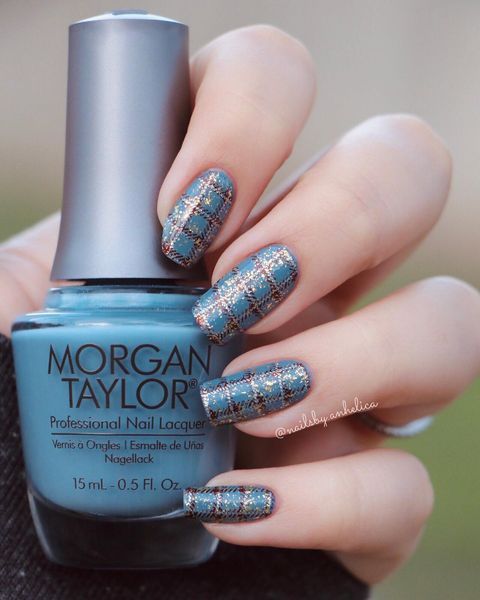
- If an overload of glitter isn’t your thing, go for glitter accents. Select a couple of nails to shine with sparkles, while keeping the others more subdued. Invest in nail art brushes for precise application and achieve that salon-quality finish at home.
- Dense glitter polishes create a dazzling effect but may chip more easily. Opt for gel polish to make it last longer. Seal the sparkles with a clear, shiny top coat for extra durability.
Application Tips
- Always begin with a layer of base coat. It not only prolongs the life of your manicure but also provides a smooth canvas for the glitter.
- Apply one coat of your chosen base color and allow it to dry for about five minutes. Follow up with a second coat to prevent bubbles and clumping. Let the second coat dry for one minute before moving on to the glitter.
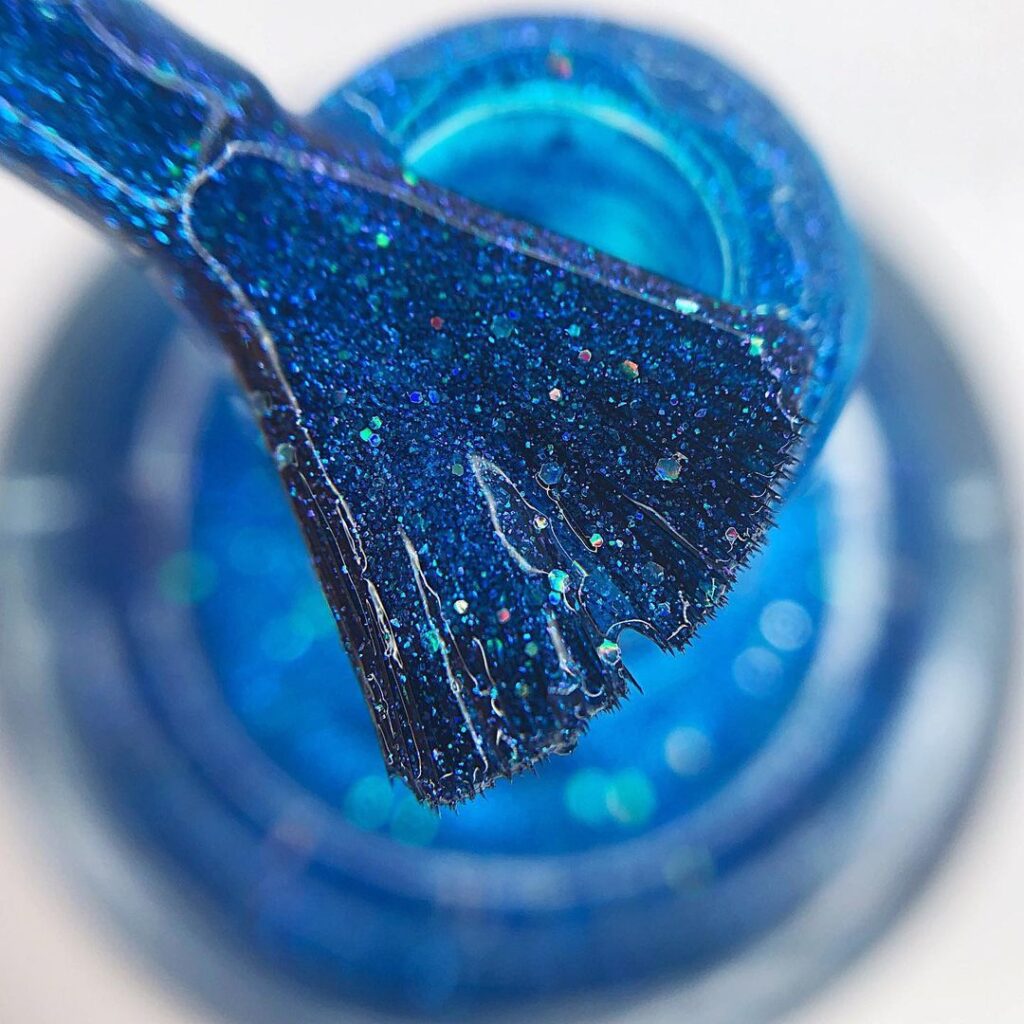
- For even glitter application, opt for loose glitter. Dip a clean, disposable mascara wand into the glitter and tap the handle to let the glitter fall naturally onto the tacky polish. This technique ensures a more uniform look.
- Once your glitter is in place, seal the deal with a top coat. A good top coat not only adds shine but also protects your manicure. Make sure to cover the glitter evenly to prevent chipping.
Pre & Post Care
- Clean your hands thoroughly before applying nail polish. Use alcohol (not acetone) to clean the nail surface, removing excess oils and lint. This helps the polish adhere better.
- Opt for shorter nail lengths. Shorter nails are less likely to break, chip, and peel, especially with glitter polish.
- Select a top coat that offers chip resistance. Look for one that provides protection, strengthening, and hydration.
- Don’t underestimate the importance of a good base coat. Use a grippy, strong base coat. It anchors any nail lacquer, extending the life of your manicure.
- Top coat isn’t a one-time application. Reapply it every two to three days to maintain your manicure and prevent chipping.
- Don’t ignore chipped nails. Fix them right away to maintain a polished look. You can add a layer of regular topcoat to extend the life of your manicure.
- Keep your cuticles hydrated by applying cuticle oil regularly. Well-moisturized nails and cuticles are healthier and less prone to damage.
Choice Of Season
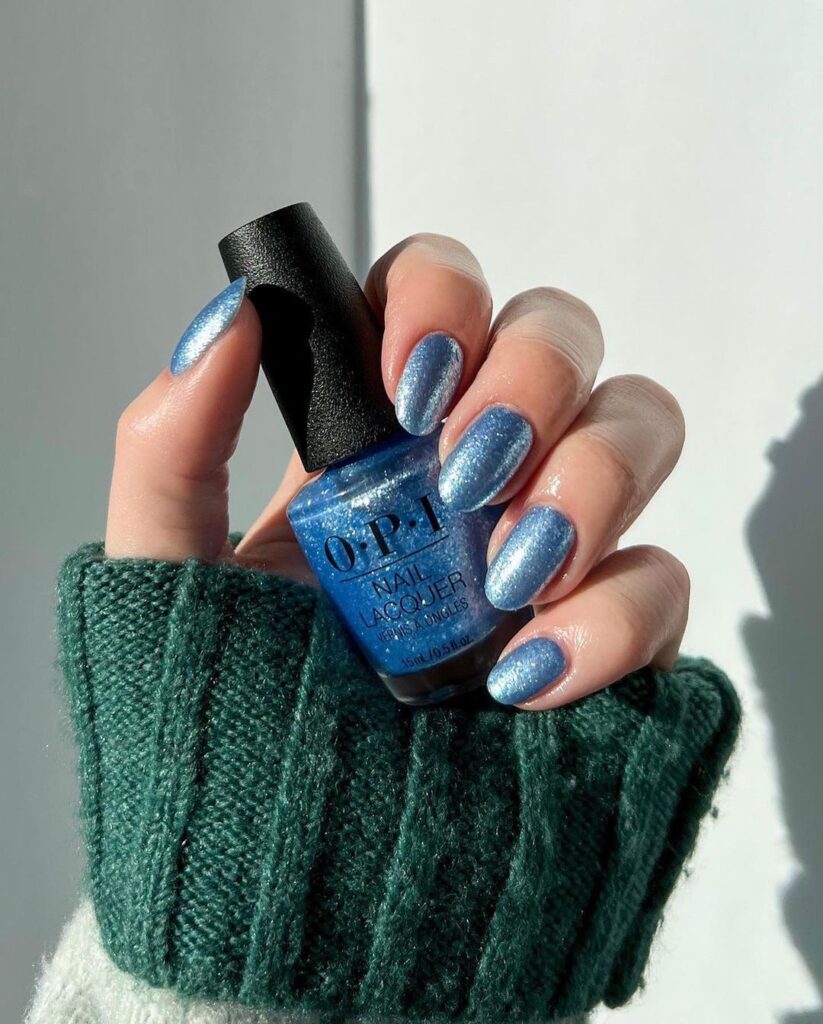
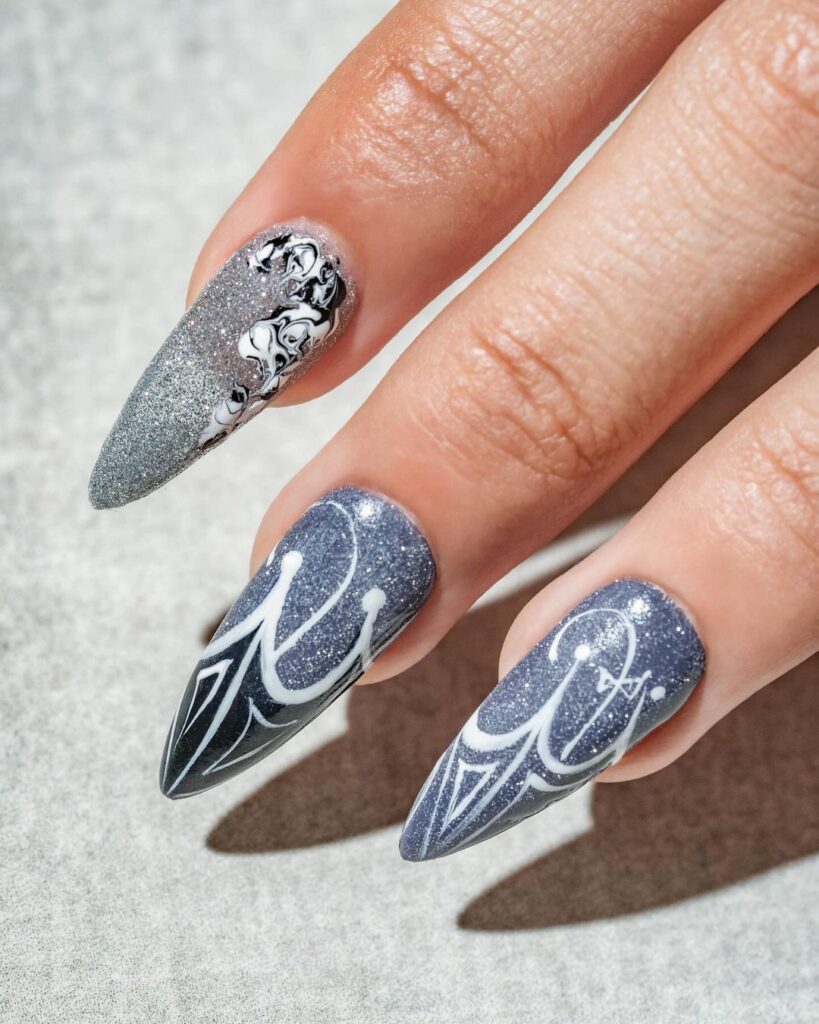
Glitter nails are like tiny bursts of magic on your fingertips, and the choice of season can enhance their impact. During the winter wonderland, when snowflakes dance in the air, opt for silver or gold glitter to create a snowy effect. Pair it with cozy sweaters and mugs of hot cocoa. Reflective silver polish or platinum glitter works wonders during winter nights. As the snow falls, your glitter nails will twinkle like stars against the frosty backdrop.
As February arrives, Valentine’s Day vibes call for romance and sweetness. Choose pink or red glitter for a romantic look. Reflective gel polishes or classic glitter shades work beautifully for Valentine’s nail art. As you hold hands with your loved one, your glittery nails will steal the spotlight.
But don’t limit glitter nails to specific seasons! They’re year-round glam. Experiment with Y2K checkerboard nails or chunky glitter designs. Mix reflective gels with regular glitter polishes for a chic yet fun look. Whether it’s spring blooms, summer sunsets, or autumn leaves, your glitter nails will dazzle year-round.
Shiny Velvet
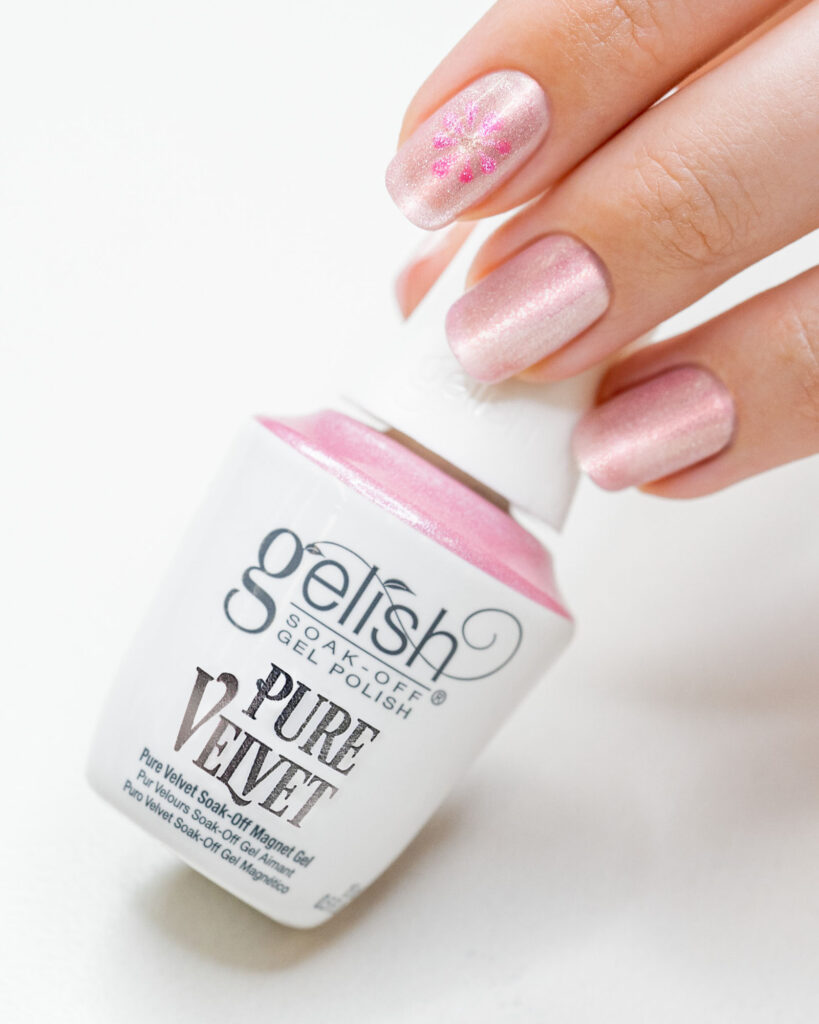
Gelish Pure Velvet introduces a sumptuous texture that commands attention with its magnet-activated velvet effects, adding a new dimension to your nail artistry. Each shade includes a dedicated magnet, enabling delicate waves or intricate motifs. From vibrant hot pink to delicate rose gold, these gels deliver captivating manicures. Meanwhile, Entity Velvet Luxe sets new standards in cat-eye nails, offering a velvety touch with luminous shimmers. It allows for gentle gleams or intricate cat-eye patterns with ease.
Both Gelish Pure Velvet and Entity Velvet Lux redefine excellence in nail artistry, offering durability, ease of use, and endless possibilities for captivating manicures. With their velvety textures and glittery finish, these gel polishes add a touch of elegance to any look, perfect for special occasions or everyday style.
FAQ
Yes, Glitter wedding nails are one sure way for a bride’s hands to stand out. So go for it if you are comfortable and bold enough to wear them. Whether it’s white bridal nails, pink wedding nails or lilac nails with glitter, these options add a touch of sparkle and sophistication to your big day.
Glitter nails can be chic and grown-up. Consider fine line designs, all-over muted glitter shades (like sheer pink or brown), or delicate nail art with subtle gold slivers. Whether it’s for the New Year or beyond, glitter always does the trick.
When applying glitter polish, paint in thin coats and wait between layers. For removal start with a fresh layer of non-glitter polish on top of it. While the topcoat is still wet, use nail polish remover to dissolve the polish and gently buff away any remaining glitter. Finish with cuticle oil for healthy nails.
Start by soaking your nails in acetone-based nail polish remover. Wrap each nail with aluminum foil or use rubber bands to hold cotton balls in place. Let the polish sit for a few minutes, then gently rub off the glitter. If any remains, light buffing may be necessary. Finish with cuticle oil to keep your nails moisturized.

