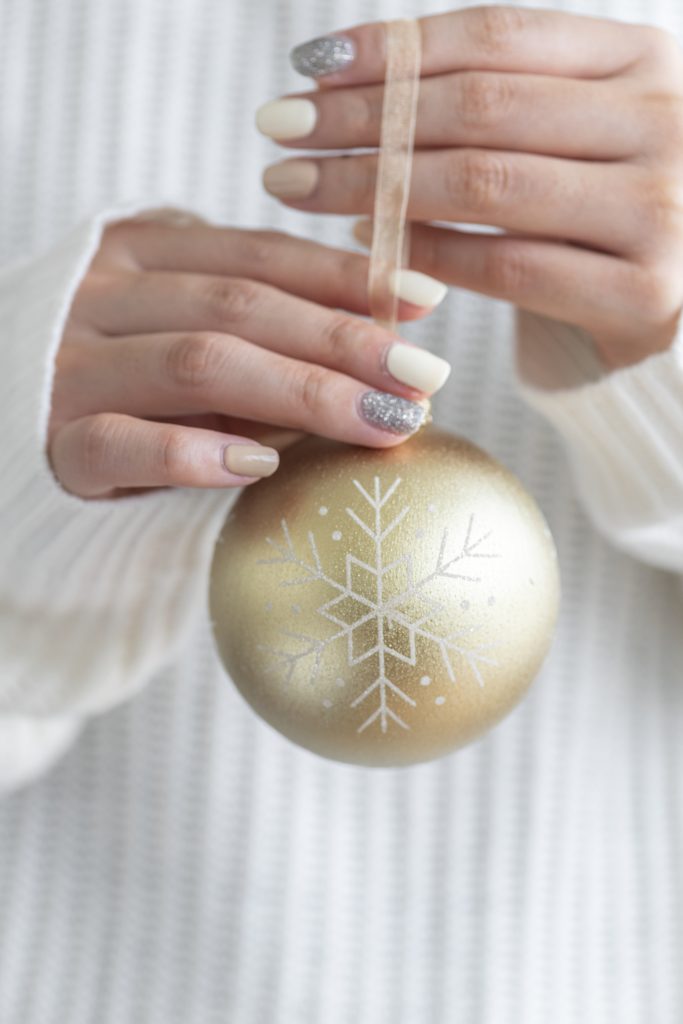
New Year Nails are the perfect way to express your joy and festive spirit as we welcome a fresh start.
Celebrating with stunning nail designs isn’t just a beauty trend; it’s a way to add a touch of glamour to your look and symbolize the hope and excitement of new beginnings. Whether you’re attending a glittering party or a cozy gathering, beautifully adorned New Year nails can capture the magic of the season and make every moment feel extra special. Let’s dive into the world of New Year nails and discover how you can shine even brighter during the celebrations!
Trends in New Year Nail Art
- Glass Velvet Nails: Ultra-glossy, reflective nails in any color, perfect for a chic, minimalistic look.
- Mohair Sweater Nails: Fuzzy textures and blended tones inspired by Marni’s iconic sweaters, combining warmth and luxury.
- Minimalist Designs: Clean, simple manicures like French tips with delicate pearls or iridescent jelly polish.
- Bold Jewel Tones: Deep emerald greens, royal purples, and sapphire blues add elegance to your nails.
- Warm Neutrals: Soft taupe, caramel and burnt orange bring a cozy, earthy vibe to the winter season.
- Bejeweled Nails: Gemstones and rhinestones add a touch of magic and glamour.
- Chrome Finishes: Metallic shades like silver, gold, and holographic finishes for a reflective, futuristic look.
- 3D Nails: Enhance your manicure with 3D elements like bows, pearls, and glitter accents.
These trends offer a variety of options to suit any style and occasion, ensuring your nails are festive and fabulous for the new year. Which trend are you most excited to try?
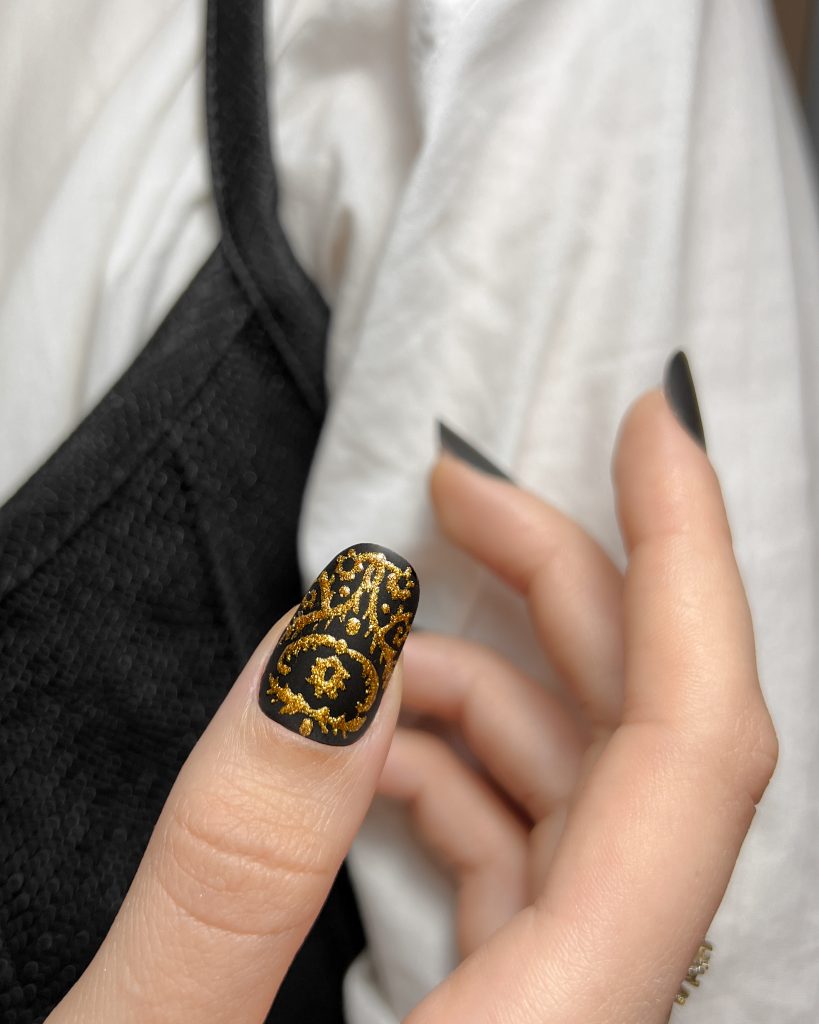
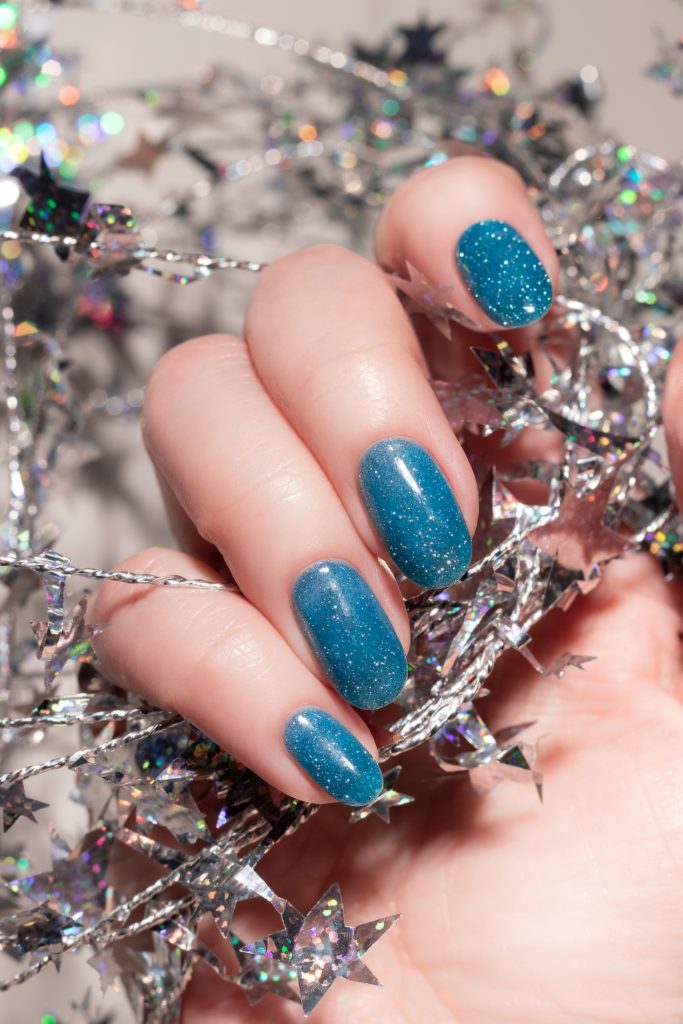
DIY Tips for Stunning New Year Nail Art
Creating beautiful New Year nail art at home can be a fun and rewarding experience. Here are some step-by-step guides and tips to help you achieve stunning results:
Classic Glitter Gradient
- Step 1: Start with a clear base coat to protect your nails.
- Step 2: Apply two coats of your favorite base color (e.g., black or deep blue) and let it dry completely.
- Step 3: Dab a makeup sponge with glitter polish and gently press it onto the tips of your nails, creating a gradient effect.
- Step 4: Finish with a clear top coat to seal and add shine.
Festive Confetti Nails
- Step 1: Apply a base coat to your nails.
- Step 2: Paint your nails with a neutral or pastel base color and let it dry.
- Step 3: Using a small dotting tool or toothpick, apply different colors of nail polish to create confetti-like dots on your nails.
- Step 4: Seal the design with a top coat to ensure it lasts.
Elegant Marble Nails
- Step 1: Apply a base coat.
- Step 2: Paint your nails with a light base color (e.g., white or light pink) and let it dry.
- Step 3: Drop a few different colors of nail polish into a cup of water, then use a toothpick to swirl the colors together.
- Step 4: Dip your nail into the water, then remove and clean up any excess polish around your finger.
- Step 5: Finish with a top coat.
Shimmering Snowflake Nails
- Step 1: Start with a base coat.
- Step 2: Apply two coats of a cool color like light blue or silver and let it dry.
- Step 3: Use a thin nail art brush or a white nail art pen to draw snowflake designs on your nails.
- Step 4: Add a touch of glitter polish to the snowflakes for extra sparkle.
- Step 5: Seal with a top coat.
Chic Metallic Nails
- Step 1: Apply a base coat to protect your nails.
- Step 2: Paint your nails with a metallic nail polish color of your choice (e.g., gold, silver, or rose gold).
- Step 3: Apply a clear top coat for a glossy finish.
Tips for Successful DIY Nail Art:
- Take your time and be patient, especially when working with intricate designs.
- Use high-quality nail polish and tools for the best results.
- Keep your hands steady by resting them on a flat surface.
- Clean up any mistakes with a small brush dipped in nail polish remover.
- Practice makes perfect, so don’t be afraid to try different techniques and designs.
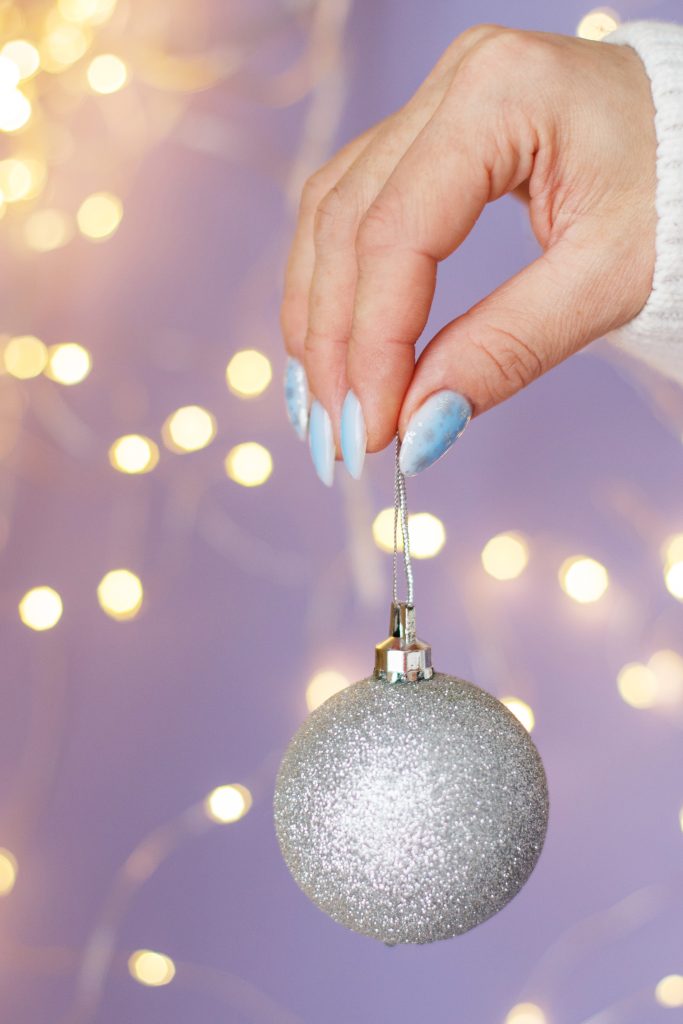

Keeping Your New Year Nails Fresh and Vibrant
To keep your New Year nails looking stunning throughout the festivities, follow these tips:
- Protect Your Nails: Wear gloves for household chores and be gentle to avoid damage.
- Moisturize Regularly: Apply cuticle oil daily and use hand cream often to keep skin hydrated.
- Top Coat Touch-Ups: Reapply a clear top coat every few days to maintain shine and prevent chipping.
- Limit Water Exposure: Avoid prolonged contact with water and use hand sanitizer to reduce exposure.
- Healthy Diet: Eat a balanced diet rich in vitamins to support nail health.
- File and Shape: Keep a nail file handy to smooth out rough edges and maintain shape.
- Avoid Using Nails as Tools: Use appropriate tools instead of your nails to avoid strain and damage.
By following these simple tips, you can ensure your New Year nails stay fresh, vibrant, and beautiful throughout the celebrations.
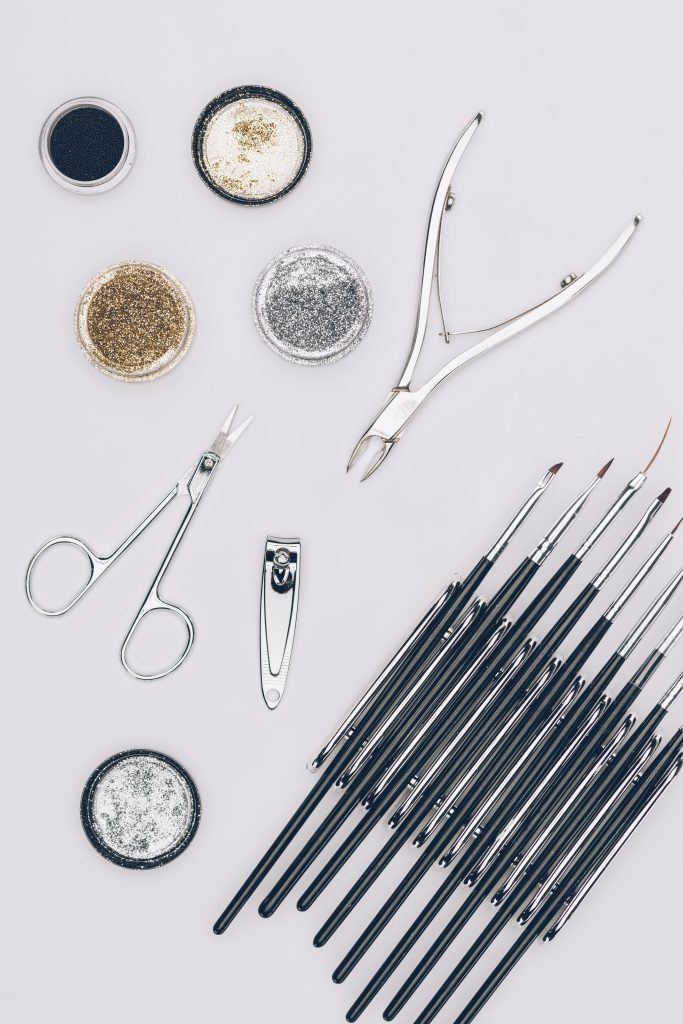
Essential Tools for New Year Nails
To create and maintain beautiful New Year nails, here are the essential tools you should have:
- Nail Clippers: For trimming and shaping your nails.
- Nail Files and Buffers: To smooth edges and create a polished finish.
- Cuticle Pusher and Nippers: For clean and neat cuticles.
- Base and Top Coats: To protect your nails and extend the life of your manicure.
- Quality Nail Polishes: A range of colors and finishes for your designs.
- Nail Art Brushes: For detailed designs and patterns.
- Dotting Tools: For precise dots and accents.
- UV/LED Lamp: Necessary if you’re using gel polish.
- Cuticle Oil: To keep your cuticles hydrated.
- Hand Cream: To maintain soft and moisturized hands.
With these key tools, you’ll be well-equipped to create and maintain stunning New Year nails at home. Have fun experimenting with different styles and designs!
FAQ
What colors are popular for New Year nails?
For New Year nails, popular colors include bold jewel tones like emerald green, royal purple, and sapphire blue. Metallic shades such as gold, silver, and holographic finishes are also trending, as they add a festive and glamorous touch. Additionally, warm neutrals like taupe and caramel can bring a cozy vibe to your nail art.
How can I make my New Year nails last longer?
To ensure your New Year nails stay fresh and vibrant, start by applying a base coat to protect your nails. Regularly reapply a top coat to maintain shine and prevent chipping. Furthermore, moisturizing your cuticles and hands will keep the surrounding skin healthy and hydrated. Lastly, be gentle with your nails and avoid using them as tools to prevent damage.
What are some easy DIY New Year nail designs for beginners?
For beginners, simple yet stylish designs like glitter gradients, confetti nails, and minimalist patterns are ideal. These designs are easy to achieve with basic tools and polishes. Moreover, using nail stickers or decals can quickly add intricate details without the need for freehand painting.
Are there any specific nail shapes that are trending for the New Year?
Yes, several nail shapes are trending for the New Year. Almond and coffin shapes are particularly popular for their elegant and sophisticated look. Meanwhile, square and oval shapes remain timeless classics. Choose a nail shape that complements your style and the length of your nails to enhance the overall design.
How do I prevent my nail polish from chipping?
To prevent nail polish from chipping, start by applying a base coat to create a smooth surface. Use thin layers of polish and allow each coat to dry completely before applying the next. Finish with a high-quality top coat to seal the polish and add extra durability. Avoid using your nails as tools and consider reapplying the top coat every few days to maintain protection.

