
Are you ready to spice up your nails in 2024? First of all, you need to know that there is a nail trend for everyone in the 2024 nail trends group.
Whether you prefer short and sleek or long and edgy, you can find your perfect nail polish shade match. However, that’s not all. In addition to the new and exciting trends, 2024 will also see a revival of classic manicures, with a twist. For example, you can play with different tip shapes, colors, and finishes to create a unique look. Or, you can go for a glossy finish to make your nails shine like never before. If you’re feeling adventurous, you can even try some jewelry-inspired nail art, such as gold chains, bows or rhinestones. The possibilities are endless!
So, what are you waiting for? Grab your nail polish and get ready to rock the hottest nail trends of 2024. You’ll be turning heads and breaking hearts with your fabulous manicure. Trust me, you won’t regret it!
Trend #1 – 3D Designs
Add some depth and dimension to your nails, with the 3D designs that are the way to go in 2024. 3D designs are nail art that use different materials and techniques to create a raised or layered effect on your nails. They can make your nails look more realistic, artistic, and eye-catching. Some of the benefits of 3D designs are that they can showcase your creativity, match your outfit or occasion, and last longer than regular nail polish.
To create 3D designs at home, you will need some tools and supplies, such as nail glue, tweezers, scissors, dotting tools, brushes, and 3D decorations. You can find 3D decorations online or at your local beauty store. They can be anything from flowers, butterflies, crystals, pearls, beads, studs, charms, or stickers. You can also use acrylic or gel to sculpt your own 3D shapes on your nails.
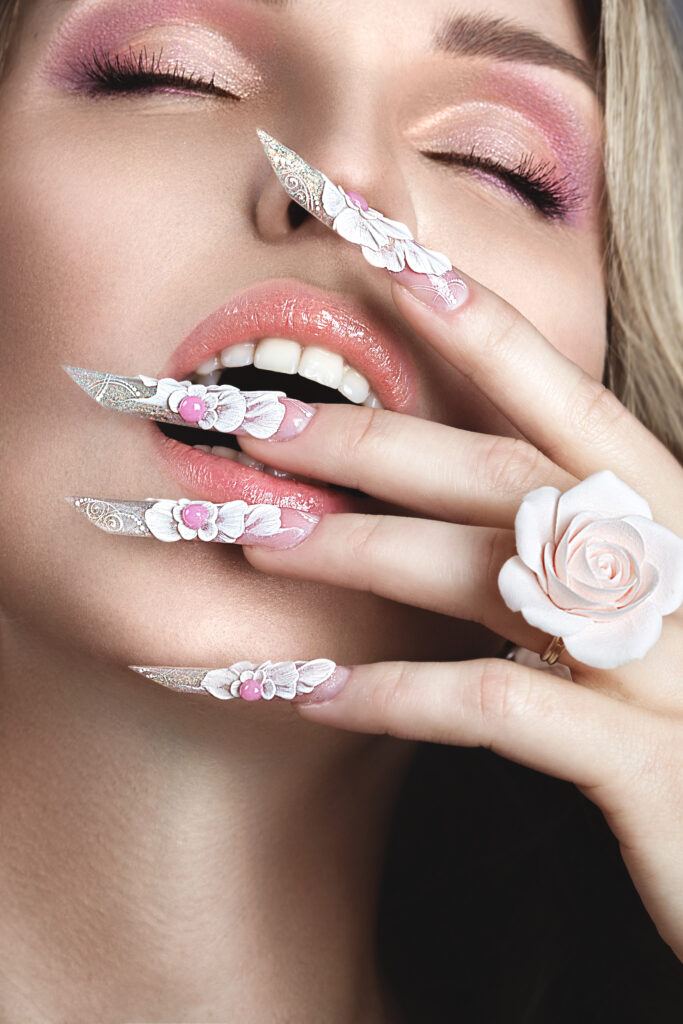
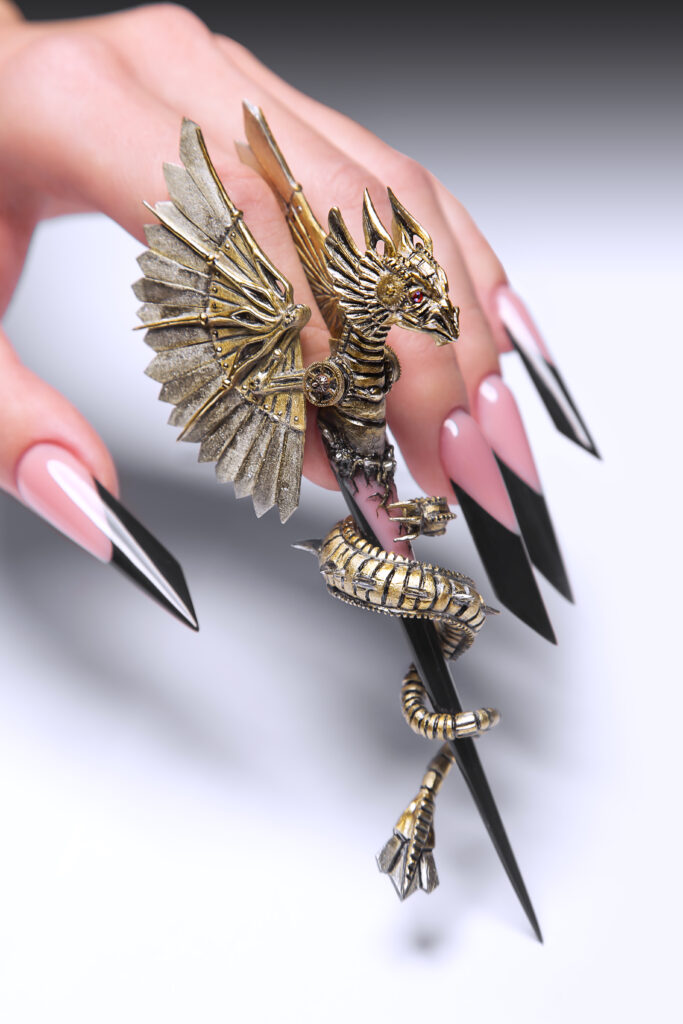
The steps to create 3D designs are as follows:
- First, prepare your nails by cleaning, trimming and shaping them. Apply a base coat and let it dry.
- Second, choose your base color and apply it to your nails. You can use any color you like, but make sure it complements your 3D decorations. Let it dry completely.
- Third, decide where you want to place your 3D decorations on your nails. You can use a dotting tool or a toothpick to mark the spots with a small dot of nail polish.
- Fourth, apply a small amount of nail glue to the back of your 3D decoration and use tweezers to pick it up and place it on your nail. Press it gently and hold it for a few seconds until it sticks. Repeat this process for all your 3D decorations.
- Fifth, seal your 3D design with a top coat and let it dry. Be careful not to smudge or move your 3D decorations while applying the top coat.
Trend #2: Geometric Shapes
You can also choose to add some edge and contrast to your nails, with the geometric shapes that are the trend for you in 2024. Geometric shapes are nail art that use straight lines, angles, and curves to create different forms and figures on your nails. They can make your nails look more modern, stylish, and dynamic. Some of the benefits of geometric shapes are that they can suit any nail length or shape, match any color or theme, and be easy to create with simple tools.
To create geometric shapes at home, you will need some tools and supplies, such as nail polish, tape, scissors, dotting tools, brushes, and stickers. You can use any color or combination of colors for your geometric shapes, but make sure they contrast well with each other and your base color. You can also use metallic, glitter, or matte nail polish to add some texture and shine to your geometric shapes.
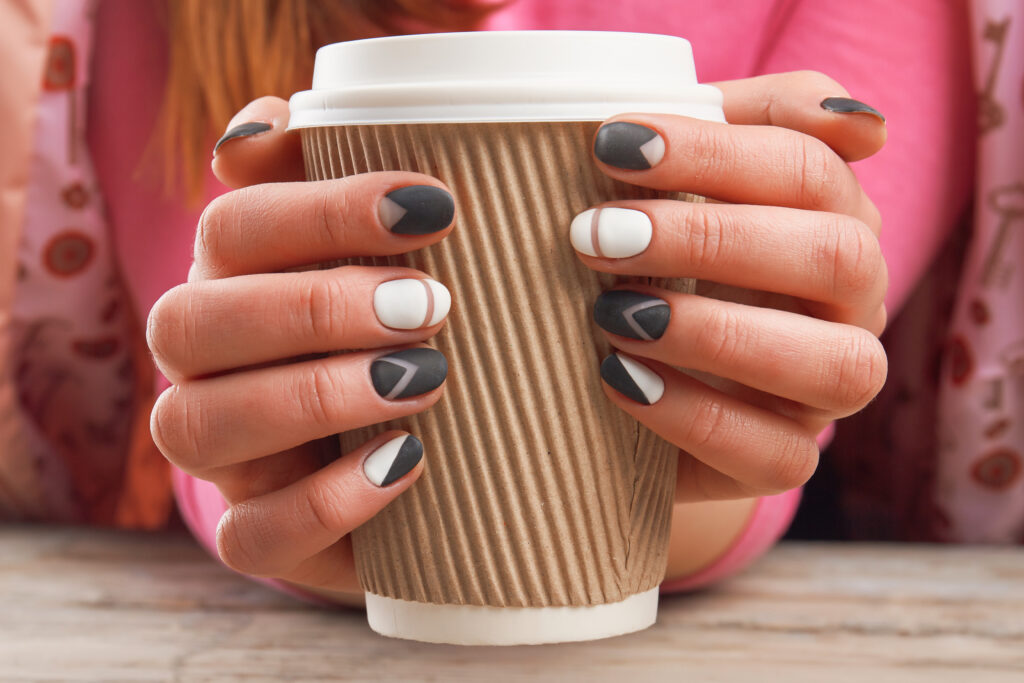
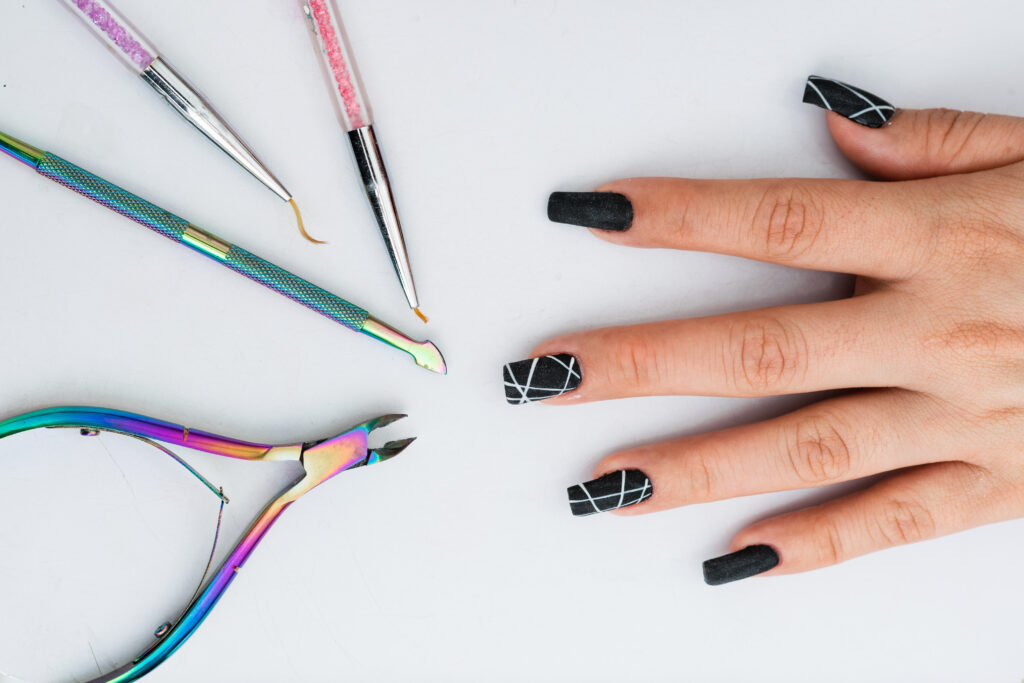
The steps to create geometric shapes are as follows:
- First, prepare your nails by cleaning, trimming and shaping them. Apply a base coat and let it dry.
- Second, choose your base color and apply it to your nails. You can use any color you like but make sure it is different from your geometric shapes. Let it dry completely.
- Third, decide what geometric shapes you want to create on your nails. You can use tape, stickers or dotting tools to create different shapes, such as triangles, squares, circles, hexagons, or diamonds. You can also use a brush to draw freehand shapes, such as lines, zigzags or waves.
- Fourth, apply your chosen color to your geometric shapes and let it dry. You can use a thin brush or a toothpick to fill in any gaps or mistakes. Repeat this process for all your geometric shapes.
- Fifth, remove the tape, stickers or dotting tools carefully and seal your geometric design with a top coat. Let it dry and enjoy your geometric nails.
Trend #3: Chocolate Milk
The warmth and sweetness tons and another one of the 2024 nail trends to added to your nails with the chocolate milk color. Chocolate milk is a creamy and rich brown color that resembles the delicious drink. It can make your nails look more cozy, yummy, and inviting. Some of the benefits of chocolate milk are that it can flatter any skin tone, match any season or mood, and be versatile and easy to wear.
To create chocolate milk nails at home, you will need some tools and supplies, such as nail polish, sponge, brush and top coat. You can use any shade or brand of chocolate milk nail polish, but make sure it is opaque and smooth. You can also use other colors or effects to enhance your chocolate milk nails, such as white, pink, gold, or glitter.
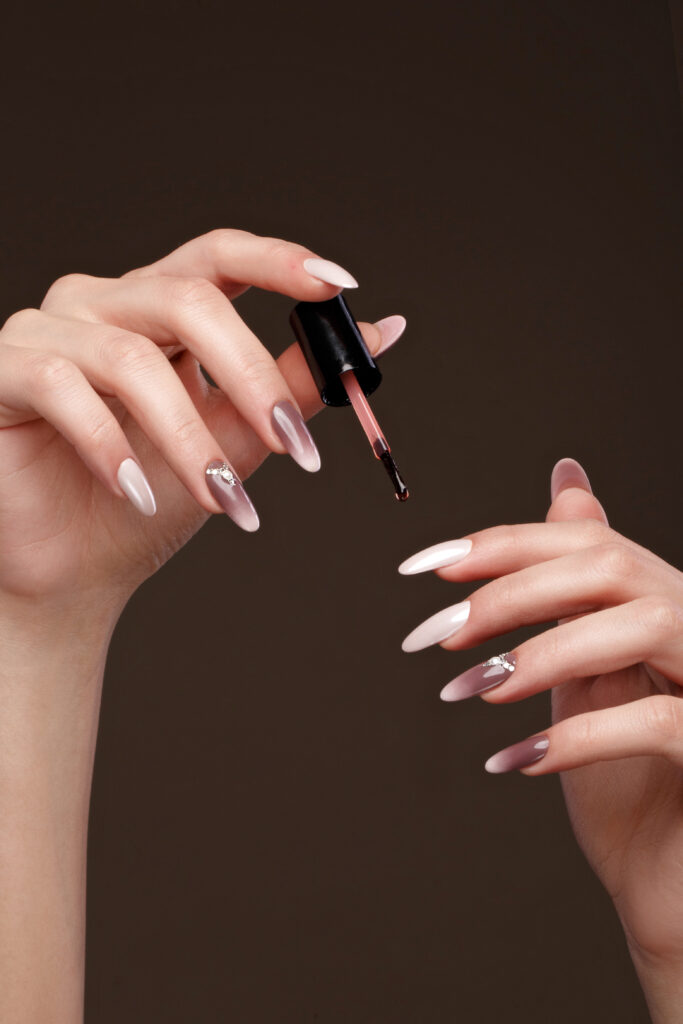
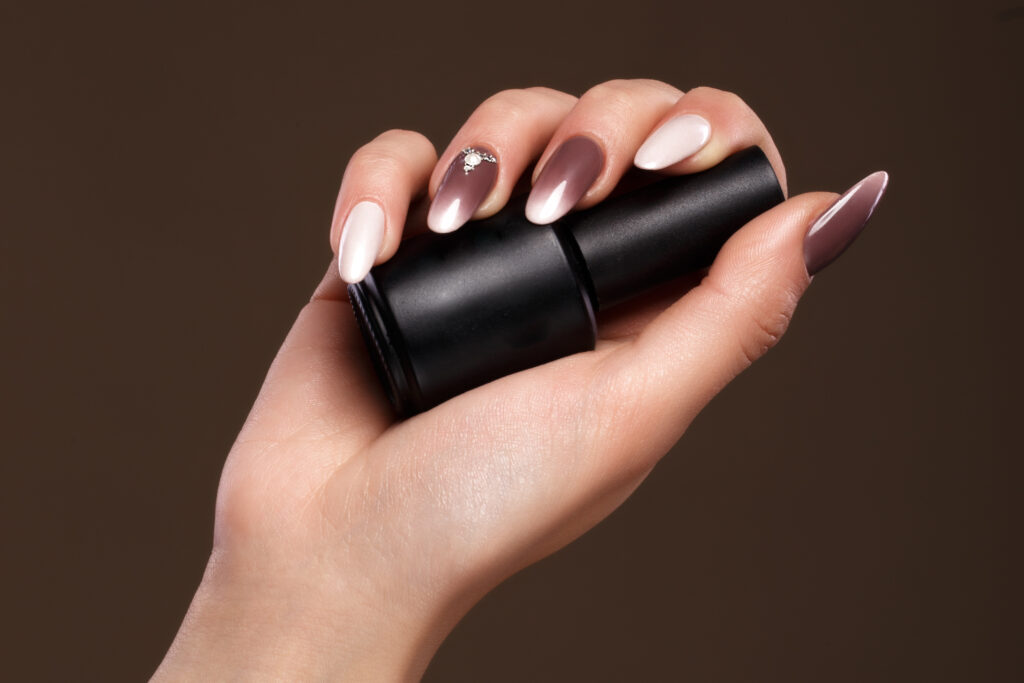
The steps to create chocolate milk nails are as follows:
- First, prepare your nails by cleaning, trimming, and shaping them. Apply a base coat and let it dry.
- Second, apply your chocolate milk nail polish to your nails and let it dry. You can apply one or two coats depending on the opacity and consistency of your nail polish.
- Third, decide what style you want to create with your chocolate milk nails. You can use a sponge to create a solid, ombre or marble effect on your nails. You can also use a brush to create some designs or details on your nails, such as dots, hearts, or letters.
- Fourth, apply your chosen style to your nails and let it dry. You can use a thin brush or a toothpick to fix any errors or smudges. Repeat this process for all your nails.
- Fifth, seal your chocolate milk design with a top coat and let it dry. Enjoy your chocolate milk nails and resist the temptation to lick them.
Nail Health Essentials
- Use a mild nail polish remover to clean nails without excessive rubbing.
- Hydrate cuticles and nails daily with a nourishing cuticle oil or moisturizer.
- Trim nails straight across to prevent ingrown edges and maintain a neat appearance.
- Choose acetone-free nail polish removers and gentle, non-damaging nail products.
- Apply a quality base coat before polish to shield nails from potential discoloration and damage.
- Minimize the use of gel and acrylic nails to prevent weakening and thinning.
- Support nail health by maintaining a balanced diet rich in vitamins and minerals.
- Drink plenty of water to promote overall nail hydration and strength.
- Allow nails to go polish-free periodically to recover and breathe.
- Keep an eye on changes in nail color or texture, and consult a professional if needed.
FAQ
According to experts, some of the hottest nail trends for 2024 are 3D designs, geometric shapes, chocolate milk color, aura nails, oyster nails, and rhinestone appliques. These trends are all about adding depth, dimension, contrast, and sparkle to your nails. You can create these trends at home or at the salon with some tools and supplies, such as nail polish, nail glue, tweezers, scissors, dotting tools, brushes, stickers, charms, crystals, pearls, and more.
Absolutely! The classic French manicure is making a stylish return, but with a modern twist. You can play with tip shapes, colors, and finishes, or go for a glossy look that adds a contemporary touch to this timeless style.
It depends on personal preference and the condition of your nails. Generally, changing polish every 7-10 days is recommended to prevent discoloration and maintain a polished appearance. However, this can vary based on the type of polish and your daily activities.
Start with simple designs, use quality tools, and follow tutorials for step-by-step guidance. Experiment with colors and textures but remember, practice makes perfect. Don’t forget to allow your nails some polish-free time to recover.

