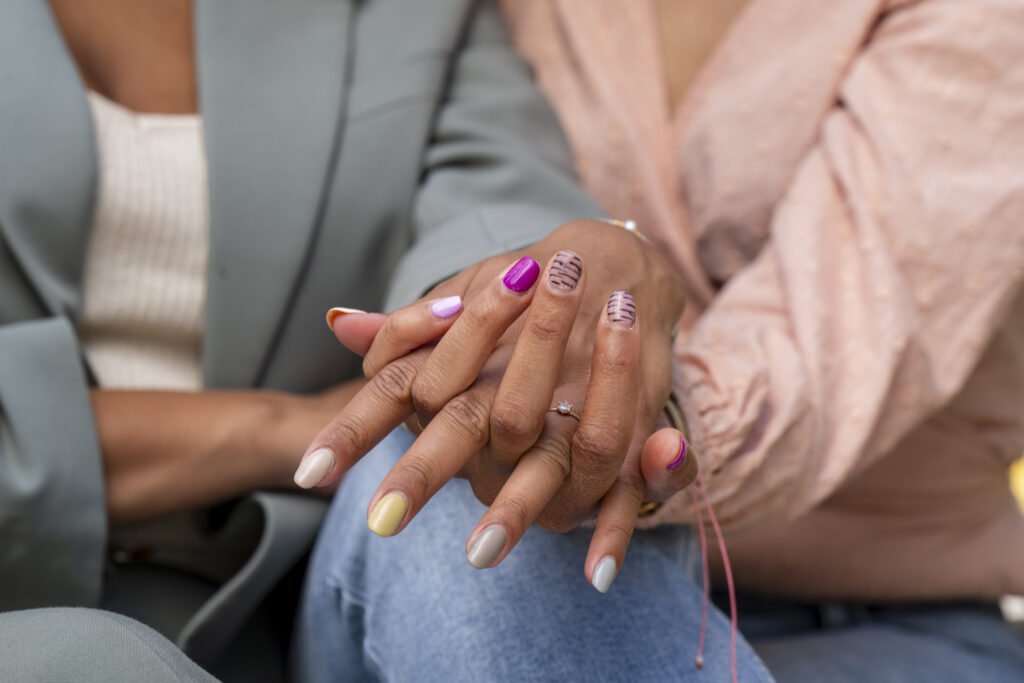
DIY Nails at Home offer an excellent way to achieve beautiful, salon-quality results without the hefty price tag.
One of the biggest advantages is the cost savings—no more expensive trips to the nail salon. Beyond saving money, doing your own nails is incredibly convenient; you can pamper yourself whenever it suits your schedule, without waiting for an appointment. Plus, DIY nails give you full control over your style, allowing you to experiment with colors, designs, and trends at your own pace. Whether you’re going for a classic look or something more creative, the possibilities are endless when you’re your own nail artist.
Essential Tools and Products
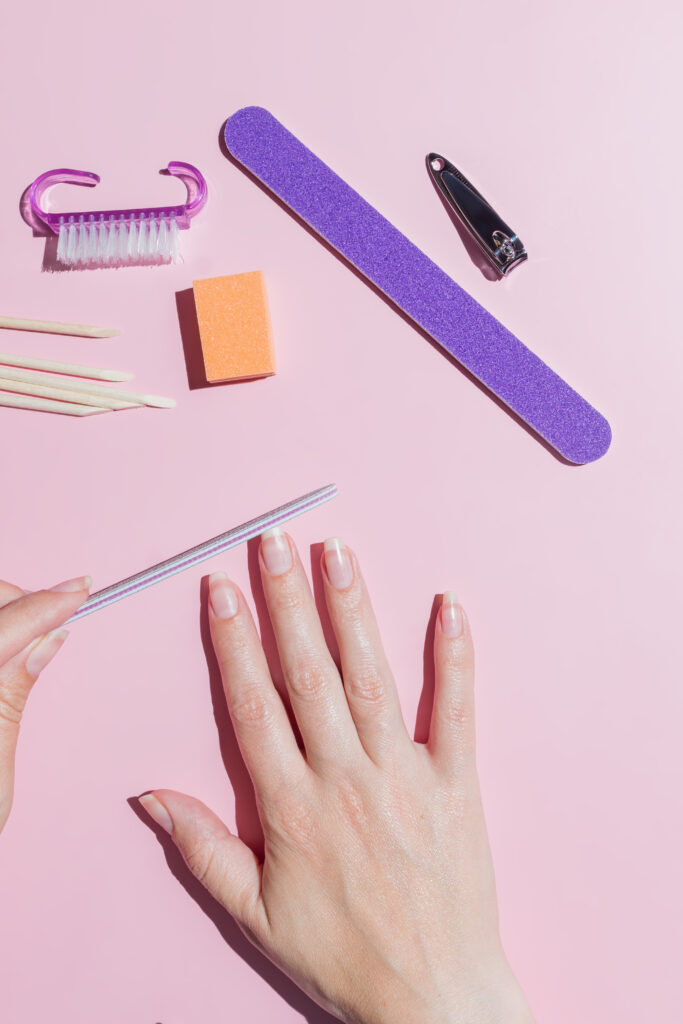
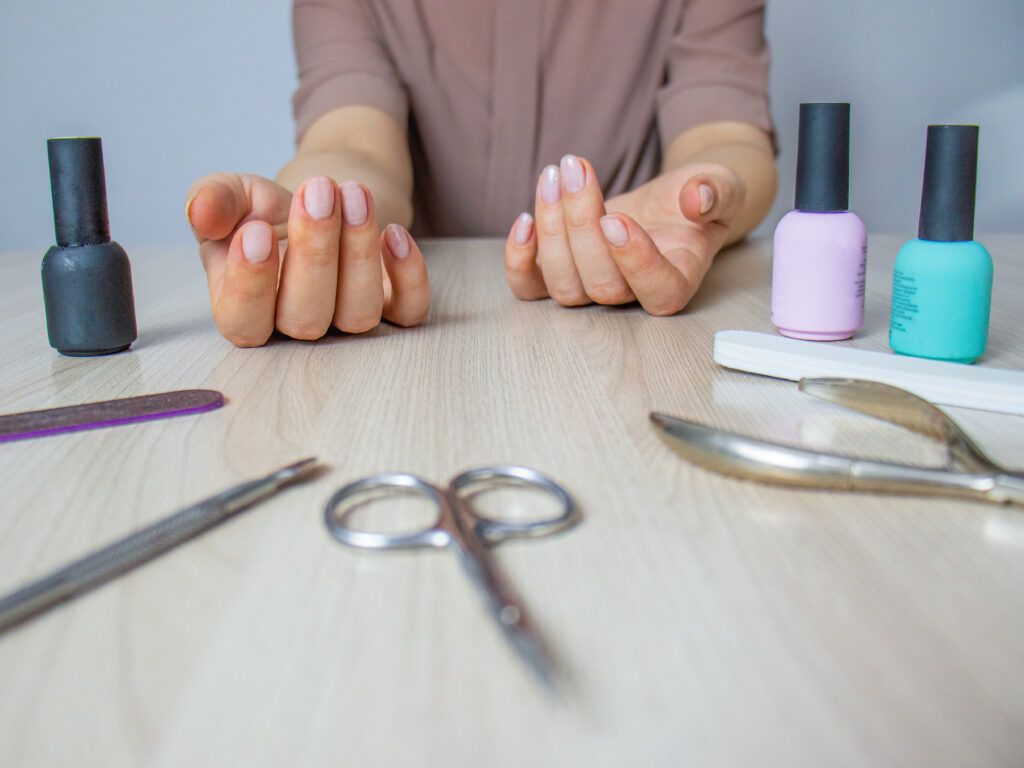
To achieve a flawless at-home manicure, it’s important to have the right tools and products on hand. Here’s a list of the essentials you’ll need:
- Nail Clippers: For trimming nails to your desired length.
- Nail File and Buffer: To shape your nails and smooth the surface for a perfect polish application.
- Cuticle Pusher and Cuticle Oil: Push back cuticles gently and keep them hydrated to maintain healthy nail beds.
- Base Coat: A must for protecting your nails and ensuring the polish adheres smoothly.
- Nail Polish: Choose your favorite colors to create your desired look.
- Top Coat: This seals in the color, adds shine, and helps your manicure last longer.
- Nail Polish Remover and Cotton Pads: For correcting mistakes and removing old polish.
Step-by-Step for Perfect Nails
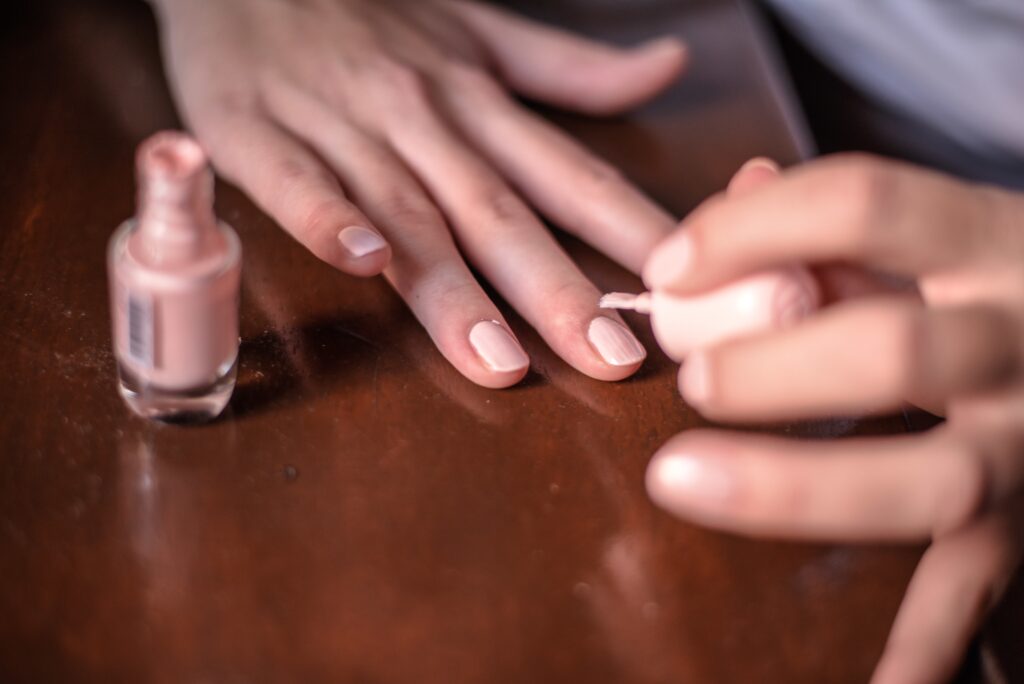
Achieving a flawless manicure at home is easier than you might think. Follow these simple steps to get perfect nails every time:
- Nail Preparation:
- Start by removing any old polish with a gentle remover. Trim your nails to your preferred length, then file them into your desired shape. Soak your nails in warm, soapy water to soften cuticles, and gently push them back for a clean look.
- Buff and Cleanse:
- Lightly buff the surface of each nail to smooth out ridges and create an even canvas. Wipe your nails with a lint-free cloth soaked in alcohol to remove any dust or oils that could prevent the polish from adhering properly.
- Apply Base Coat:
- Protect your nails and extend the life of your manicure by applying a thin layer of base coat. This step prevents staining and provides a smooth base for your polish.
- Polish Application:
- Apply your chosen nail color in thin, even layers. Start with a stroke down the center, followed by one on each side. Allow the first coat to dry completely before adding a second coat for a richer color and smoother finish.
- Top Coat Finish:
- Once your polish is dry, seal it with a top coat. This adds shine and helps prevent chipping. Make sure to swipe the top coat along the edge of your nails to lock in the color.
- Perfect the Details:
- Clean up any polish that may have gotten on your skin using a small brush dipped in remover. After your nails are completely dry, massage cuticle oil into your nails and apply hand cream for a polished, professional look.
Nail Care Tips and Tricks
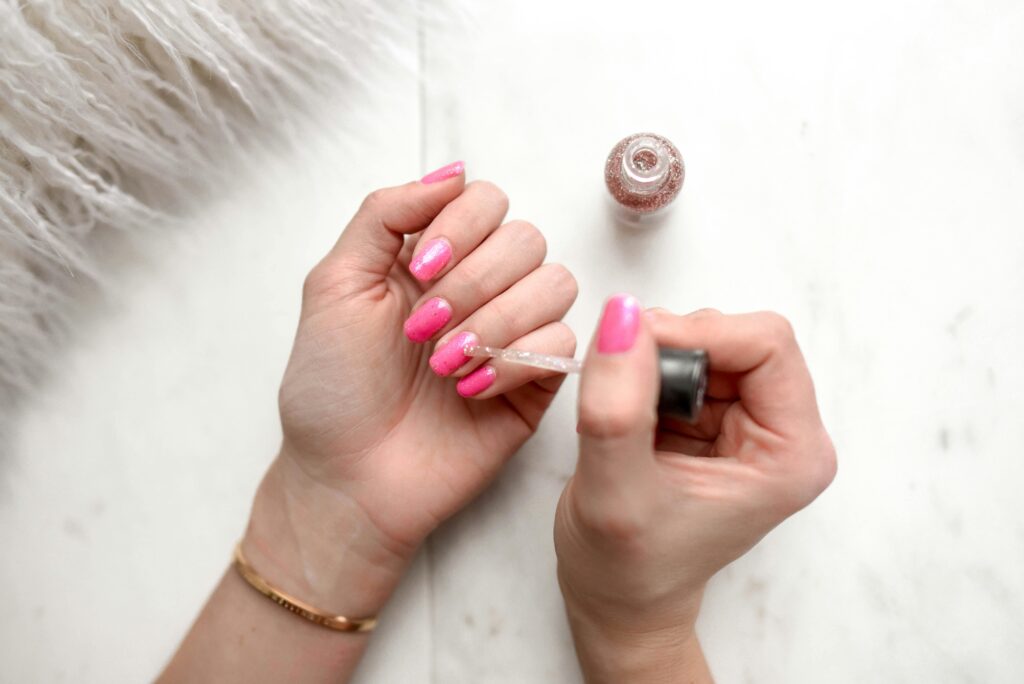
Maintaining healthy, strong nails requires more than just a good manicure. Here are some essential tips and tricks to keep your nails in top condition:
- Moisturize Regularly:
- Just like your skin, your nails need moisture. Regularly apply cuticle oil and hand cream to keep your nails and surrounding skin hydrated. This helps prevent dryness, cracking, and peeling.
- File Nails Properly:
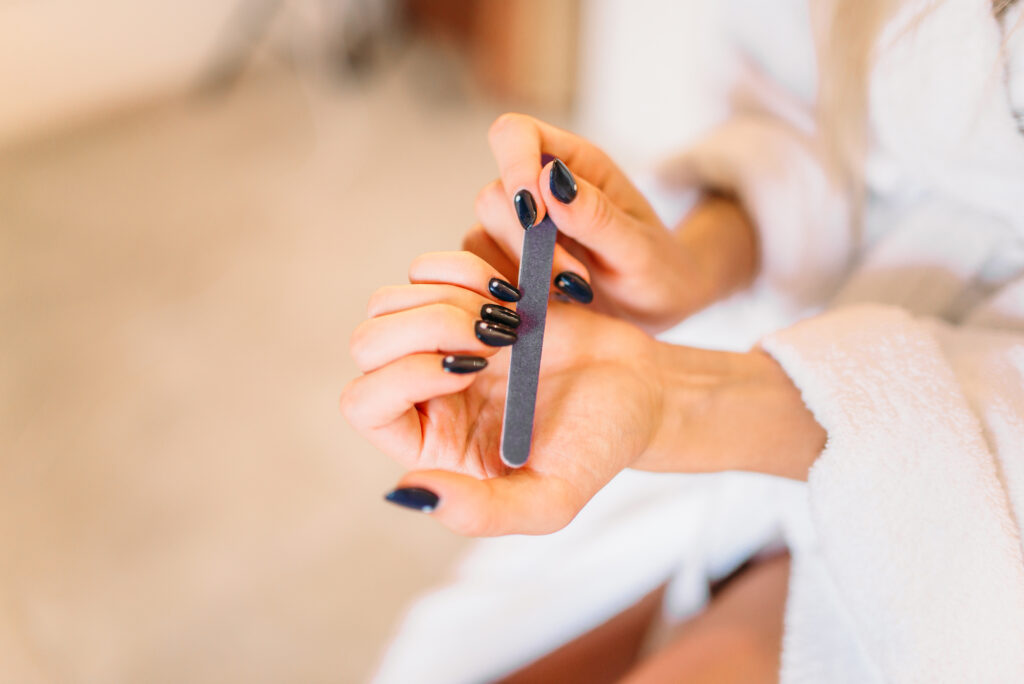
- Always file your nails in one direction to avoid splitting or weakening them. Use a fine-grit file and shape your nails with gentle, smooth strokes. Avoid aggressive back-and-forth filing, which can cause damage.
- Avoid Harsh Chemicals:
- Limit exposure to harsh chemicals found in cleaning products and nail polish removers, especially those with acetone. Wear gloves when doing household chores and opt for non-acetone removers when possible.
- Take Breaks from Polish:
- Give your nails a break from polish every few weeks to let them breathe and recover. Constant polish application can dry out your nails, making them brittle and prone to breakage.
- Trim Regularly:
- Keep your nails trimmed to a manageable length to prevent snags and breaks. Regular trimming also encourages healthy growth.
- Protect Your Nails:
- Avoid using your nails as tools to open cans or scrape surfaces, as this can lead to breakage. Be mindful of how you treat your nails to avoid unnecessary stress.
- Maintain a Healthy Diet:
- A balanced diet rich in vitamins and minerals, particularly biotin, zinc, and omega-3 fatty acids, supports strong, healthy nails. Consider adding supplements if necessary.
Common Mistakes and How to Avoid Them
1. Applying Polish Too Thickly
Mistake: Applying thick layers of polish can lead to smudging, uneven drying, and a bulky appearance.
Solution: Apply thin, even layers of polish. Allow each coat to dry completely before applying the next. Thin layers dry faster and are less prone to smudging.
2. Not Letting Layers Dry Completely
Mistake: Rushing through the application and not waiting for each layer to dry can cause smudging and streaking.
Solution: Be patient and wait for each coat to dry completely before applying the next. Use a quick-dry top coat to speed up the drying process if needed.
3. Skipping the Base Coat
Mistake: Skipping the base coat can lead to staining and make it harder for the polish to adhere properly.
Solution: Always apply a thin layer of base coat before your color polish. This protects your nails from staining and creates a smooth surface for the polish.
4. Overfilling or Improper Filing
Mistake: Aggressive filing or over-filing can weaken nails, leading to splits and breaks.
Solution: File nails gently in one direction with a fine-grit file. Shape them carefully without excessive pressure to avoid damage.
5. Not Using a Top Coat
Mistake: Skipping the top coat can result in dull, chipped polish that doesn’t last long.
Solution: Apply a layer of top coat to add shine and protection. Be sure to seal the edges of your nails to prevent chipping.
6. Applying Polish on Dirty Nails
Mistake: Applying polish on nails with leftover oils, dust, or residue can lead to poor adhesion and uneven application.
Solution: Clean your nails thoroughly with a lint-free cloth soaked in rubbing alcohol before applying polish to remove any oils and dust.
7. Using Old or Thickened Polish
Mistake: Using old or thickened nail polish can result in an uneven application and longer drying times.
Solution: Check the consistency of your polish before use. If it’s thick, add a few drops of nail polish thinner to restore its original consistency.
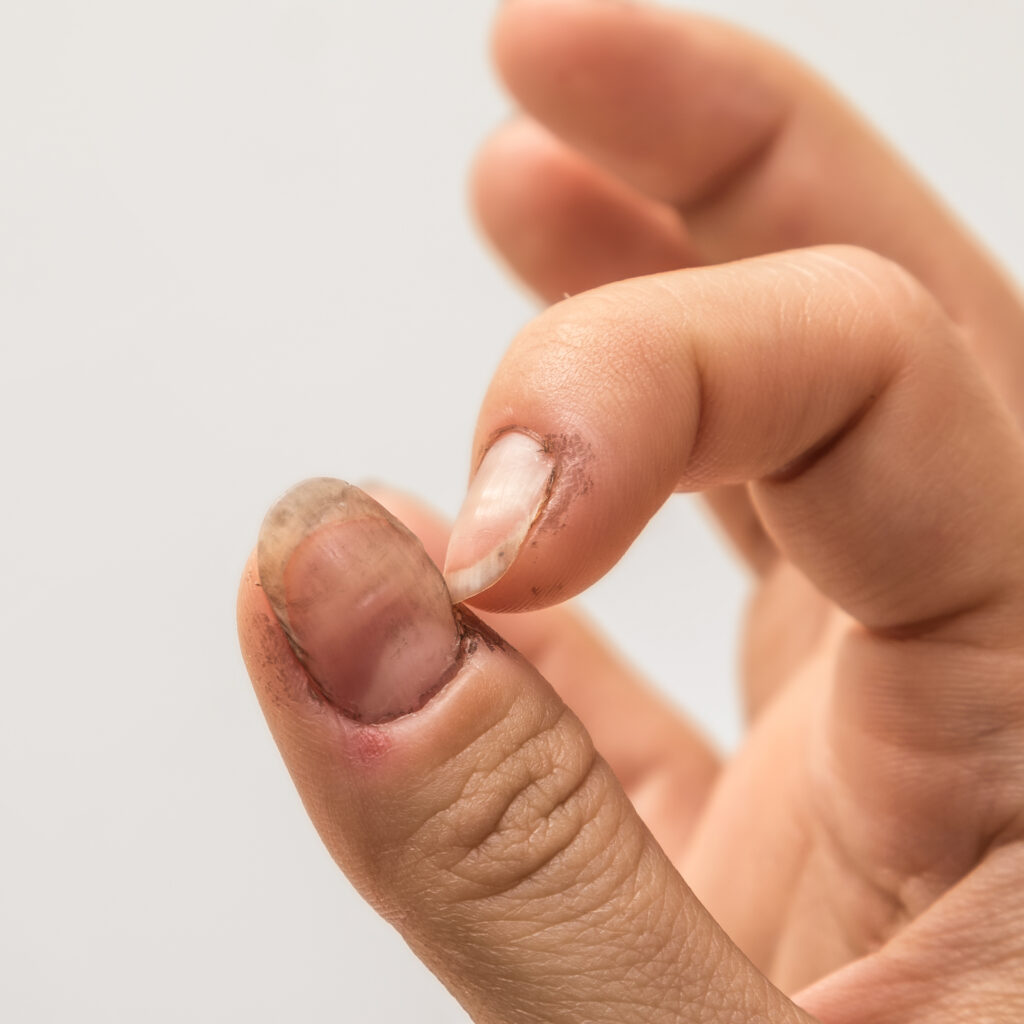
8. Ignoring Cuticle Care
Mistake: Neglecting cuticle care can lead to an uneven polish application and unhealthy nails.
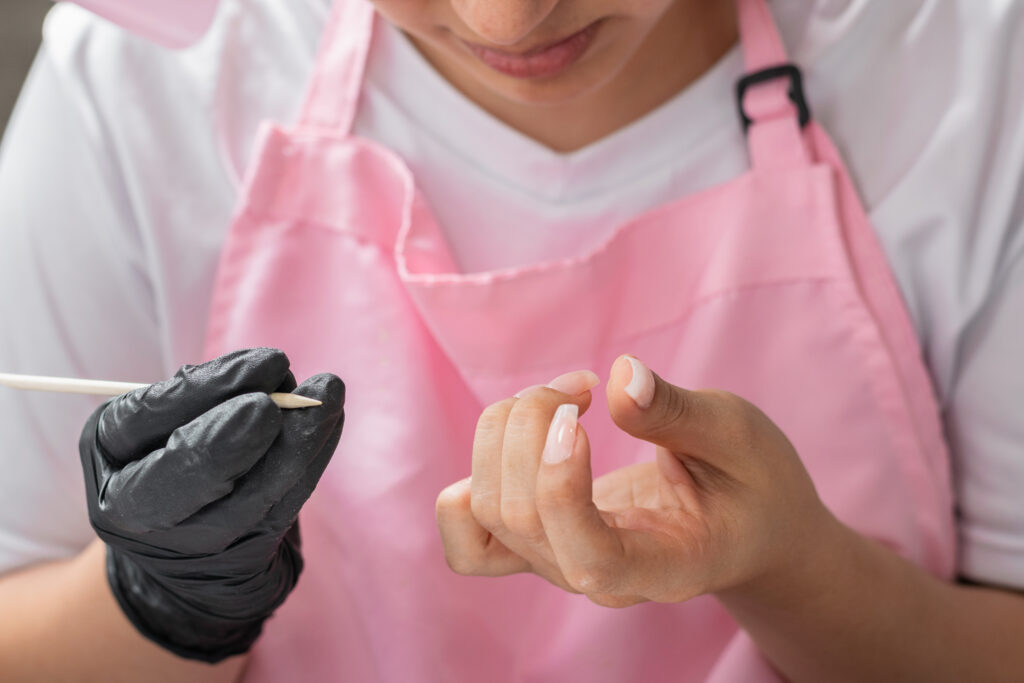
Solution: Gently push back cuticles and apply cuticle oil regularly to keep them moisturized and healthy. This helps in achieving a cleaner polish application.
9. Not Cleaning Up Edges
Mistake: Leaving polish on the skin around your nails can make the manicure look sloppy.
Solution: Use a small brush or cotton swab dipped in nail polish remover to clean up any excess polish around your nails for a neat finish.
10. Applying Polish in a Rush
Mistake: Applying polish quickly without attention to detail can result in mistakes and a messy finish.
Solution: Take your time with each step. Apply polish carefully and allow adequate drying time between coats to ensure a clean, professional look.
Creative Nail Ideas and Trends
1. Minimalist Designs
- Tiny Dots and Lines: Use a fine brush or dotting tool to create simple, minimalist patterns like dots or lines in contrasting colors.
- Negative Space: Leave parts of your nail bare with geometric shapes or stripes.
2. French Manicure Twist
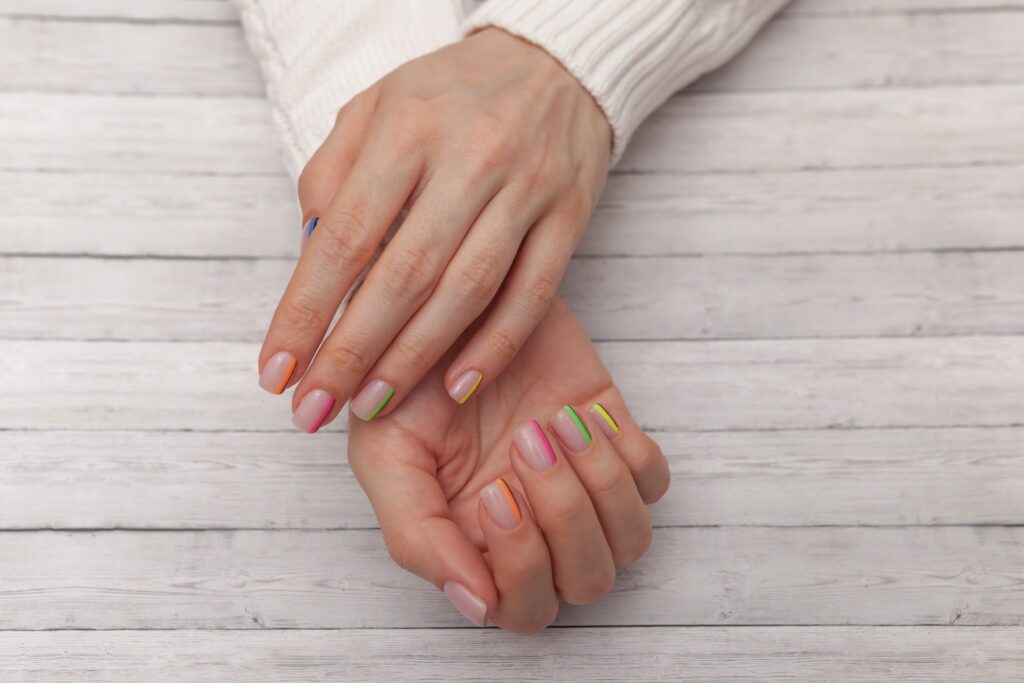
- Colorful Tips: Replace classic white tips with vibrant colors or metallic shades.
- Diagonal or Half-Moon Tips: Experiment with angled tips or half-moon shapes at the base of your nails.
3. Ombre Effect
- Gradient Shades: Blend two or more colors for a smooth ombre effect. Use a sponge to gently dab the colors together for a gradient look.
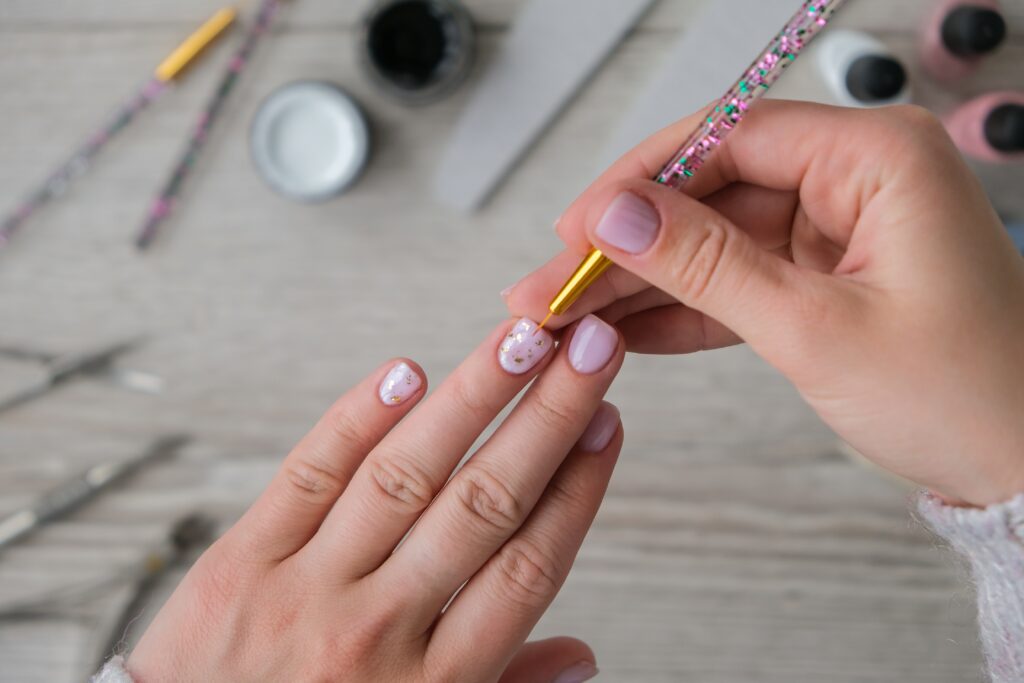
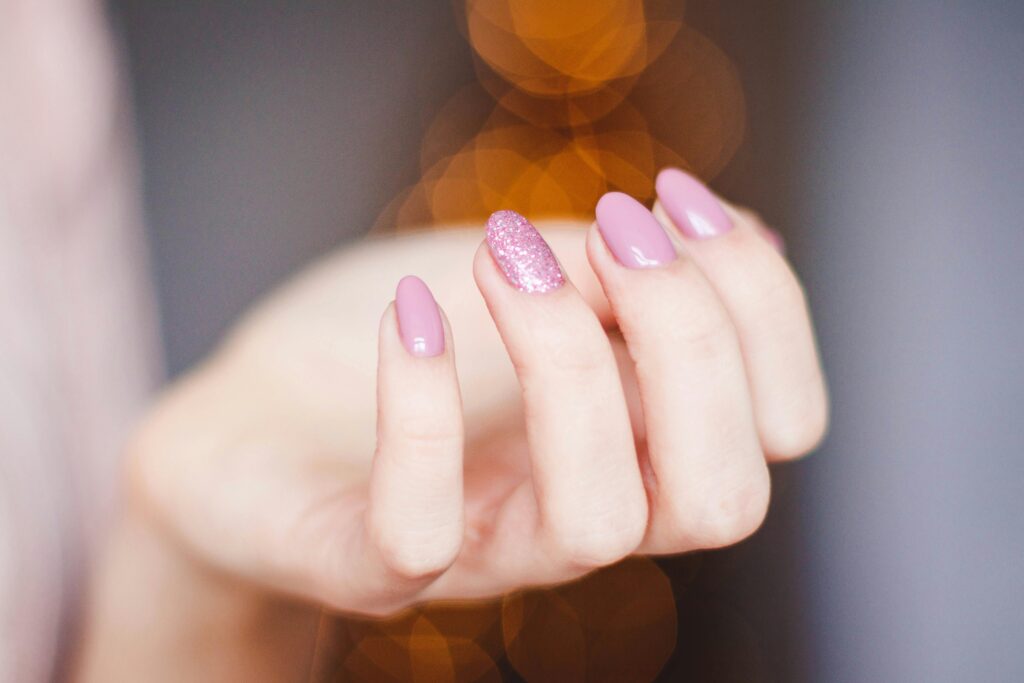
- Glitter Tips or Lines: Add a touch of sparkle by applying glitter to the tips of your nails or creating accent lines.
- Full Glitter Nails: Apply glitter polish over a base color for a full-on glitter effect.
5. Metallic and Foil Effects
- Metallic Polish: Use silver, gold, or copper polish for a sleek, shiny look.
- Foil Accents: Apply small pieces of nail foil to your nails for a chic, textured finish.
6. Floral Patterns
- Water Decals: Apply pre-designed floral water decals for a quick and intricate floral design.
- Simple Flowers: Use a dotting tool to create small flowers with contrasting centers and petals.
7. Abstract Art
- Bold Stripes and Shapes: Create bold, abstract designs using tape or freehand painting for an artistic look.
- Color Blocking: Use contrasting colors to create sections or blocks of color on your nails.
8. Seasonal Themes
- Pastel for Spring: Soft pastels like lavender and mint for a fresh spring look.
- Warm Tones for Fall: Deep reds, oranges, and browns to reflect autumnal colors.
9. Textured Finishes
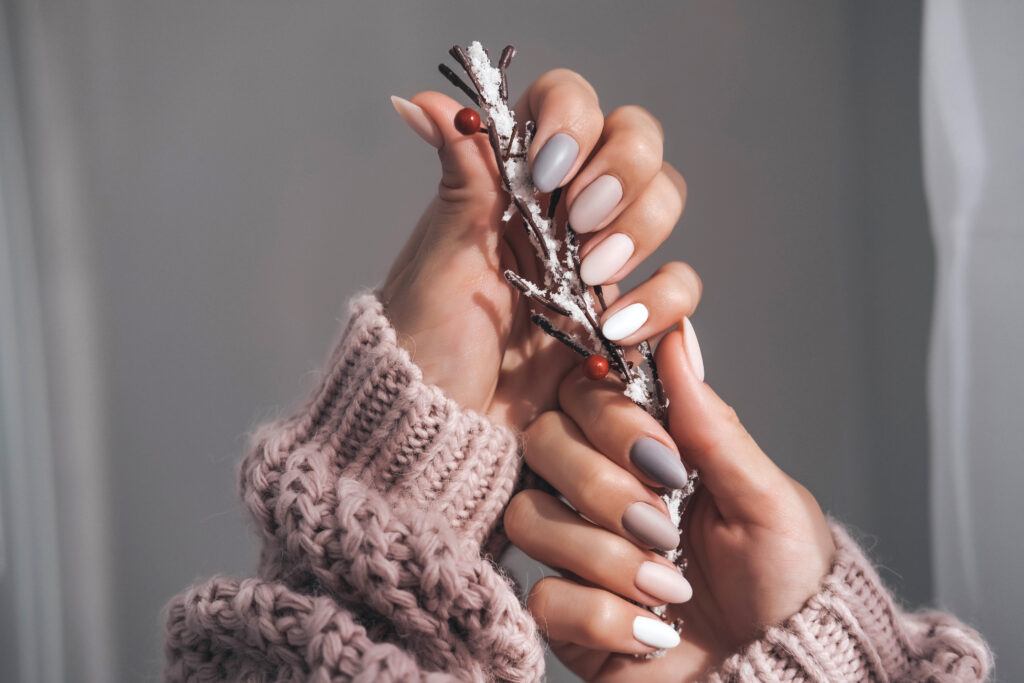
- Matte Polish: Apply a matte top coat for a modern, non-shiny finish.
- Sandy or Velvety Effect: Use textured polishes for a unique, tactile finish.
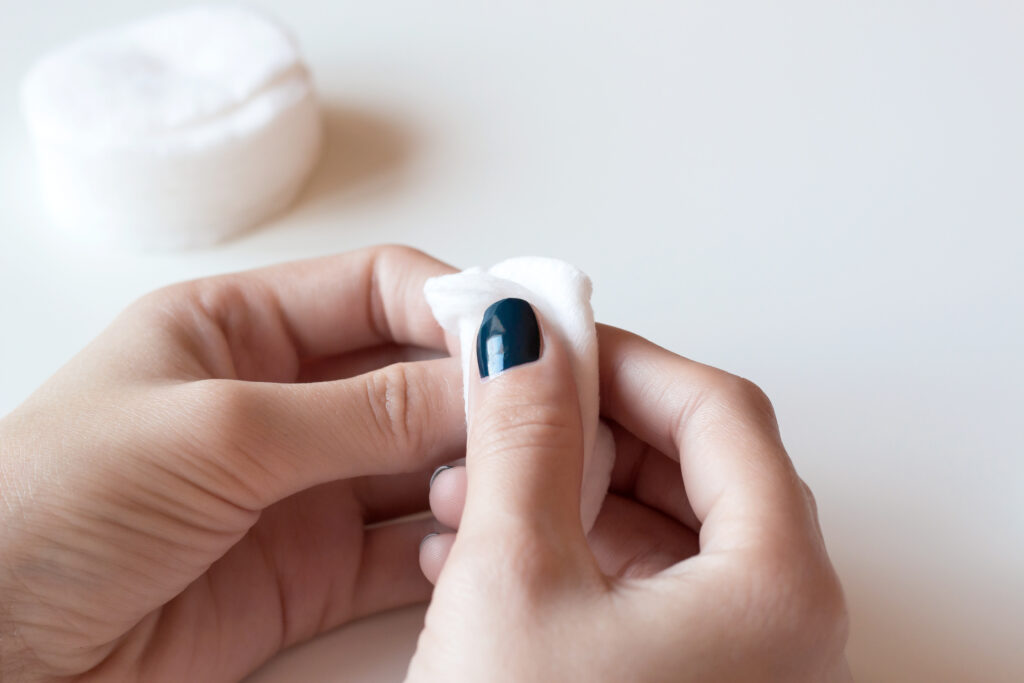
Removing Nail Polish Safely
- 1. Choose a Gentle Remover
- Use a non-acetone remover to prevent drying out your nails.
- 2. Soak and Wipe
- Soak a cotton pad with remover, place it on your nail, and hold for 10-15 seconds before gently wiping off the polish.
- 3. Tackle Glitter Polish
- For glitter, use the foil method: soak a cotton pad with remover, wrap it with foil, and leave for 10-15 minutes, then wipe away.
- 4. Skip Scrubbing
- Avoid scrubbing or using harsh tools to prevent damage to your nails.
- 5. Rehydrate
- Finish by applying cuticle oil and hand cream to restore moisture.
Maintaining Your Manicure
- Apply Top Coat Regularly
- Extend the life of your manicure by applying a top coat every 2-3 days to prevent chipping and add shine.
- Avoid Harsh Chemicals
- Protect your nails by wearing gloves when cleaning and using non-abrasive soaps to avoid weakening your polish.
- Moisturize Hands and Cuticles
- Keep your hands and cuticles hydrated with hand cream and cuticle oil to prevent dryness and cracking.
- Handle with Care
- Avoid using your nails as tools and keep them dry to prevent chips and breaks.
- Touch Up Chips
- Quickly fix any chips with a bit of polish and a top coat to maintain a smooth, fresh look.
FAQ
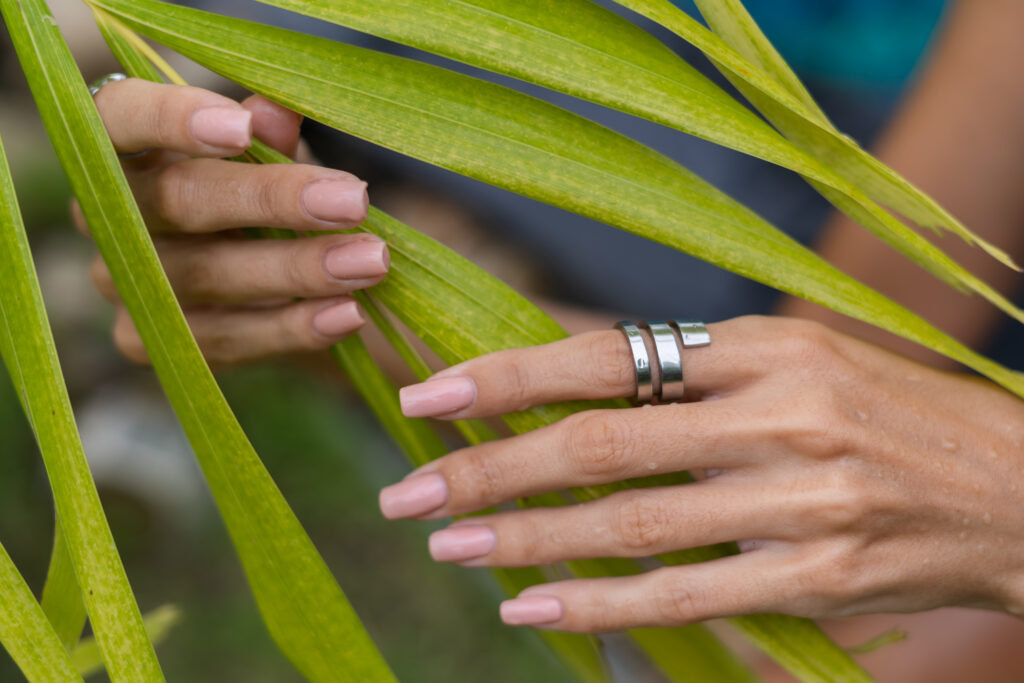
For a successful at-home manicure (DIY nails), you’ll need nail clippers, a nail file, a cuticle pusher, cuticle oil, a base coat, nail polish, and a top coat.
Extend the life of your manicure by avoiding harsh chemicals, moisturizing your hands and cuticles regularly, and using your nails gently. Reapply top coat as needed to protect your polish.
Yes, a base coat is essential for protecting your nails and ensuring even polish application, while a top coat adds shine and helps prevent chipping.
Touch up any chipped areas with a small amount of nail polish and seal with a fresh layer of top coat. For significant damage, it may be best to remove all polish and start the manicure process again.
Use a non-acetone remover to gently dissolve the polish. Soak a cotton pad with the remover, press it onto your nail for a few seconds, then wipe away the polish. This technique minimizes damage and reduces the need for excessive rubbing.

