Check out the nail art designs that you can easily produce in the privacy of your own house.
Your nails will transform into canvases, waiting for your touch. Without any difficulty or money, you can turn any room into your own manicure salon with a dash of flare and a dash of invention. Make sure that doing your nails yourself allows you to relax and enjoy in self-care while embracing your side. All you have to do is let your creativity run wild, and your nails will be transformed into small masterpieces, turning heads and sparking comments wherever you go.
Essential Tools and Materials for Stunning Nail Art Designs
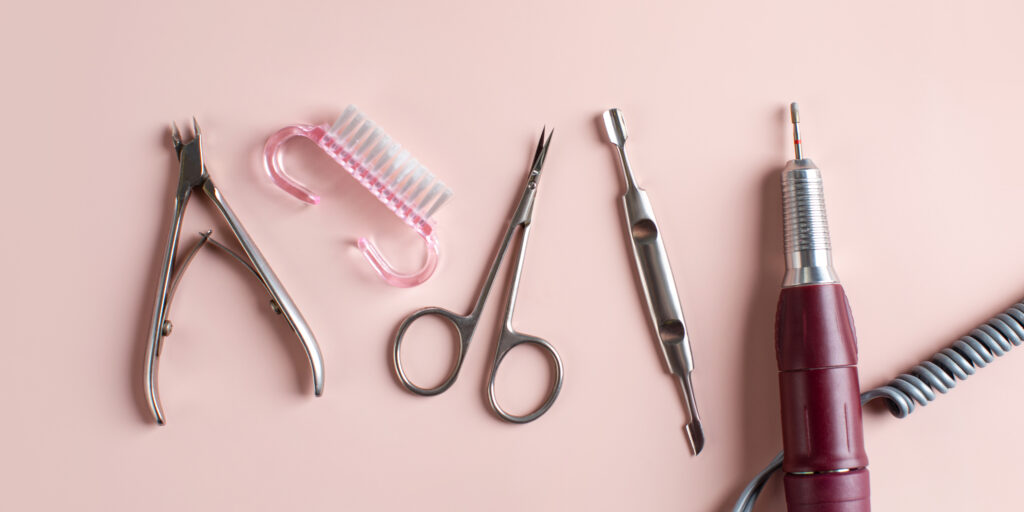
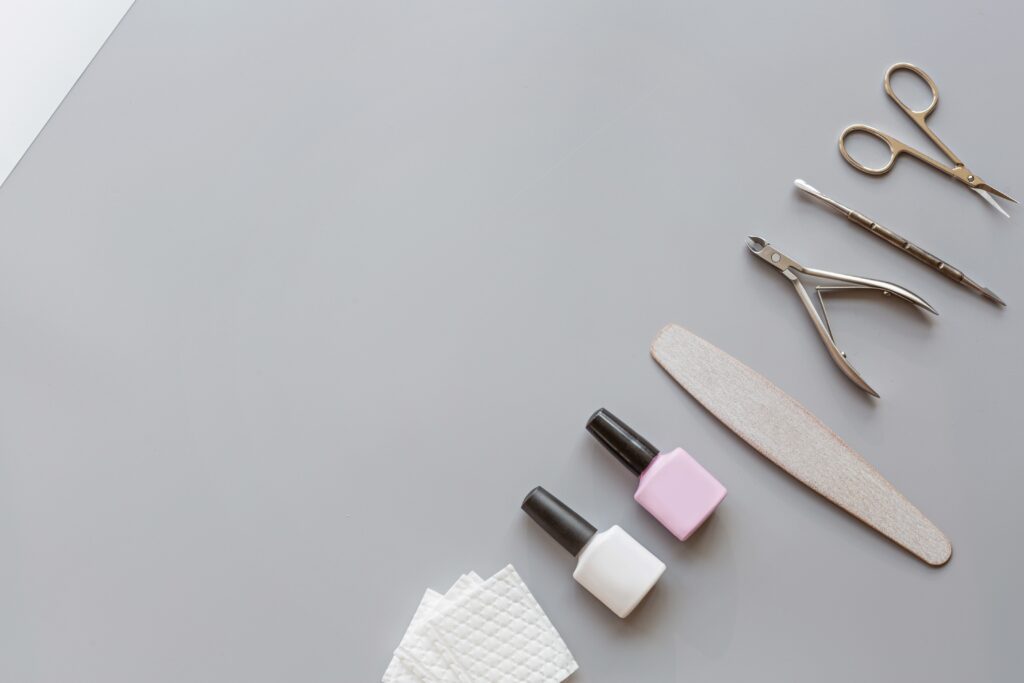
When it comes to creating nail art designs having the right tools and materials is crucial. In the realm of nail art, an assortment of nail polishes becomes your canvas allowing you to paint your nails in a variety of colors and shades. Additionally, top-notch brushes, including detailing brushes and flat brushes, enable application and intricate designs. Moreover, embellishments, like nail stickers and rhinestones bring a touch of elegance and imagination to your manicures offering possibilities for enhancing their beauty.


Moreover, other important items include base coats and top coats for achieving a long-lasting finish, nail files, and buffers for shaping and smoothing the nails, and acetone or nail polish remover for cleaning up mistakes. Collectively these foundational elements make up the core of your nail art toolkit empowering you to unleash your creativity and transform nails into works of art. With these items, at your disposal, you can delve into the world of nail art with confidence while expressing yourself in an artistic manner.
Beginner’s Corner for Simple and Eye-Catching Designs
Here is the beginner’s nail designs corner, a dedicated space for those new to the exciting world of nail art. Unleash your creativity to its fullest potential and embark on a delightful journey of self-expression.
Geometric Design
Applying geometric nail art will definitely captivate onlookers. Begin by protecting your nails with a base coat, creating a solid foundation for your artistic masterpiece. Once dry, venture into the world of color and contrast by selecting two alluring shades—one pastel and one bold. Gracefully apply the lighter color to your nails, allowing them to dry thoroughly. Now, armed with striping tape or nail art stencils, it’s time to unleash your creativity.
Shape the tape or stencil into captivating geometric patterns on your nails, allowing your vision to come to life. With precision and finesse, apply the darker color over the exposed areas, ensuring the tape or stencil is swiftly removed to reveal crisp lines. To elevate your design to a professional level, seal it with a glossy top coat, leaving a lasting impression.
Classic Polka Dots
Polka dot nail design is a timeless charm. To begin, apply a protective base coat to ensure a flawless canvas for your design. Once it’s dry, transition to selecting your favorite nail polish color, allowing your personal style to shine through. After the color dries, equip yourself with a trusty round-ended bobby pin or a dotting tool, dipped into a contrasting polish.
With a gentle touch, press the tool onto your nails, creating captivating polka dots in a pattern of your choosing or randomly for a spontaneous flair. Feel free to experiment with different sizes and spacing, adding a dash of visual interest to your design. To seal your masterpiece with a touch of elegance, transition by applying a top coat that will leave your nails with a polished finish.
Glitter Gradient Design
To do this stunning design, start by applying a base color of your preference, making sure to allow it sufficient time to dry thoroughly. Following that, seamlessly transition to your choice between a dazzling glitter polish or loose glitter. With a steady hand, gently administer the glitter onto the base of your nails, skillfully fading it towards the tips. This gradual transition unfolds a stunning gradient effect, revealing a manicure that is both glamorous and irresistibly elegant.
For a polished final appearance, contemplate employing a makeup sponge or a small brush to impeccably blend the glitter, creating a seamless merger of the base color and the glistening particles. This method yields a delightful interplay of hues and textures, elevating the charm of your manicure. To preserve your nail design’s integrity, remember to secure your glitter gradient creation with a top-quality top coat. This protective shield not only imparts a brilliant shine but also guarantees the endurance of your enchanting manicure.
FAQ
Nail art is a creative way of decorating and enhancing the appearance of nails. It involves various techniques, such as painting designs, applying stickers, adding gems or glitter, and using tools to create intricate patterns and textures on the nails.
Absolutely! Nail art can be easily done at home with the right tools, materials, and a bit of practice. Moreover, there are plenty of beginner-friendly designs and techniques that you can try yourself.
Practice is key to improving your nail art skills. To begin with, start with simple designs and gradually challenge yourself with more intricate patterns. Additionally, watching tutorials, experimenting with different techniques, and not being afraid to make mistakes will help you grow as a nail artist.
To make your nail art last longer, it’s important to follow a few steps. Firstly, apply a base coat before painting your nails. Secondly, ensure each layer of polish is completely dry before adding the next. Finally, finish with a top coat to seal and protect the design. Additionally, it’s advisable to avoid exposing your nails to harsh chemicals or excessive water and to wear gloves while doing household chores.
Yes, you can certainly use regular nail polish for nail art. However, it’s worth noting that some designs may require specific types of polish, such as gel polish for certain techniques or effects. It’s best to choose high-quality polishes with good pigmentation for better results.
To remove nail art effectively, start by soaking a cotton pad in nail polish remover (preferably acetone-based). Next, place it on the nail and wrap each finger with aluminum foil. Leave it on for about 10-15 minutes to allow the polish to dissolve. Lastly, gently remove the foil and cotton pad, and use a cuticle pusher or orange stick to scrape off any remaining residue.


Anonymous -
I’m absolutely loving doing nail art designs by myself! This blog is a constant source of inspiration with its diverse and perfect designs for home experimentation. I’m eager to learn new techniques and take my nail game to the next level💅💅