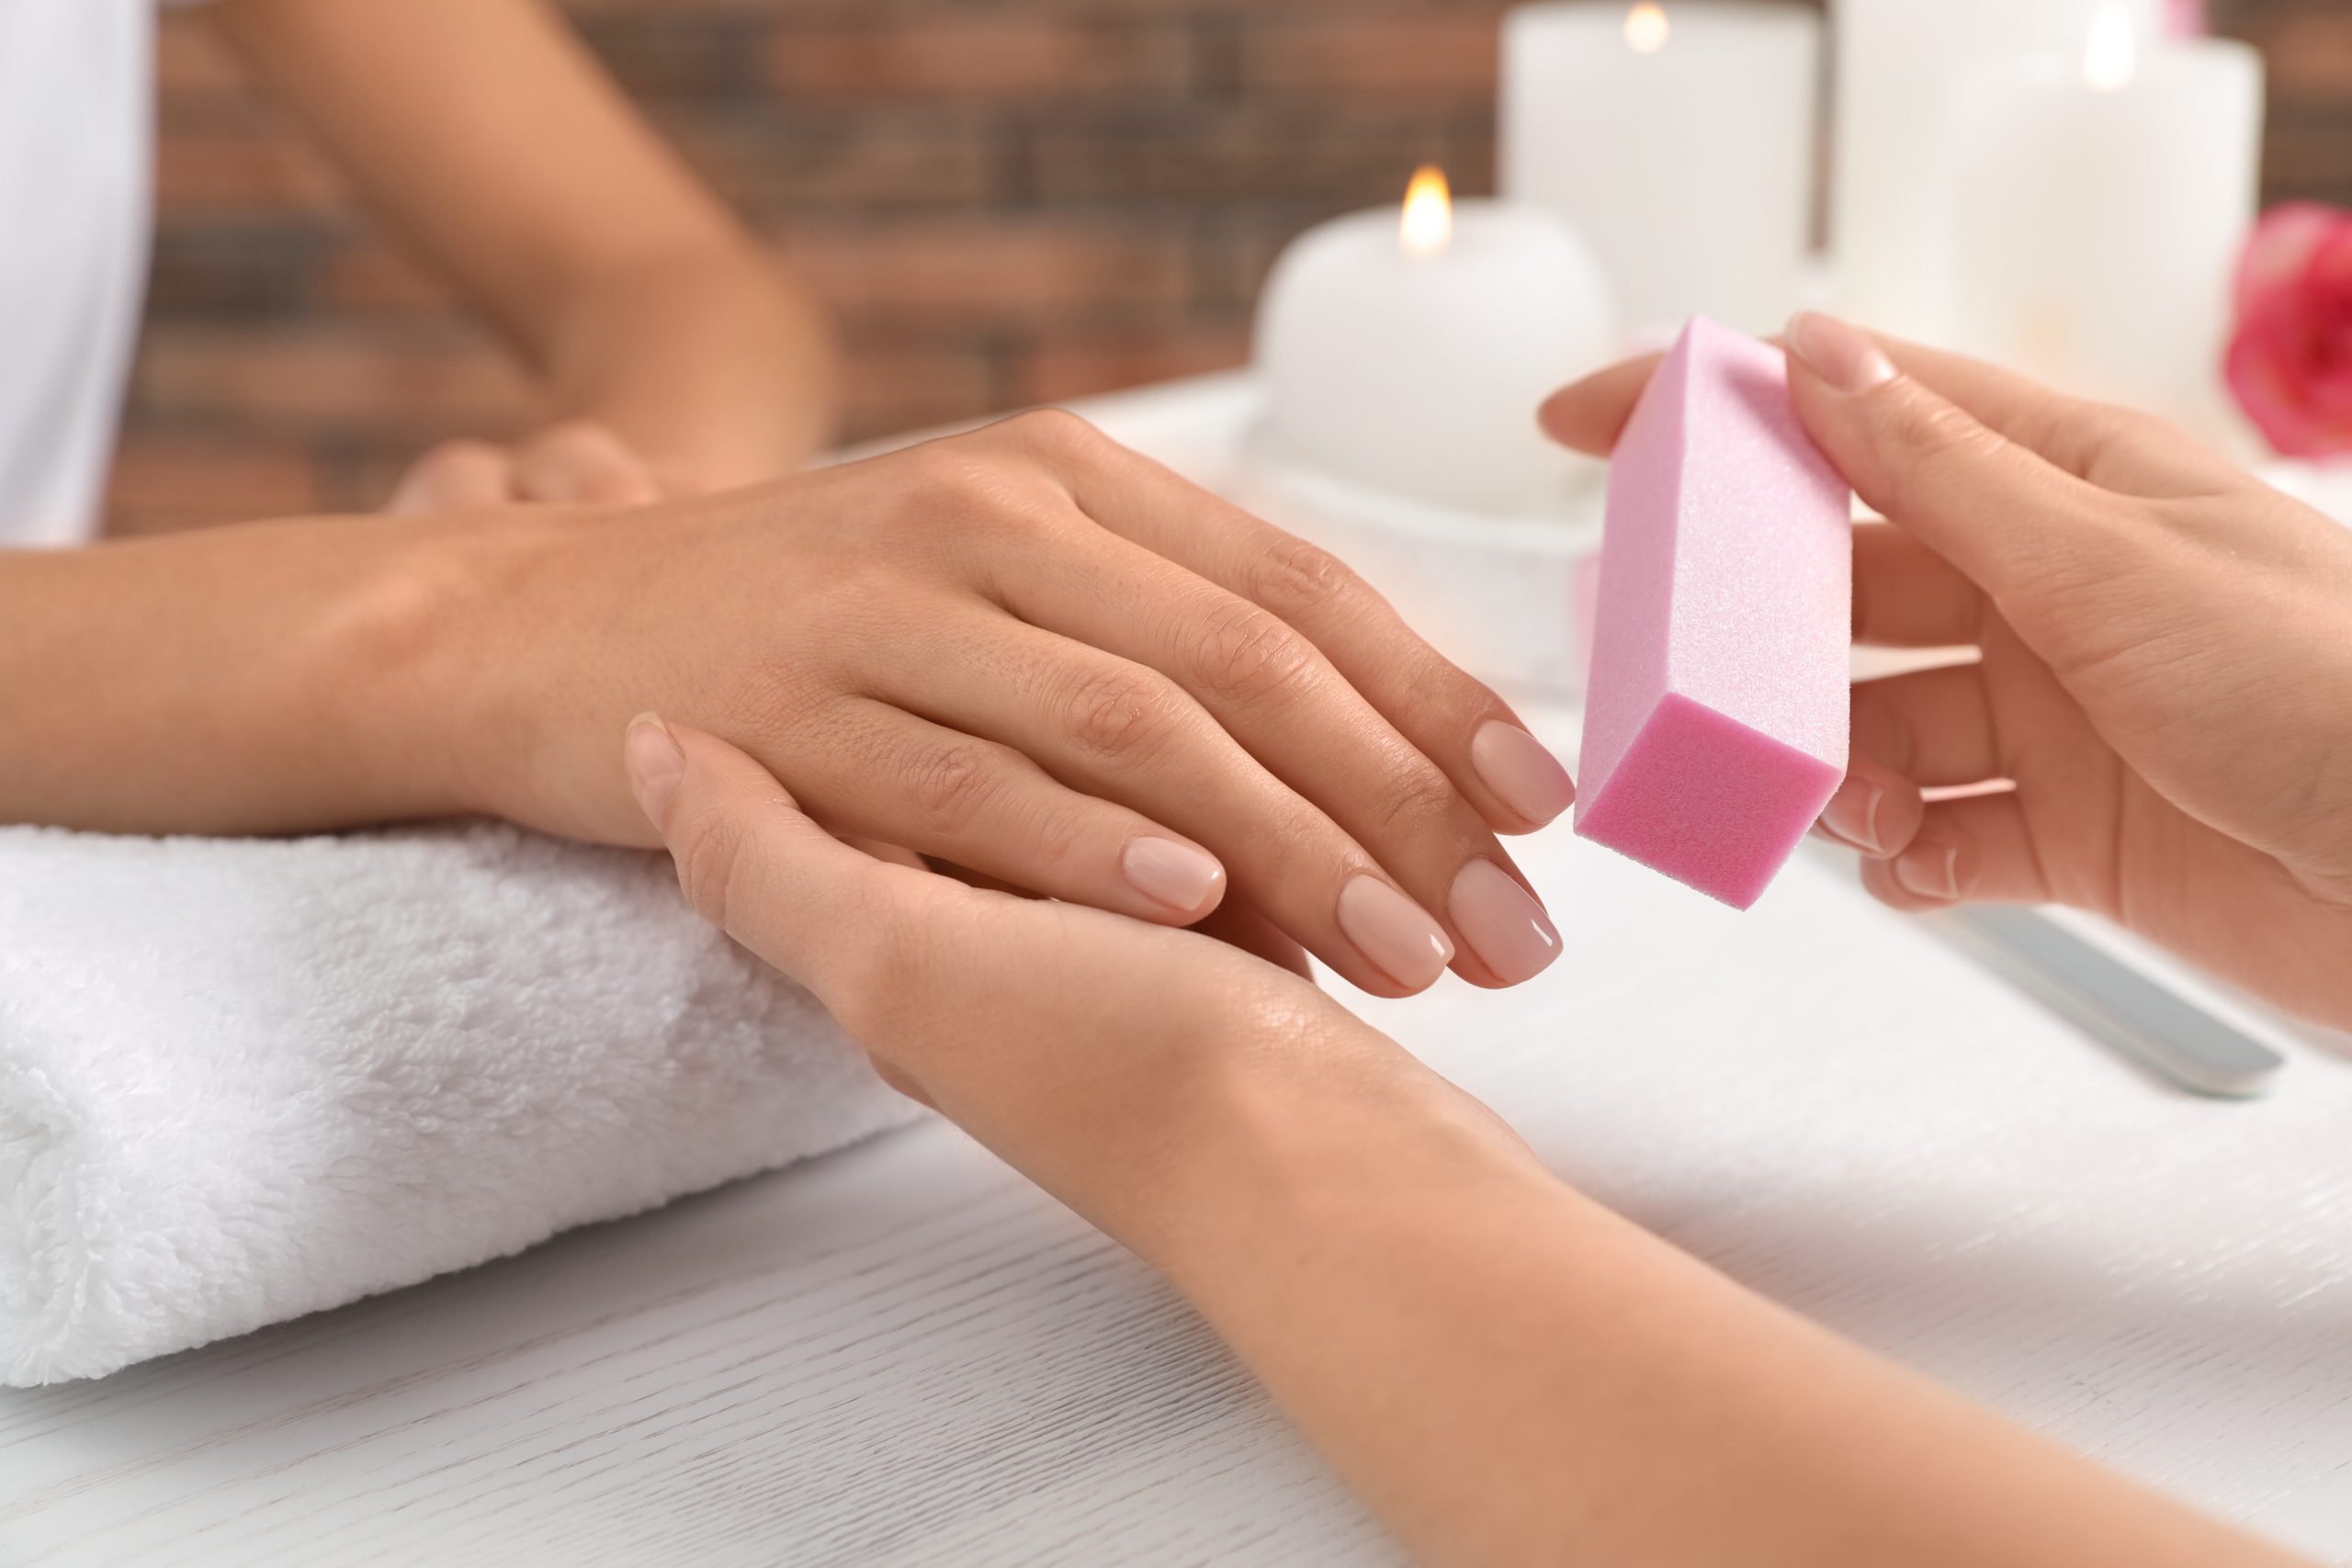
A good nail buffer can make the difference between ordinary-looking nails and a smooth, polished-looking manicure.
But with different shapes, materials, and grit levels available, choosing the right buffer isn’t always straightforward.
Whether you’re preparing your nails for polish, smoothing uneven ridges, or simply want a natural shine, the best nail buffer depends on what you’re trying to achieve. Using the wrong grit or buffing too often, however, can thin the natural nail and cause unnecessary damage.
Table of Contents
- What Is a Nail Buffer?
- Nail File vs Nail Buffer: What's the Difference?
- Different Types of Nail Buffers
- Understanding Nail Buffer Grit
- How to Choose the Best Nail Buffer
- How Often Should You Buff Your Nails?
- Can Buffing Damage Your Nails?
- Should You Buff Nail Ridges?
- Nail Buffing Before Polish
- Nail Buffing vs Nail Shining
- Best Nail Buffer for an At-Home Manicure
- Nail Buffer Care and Hygiene
- FAQs
What Is a Nail Buffer?
A nail buffer is a manicure tool designed to smooth the surface of the nail, remove minor unevenness, and, with the appropriate finishing surface, create a natural shine.
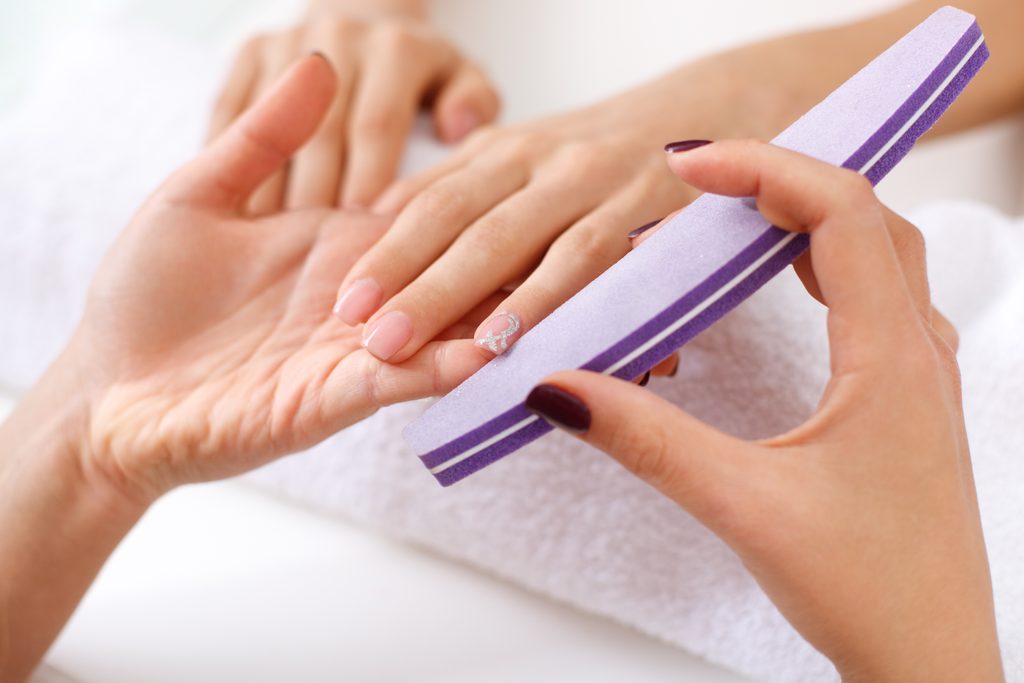
Unlike a nail file, which is primarily used to shorten and shape the free edge, a buffer is designed mainly for the surface of the nail plate.
A nail buffer can be useful for:
- Smoothing minor nail ridges
- Refining the nail surface
- Removing small surface imperfections
- Preparing natural nails before polish
- Creating a natural-looking shine
- Finishing an at-home manicure
However, buffing should be gentle. The goal is to refine the surface, not remove layers of the natural nail.
Nail File vs Nail Buffer: What’s the Difference?
Although nail files and buffers are often sold together, they have different purposes.
| Nail File | Nail Buffer |
|---|---|
| Shapes the nail edge | Smooths the nail surface |
| Shortens nails | Refines minor surface imperfections |
| Available in coarse and fine grits | Usually uses progressively finer surfaces |
| Used mainly on the free edge | Used mainly on the nail plate |
| Helps create nail shapes | Can create a smoother, shinier finish |
Therefore, if you’re trying to change the length or shape of your nails, reach for a nail file. If you’re trying to smooth or shine the nail surface, a buffer is the more appropriate tool.
Different Types of Nail Buffers
Nail buffers come in several designs. The best option depends on your nail care
A 4-way nail buffer typically combines several surfaces in one tool. Each side may have a different level of abrasiveness and a specific purpose, such as smoothing, refining, and polishing.
This makes a 4-way buffer particularly convenient for beginners because one compact tool can handle multiple stages of a manicure.
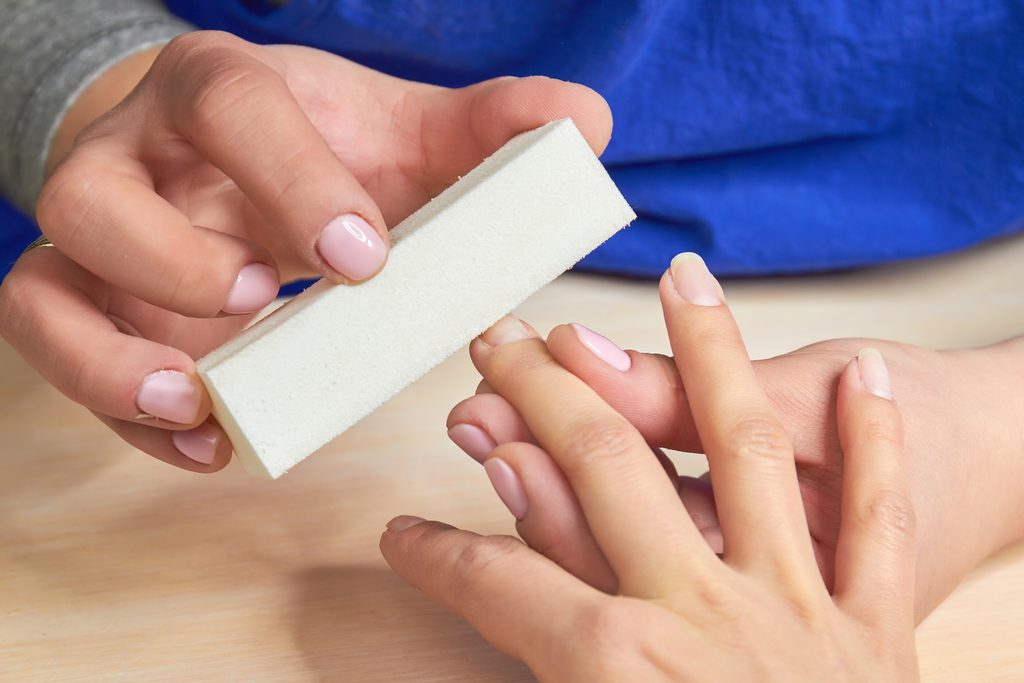
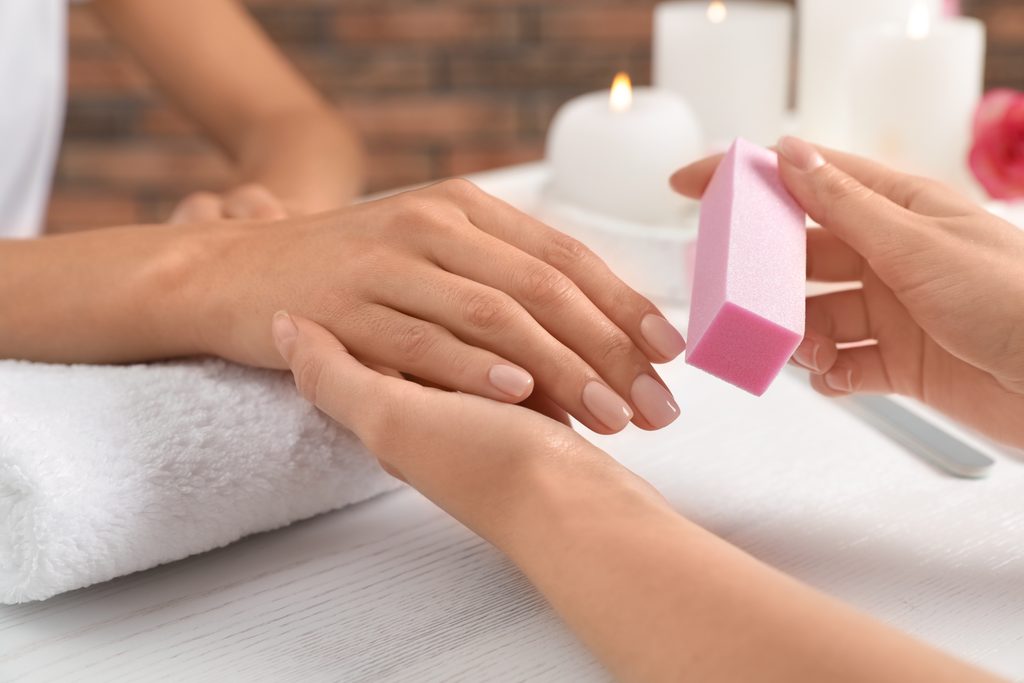
A buffer block is usually rectangular and easy to hold. It provides a broad surface that makes it simple to work across the nail.
Buffer blocks are popular for:
- At-home manicures
- Smoothing natural nails
- Light surface preparation
- Beginners
A sponge buffer has a flexible core that conforms more easily to the shape of the nail.
Because it provides some cushioning, it can be comfortable for gentle surface refinement and regular manicure maintenance.
Some buffers resemble traditional nail files but have a finer abrasive surface designed for the nail plate.
They are lightweight and easy to control, making them useful for targeted buffing.
Understanding Nail Buffer Grit
One of the most important things to consider when choosing a nail buffer is grit.
Grit refers to the coarseness of the abrasive surface. Generally, a lower number indicates a more abrasive surface, while a higher number indicates a finer surface.
Nail Buffer Grit Guide
| Approximate Grit | Typical Use |
| 100–180 | More aggressive shaping or product work |
| 180–240 | Smoothing and preparation |
| 240–320 | Gentle natural-nail refinement |
| 320–600 | Fine smoothing |
| 600–3000+ | Polishing and shine |
Exact grit classifications can vary between manufacturers, so always check the product instructions before using a buffer.
For natural nails, a fine-grit nail buffer is generally the safer choice for surface refinement.
Avoid using coarse abrasives repeatedly on the natural nail plate. A coarse buffer can remove more nail material than necessary and may leave nails thinner over time.
How to Choose the Best Nail Buffer
The best nail buffer isn’t necessarily the most expensive one. Instead, choose according to your nail type, experience level, and intended use.
Natural Nails
Choose a fine-grit buffer designed specifically for natural nails.
If your goal is simply to smooth the surface and add shine, there is no need for an aggressive abrasive.
Beginners
A multi-sided buffer or 4-way buffer is a convenient choice.
Because each side is clearly designed for a different stage, it can make the buffing process easier to understand.
Brittle or Thin Nails
Be especially gentle.
If your nails are already thin or weak, avoid aggressive buffing. Focus on minimal surface refinement and avoid repeatedly buffing the same area.
For a Natural Shine
Look for a buffer with a dedicated polishing side.
These very fine surfaces are designed to refine the nail after the smoothing stages and can create a glossy appearance without traditional nail polish.
Step 1: Start With Clean, Dry Nails
Remove nail polish and wash your hands before beginning. Allow your nails to dry completely.
Step 2: Inspect Your Nails
Look for ridges, uneven areas, or rough patches.
Don’t automatically buff the entire nail just because you have a buffer. Work only where refinement is actually needed.
Step 3: Start With the Appropriate Grit
Use the least abrasive surface that will achieve your desired result.
For natural nails, this usually means starting with a fine surface rather than a coarse one.
Step 4: Use Light Pressure
Move the buffer gently across the nail surface.
You don’t need to press hard. Excessive pressure can generate friction and remove more of the nail surface than necessary.
Step 5: Keep Buffing Minimal
Avoid repeatedly going over the same area.
Once the surface looks smooth, stop.
Step 6: Finish With the Polishing Side
If your buffer has a polishing surface, use it gently to create a smoother, shinier finish.
Step 7: Moisturize
Finish your manicure with cuticle oil or a suitable hand and nail moisturizer.
This helps keep the surrounding skin comfortable and supports a complete nail care routine.
How Often Should You Buff Your Nails?
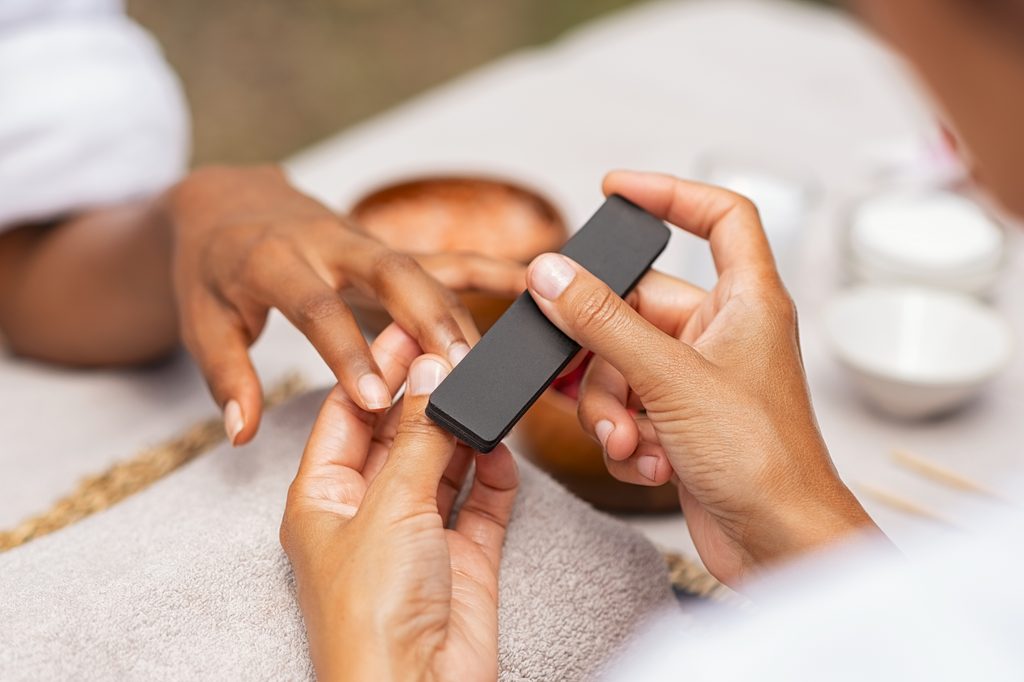
Unlike filing, buffing should not necessarily be part of your daily or weekly routine.
Frequent buffing can gradually remove layers from the nail plate, particularly when an abrasive surface is used aggressively.
For most people, occasional buffing is enough. If your nails already look smooth, there may be no reason to buff them at all.
The goal is maintenance, not maximum shine at any cost.
Can Buffing Damage Your Nails?
Yes. Excessive or aggressive buffing can damage the natural nail.
Potential problems include:
- Thinning of the nail plate
- Increased sensitivity
- Weakness
- Increased peeling
- Uneven texture caused by over-buffing
The most common mistake is assuming that more buffing produces better results. In reality, a healthy nail should require only minimal surface refinement.
If your nails are already thin, peeling, painful, or unusually sensitive, avoid aggressive buffing and consider speaking with a qualified healthcare professional if the problem persists.
Should You Buff Nail Ridges?
It depends on the type and severity of the ridge.
Minor surface unevenness may be gently refined with a suitable fine-grit buffer. However, aggressively buffing deep vertical or horizontal ridges is not recommended because it can unnecessarily thin the nail.
It’s also important to remember that nail ridges can have many causes. Persistent, pronounced, or newly appearing changes should not simply be buffed away.
Nail Buffing Before Polish
A smooth nail surface can help create a more even-looking manicure. However, you don’t need to buff your nails aggressively before applying polish.
Instead:
- Clean the nails.
- Shape the free edge with a nail file.
- Gently remove surface debris.
- Use a fine buffer only if needed.
- Remove dust.
- Apply your chosen base coat and polish.
For regular polish, excessive buffing isn’t necessary.
Nail Buffing vs Nail Shining
These two steps are related but not identical.
Buffing generally refers to smoothing and refining the nail surface.
Shining or polishing uses an extremely fine surface to create a glossy appearance.
A multi-sided nail buffer may combine both functions, allowing you to move from smoothing to polishing with the same tool.
Using a Coarse Buffer on Natural Nails
Coarse abrasives can remove too much nail material.
Applying Too Much Pressure
Let the abrasive surface do the work. Heavy pressure isn’t necessary.
Buffing Too Frequently
Regular aggressive buffing can gradually thin the nail.
Buffing Already Thin Nails
If your nails are weak or peeling, additional surface removal may make the problem worse.
Treating Deep Ridges With Aggressive Buffing
Deep ridges shouldn’t simply be filed away. Over-buffing can weaken the nail.
Using the Same Tool Indefinitely
Worn or dirty buffers become less effective and may not provide consistent results. Replace disposable buffers when they become worn or difficult to clean.
Best Nail Buffer for an At-Home Manicure
For most home users, the ideal nail buffer should be:
- Fine enough for natural nails
- Easy to control
- Comfortable to hold
- Clearly labeled by grit or function
- Durable enough for its intended use
- Easy to clean or replace
A 4-way nail buffer is a practical choice for beginners who want several functions in one tool, while a dedicated fine polishing buffer may be preferable if your main goal is achieving a natural shine.
Nail Buffer Care and Hygiene
Keeping manicure tools clean is an important part of nail care at home.
For reusable buffers, follow the manufacturer’s cleaning and disinfection instructions. Not every buffer can be safely washed or disinfected, so check the product specifications before exposing it to liquids or disinfectants.
Disposable buffers should be replaced regularly, especially if they become worn or contaminated.
Never share personal manicure tools without appropriate cleaning and disinfection.
FAQs
What is the best nail buffer for natural nails?
A fine-grit buffer designed for natural nails is generally the best choice. For beginners, a multi-sided buffer can be convenient because it combines several finishing steps in one tool.
Is buffing good for your nails?
Gentle, occasional buffing can smooth minor surface imperfections and improve the appearance of natural nails. However, excessive buffing can thin and weaken the nail plate.
How often should I buff my nails?
Buffing should generally be occasional rather than a frequent part of your routine. If your nails are already smooth, you may not need to buff them at all.
Can I use a nail buffer on acrylic nails?
Some buffers are designed for artificial nail enhancements, but the appropriate grit depends on the product and the stage of the service. Always follow the manufacturer’s instructions.
Does buffing make nails shiny?
Yes. Very fine polishing surfaces can create a natural-looking shine by smoothing and polishing the nail surface.
Is a nail buffer the same as a nail file?
No. A nail file is primarily used to shape and shorten the free edge of the nail, while a nail buffer is designed mainly to smooth and polish the nail surface.