





How to Remove Polygel Nails at Home Without Damage
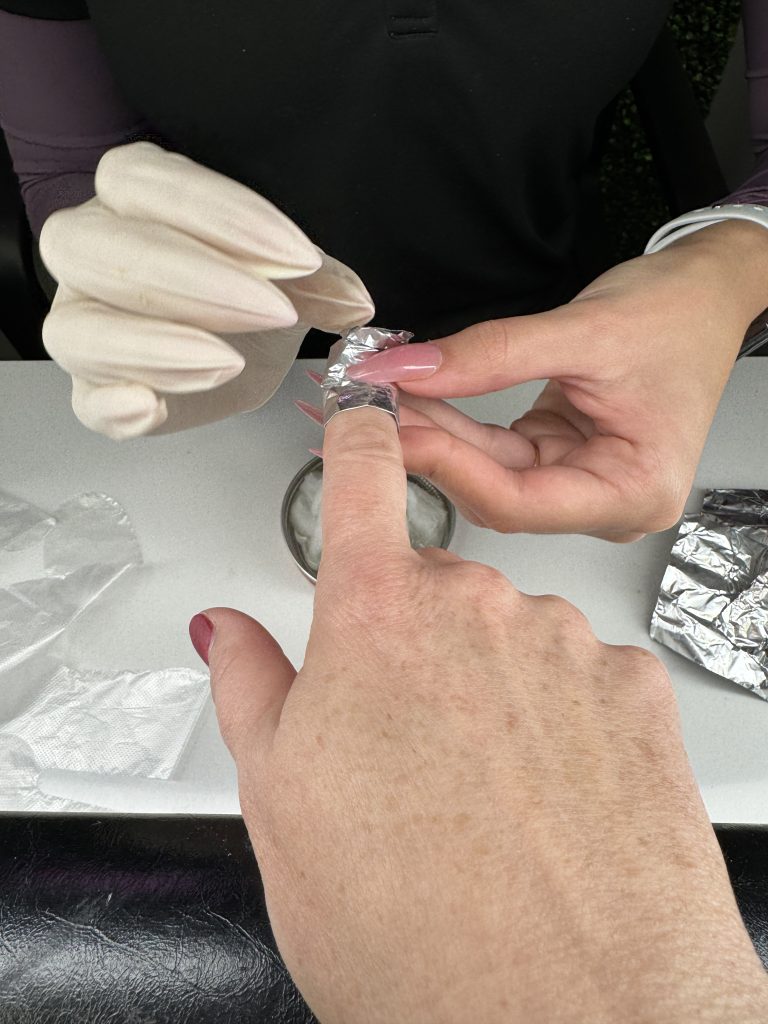
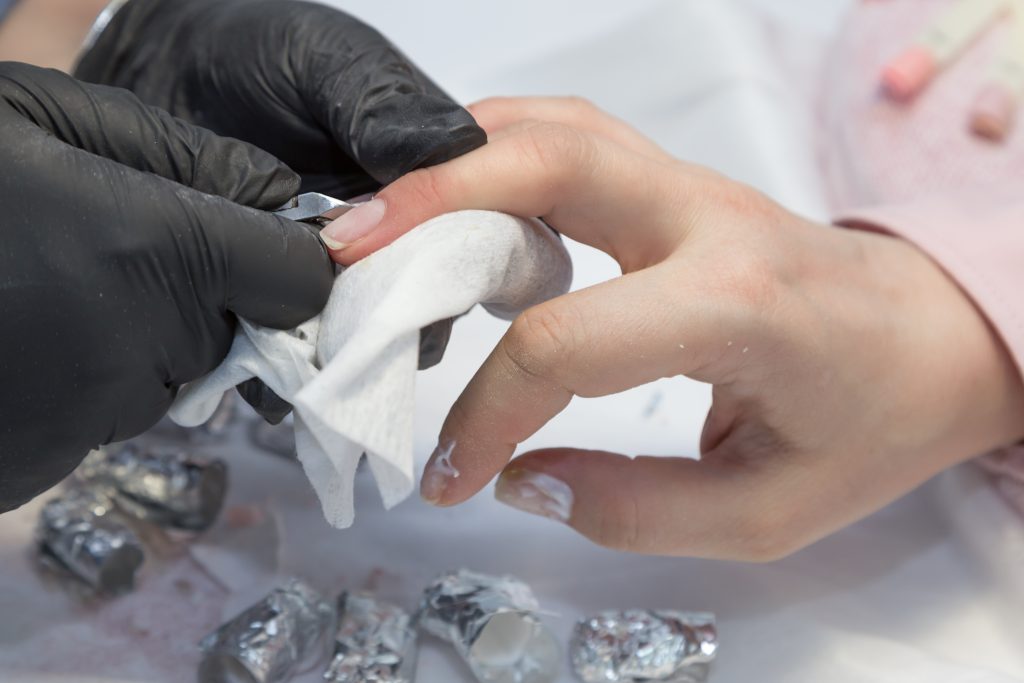
How to remove polygel safely at home is one of the most searched nail questions of 2026—and for good reason.
Polygel is designed to last, which means removing it the wrong way can seriously compromise nail plate integrity. This guide is here to walk you through the safest, least stressful methods so you can transition between 2026 polygel nail shapes without thinning, peeling, or long-term damage.
Take a breath. Healthy nails are absolutely possible—if you follow the rules.
Table Of Contents
What You’ll Need (Polygel Removal Kit Essentials)
Before you begin, ensure you have everything set up properly. Rushing or improvising tools is where damage begins.
- 180-grit file
- Buffer (fine grit)
- Acetone (100% for best results)
- Cotton pads or balls
- Aluminum foil or reusable nail clips
- Cuticle pusher (wood or silicone)
- Cuticle oil (jojoba-based preferred)
- Optional: E-file (electric nail drill) for advanced users
The Golden Rule of Polygel Removal (Read This First)
Never peel, pry, or pick polygel off your nails.
This is the #1 cause of nail damage—more harmful than acetone, more damaging than over-filing. Peeling removes layers of your natural nail along with the product, leading to dehydration, weakness, and months of recovery.
If a corner lifts, that’s not an invitation to pull—it’s a signal to slow down.
How Long Should Polygel Last Before Removal?
In 2026, a well-applied polygel set should last 3–4 weeks before removal or rebalance. Pushing past this window increases lifting, moisture intrusion, and stress on the natural nail. Removing polygel on time protects nail plate integrity and makes the soaking method faster and safer.
Method 1: The Professional Soak-Off (Best for Beginners)
This is the safest way to remove polygel at home and the method most nail professionals recommend.
Step-by-Step Instructions
- File the surface
Use a 180-grit file to gently remove the top coat and most of the bulk. Stop once the shine is gone. - Protect the skin
Apply a little cuticle oil or barrier cream around the cuticles to reduce dehydration. - Soak and wrap
Saturate cotton with acetone, place on each nail, and wrap tightly with foil or clips. - Wait patiently
Let soak for 15–20 minutes. Warm hands help speed up the soaking method. - Gently push
Use a cuticle pusher to nudge softened polygel away. If it resists, rewrap for 5–10 more minutes. - Light buff only
Once removed, lightly buff residue—never dig or scrape.
⚠️ Warning: If product is still hard, forcing it off will damage the nail plate. Re-soak instead.
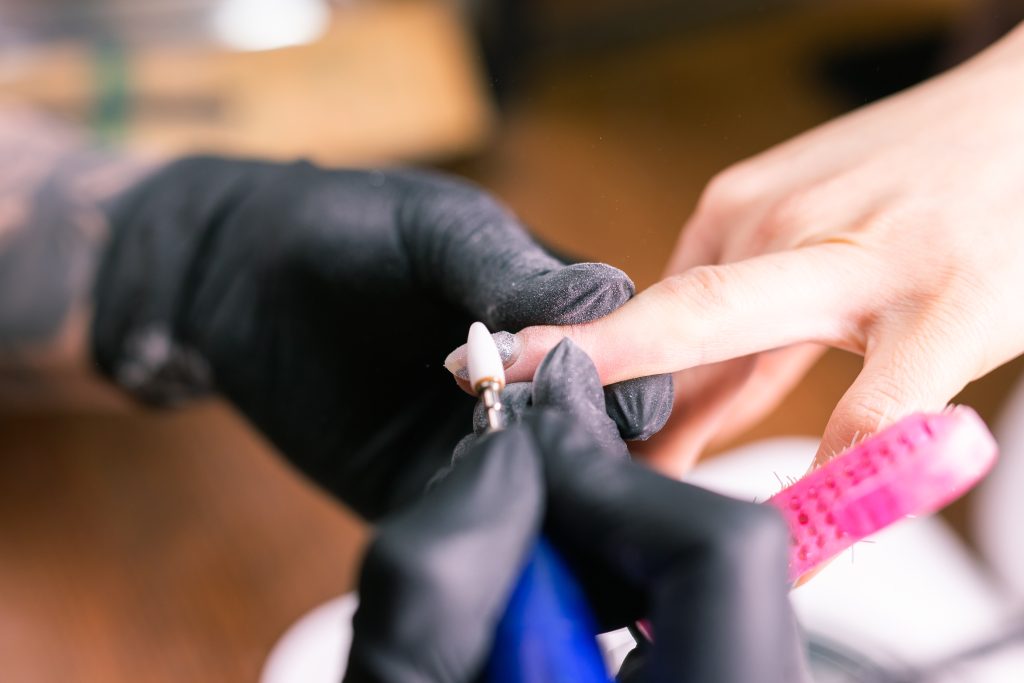
Method 2: The E-File Method (For Advanced DIYers Only)
This method is fast—but only safe if you know what you’re doing.
When to choose this method
- You’re experienced with an electric nail drill
- You can recognize the difference between product and natural nail
- You want to avoid soaking
Step-by-Step Instructions
- Use low speed only
Choose a fine or medium safety bit. High speed increases heat and risk. - Thin, don’t remove
Gently file down the polygel until a thin layer remains. - Stop before the natural nail
You should still see a soft, matte layer of product. - Finish with soak or buffer
Either soak off the remaining layer or gently buff it smooth.
⚠️ Warning: Over-filing causes heat spikes, thinning, and long-term sensitivity.
Method 3: Acetone-Free Alternatives (For Lifted or Thin Sets)
If you’re searching for how to remove polygel without acetone, know this: acetone-free methods work only on already lifted or very thin product.
Oil + Warm Water Soak
- File the surface to break the seal
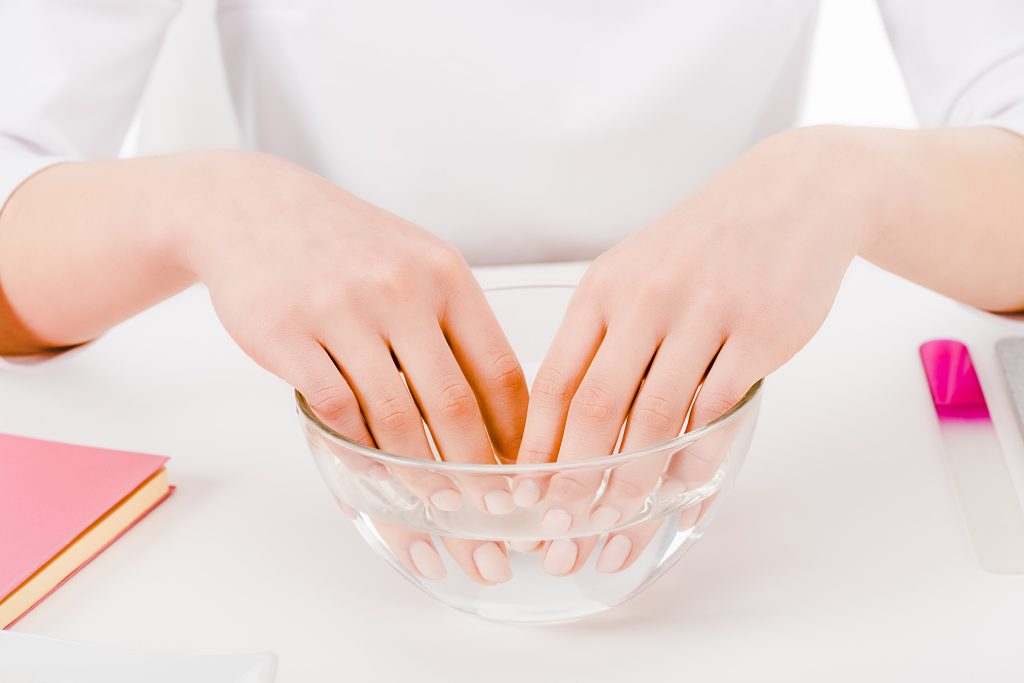
- Soak nails in warm (not hot) water with cuticle oil
- Gently push lifted edges only
This method is slow and limited, but useful for sensitive nails or partial removal.
The Recovery Clinic
Repairing Natural Nails After Polygel (2026 Routine)
Removal is only half the job. Recovery is where nail health is restored.
7-Day Nail Reset
- Apply jojoba-based cuticle oil twice daily
- Use a keratin treatment every 2–3 days
- Avoid dehydration from alcohol-based sanitizers
- Keep nails short and softly shaped
- Skip reapplication for at least 48–72 hours
Healthy nails aren’t about strength alone—they’re about flexibility and hydration.
FAQs
How to remove polygel without damaging natural nails?
By filing bulk gently, using the soaking method patiently, and never peeling. Damage comes from force, not acetone.
Can I use a credit card to pop them off?
No. This lifts layers of your natural nail and causes severe thinning.
How long does polygel removal take?
Expect 30–45 minutes using the soak-off method. Faster removal usually means more damage.
How soon can I apply a new set after removal?
Ideally after 2–3 days, once nails are rehydrated and calm.
Safe Removal Is Part of Good Nail Style
Knowing how to remove polygel properly is just as important as choosing the right shape or design. In 2026, healthy nails are the foundation of every trend. Slow removal, smart tools, and intentional aftercare make all the difference.
Your future sets will thank you for the patience you show today.
More for your beauty mood

2026 Polygel Nail Shapes | This Year’s Hottest Trends
2026 polygel nail shapes are all about balance: practicality meets personality, and clean structure flirts with soft, wearable beauty. This year, polygel isn’t just a technique—it’s…
Why You Need to Strengthen Nails After Acrylics
If you've just removed acrylics, you are likely experiencing the common shock of seeing damaged, soft, and painfully thin nails. This post-enhancement weakness is entirely normal;…

Acrylic Nails – What to Know Before Your First Set
Acrylic nails have been redefining beauty routines for decades. Whether you’re after longer nails, durable extensions, or an artistic canvas for your favorite nail designs, acrylics…